


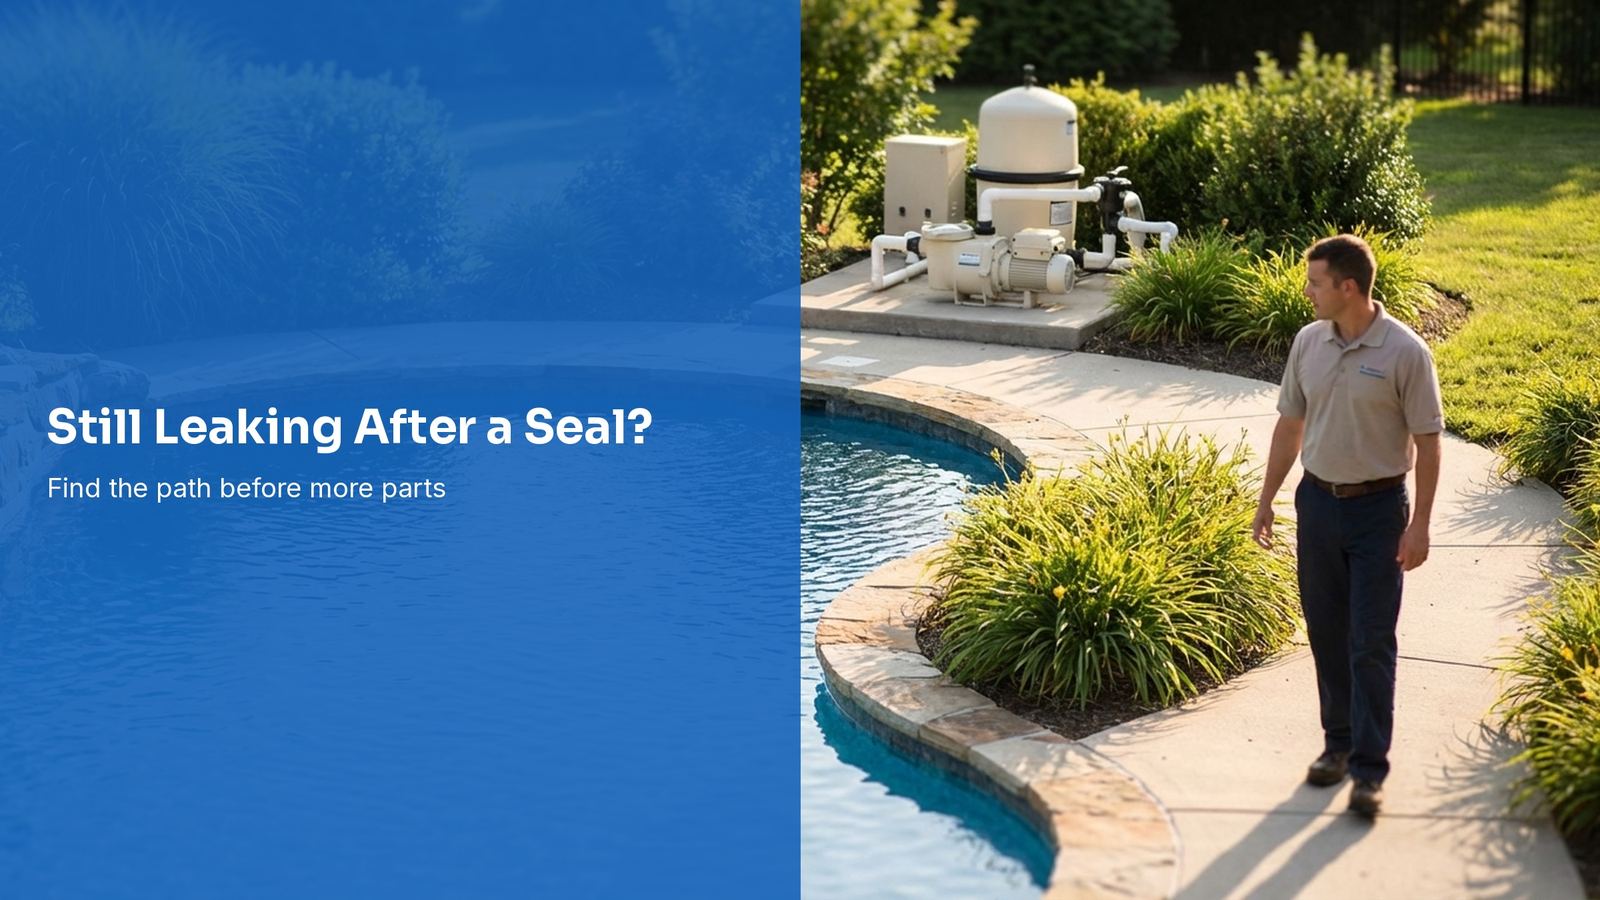
Key Takeaways
- A leak near the motor does not prove that the new shaft seal is the only failed part.
- Clean and dry the assembly, then observe the first wet point during a controlled run.
- Inspect the seal plate, housing, gasket, fasteners, and mating surfaces for damage.
- Verify the exact pump revision and follow its manual before repeating the repair.
A WhisperFlo repair report described two seal-kit attempts without stopping a heavy leak. Read the original field post.
"Used the Aladdin Go Kit, which didn't solve the issue, so went back yesterday with the actual Pentair Seal Kit and swapped everything back out again."
— Pool pro via Reddit
What Other Pool Pros Added
The discussion quickly moved beyond the seal kit to a possible hard-part failure. Read the discussion comment.
"This sounds like a warped seal plate."
— Pool pro via Reddit
A second technician emphasized setting expectations when the whole wet end may be compromised. Read the discussion comment.
"Sure, we can TRY to put a bandaid on it(gaskets and seals), but we cannot guarantee the leak will go away."
— Pool pro via Reddit
A shaft-seal replacement should not become an endless cycle of new seals. If the pump still leaks, stop and locate the actual water path. A second parts kit cannot correct a cracked seal plate, damaged housing, pinched gasket, wrong revision, loose fastener, or contaminated seal face.
Confirm Where the Water Starts
Shut the equipment down safely. Clean mineral tracks and dry the pump exterior, pad, and joint between the wet end and motor. During an authorized test run, use a light and observe from a safe position. Record the first place that becomes wet, not where water finally drips onto the pad.
| First wet area | Inspection zone | Evidence to record |
|---|---|---|
| Center behind the impeller area | Shaft seal and seal cavities | Part number, face condition, installation orientation |
| Seal-plate perimeter | Seal-plate gasket, mating surfaces, fasteners | Pinch marks, cracks, torque pattern, debris |
| Housing seam or bolt boss | Housing damage or distorted joint | Hairline cracks, brittle plastic, missing support |
| Union, plug, or lid above | Separate external seal | Wet trail and operating state |
Water moves along surfaces. A drip near the motor may have started higher at a housing seam. Dye, powder, compressed air, or improvised pressure tests can create hazards or misleading results, so use only methods supported for the exact equipment.
Verify the Exact Pump and Parts
Record the model, product number, serial number, motor or drive, and any prior wet-end replacement. Similar-looking WhisperFlo versions can use different parts or assembly details. Match the seal kit and gaskets to the parts diagram for that revision.
The Pentair WhisperFlo resource page links current manuals and replacement information. The WhisperFlo VST manual warns that scratching, marring, or contaminating polished seal faces can cause leakage.
Inspect Every Mating Part
After de-energizing and following the manual's disassembly procedure, inspect the impeller seal cavity, seal-plate cavity, plate gasket channel, housing face, bolt bosses, diffuser, and fasteners. Look for cracks, distortion, scale, old seal material, lubricant where it does not belong, and uneven compression.
A new soft part cannot flatten a warped hard part. A fastener cannot safely pull a cracked boss back into service. If brittle plastic or a damaged sealing surface is found, quote the correct structural part rather than promising that another seal will hold.
Review the First Installation
- Were both old seal halves completely removed?
- Were the cavities clean and undamaged?
- Were polished faces handled and cleaned as directed?
- Was the seal orientation correct?
- Were the specified lubricants or sealants used only where directed?
- Was the plate gasket seated without pinching?
- Were fasteners tightened in the required sequence and torque?
Answer from the service record when possible. If the first installation was not documented, mark the uncertainty instead of blaming a brand or technician without evidence.
Check the Conditions That Can Damage the Repair
Dry running, loss of prime, severe vibration, poor shaft condition, freeze damage, chemical leaks, and unsupported plumbing can shorten the life of a repaired assembly. Record prime behavior, basket fill, noise, pump mounting, plumbing load, and any recent overheating.
Choose Repair or Replacement From Findings
A repeat seal repair may be reasonable when the leak path is confirmed, all hard parts are sound, the correct kit is available, and the cause can be corrected. A wet-end or pump replacement may be more defensible when the housing, plate, fasteners, shaft, or several mating parts are damaged.
Use the broader pool pump failure guide to separate leaks from prime, drive, and flow complaints. Give the customer the measured finding, repair option, replacement option, warranty, and risk of hidden damage.
Close With a Test Record
After reassembly, follow the manual's priming and restart procedure. Record pump speed, filter pressure, prime, noise, vibration, and the observed dry joint during the test period. Take a final photo and note when the customer should recheck the pad.
Turn the Playbook Into Daily Work
PoolDial keeps routes, equipment history, service records, customer messages, and billing connected.
Start Your Free TrialFrequently Asked Questions
Can a new shaft seal still leak?
Yes. It can be damaged, contaminated, installed incorrectly, or surrounded by another leaking or damaged part. Locate the first wet point before deciding.
Does water near the motor always mean the shaft seal failed?
No. Water can travel from a seal-plate gasket, housing seam, plug, union, or crack and appear near the motor.
Should I install a third seal kit?
Only after confirming the leak path, correct parts, sound mating surfaces, and cause of the prior failure. Repeating an unconfirmed repair wastes parts and weakens the customer record.
Reddit posts and comments are firsthand field anecdotes, not technical or legal authority. Comment quotations are exact archived excerpts linked to their original discussion. Product, safety, compliance, and contract decisions should follow current manuals, local rules, and qualified professional advice.