
GPS Tracking on the PoolDial Mobile App

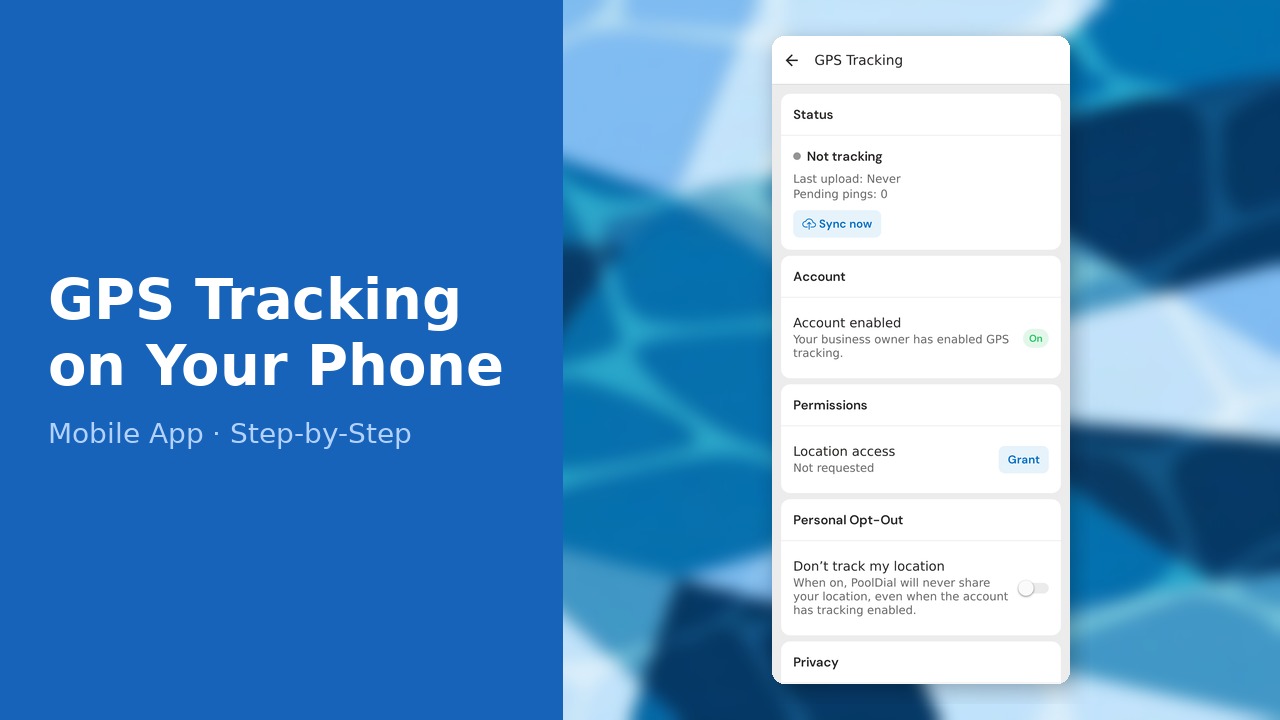
This guide walks you through gps tracking on the pooldial mobile app in PoolDial, step by step.
This guide covers 6 steps and takes about a minute to complete.
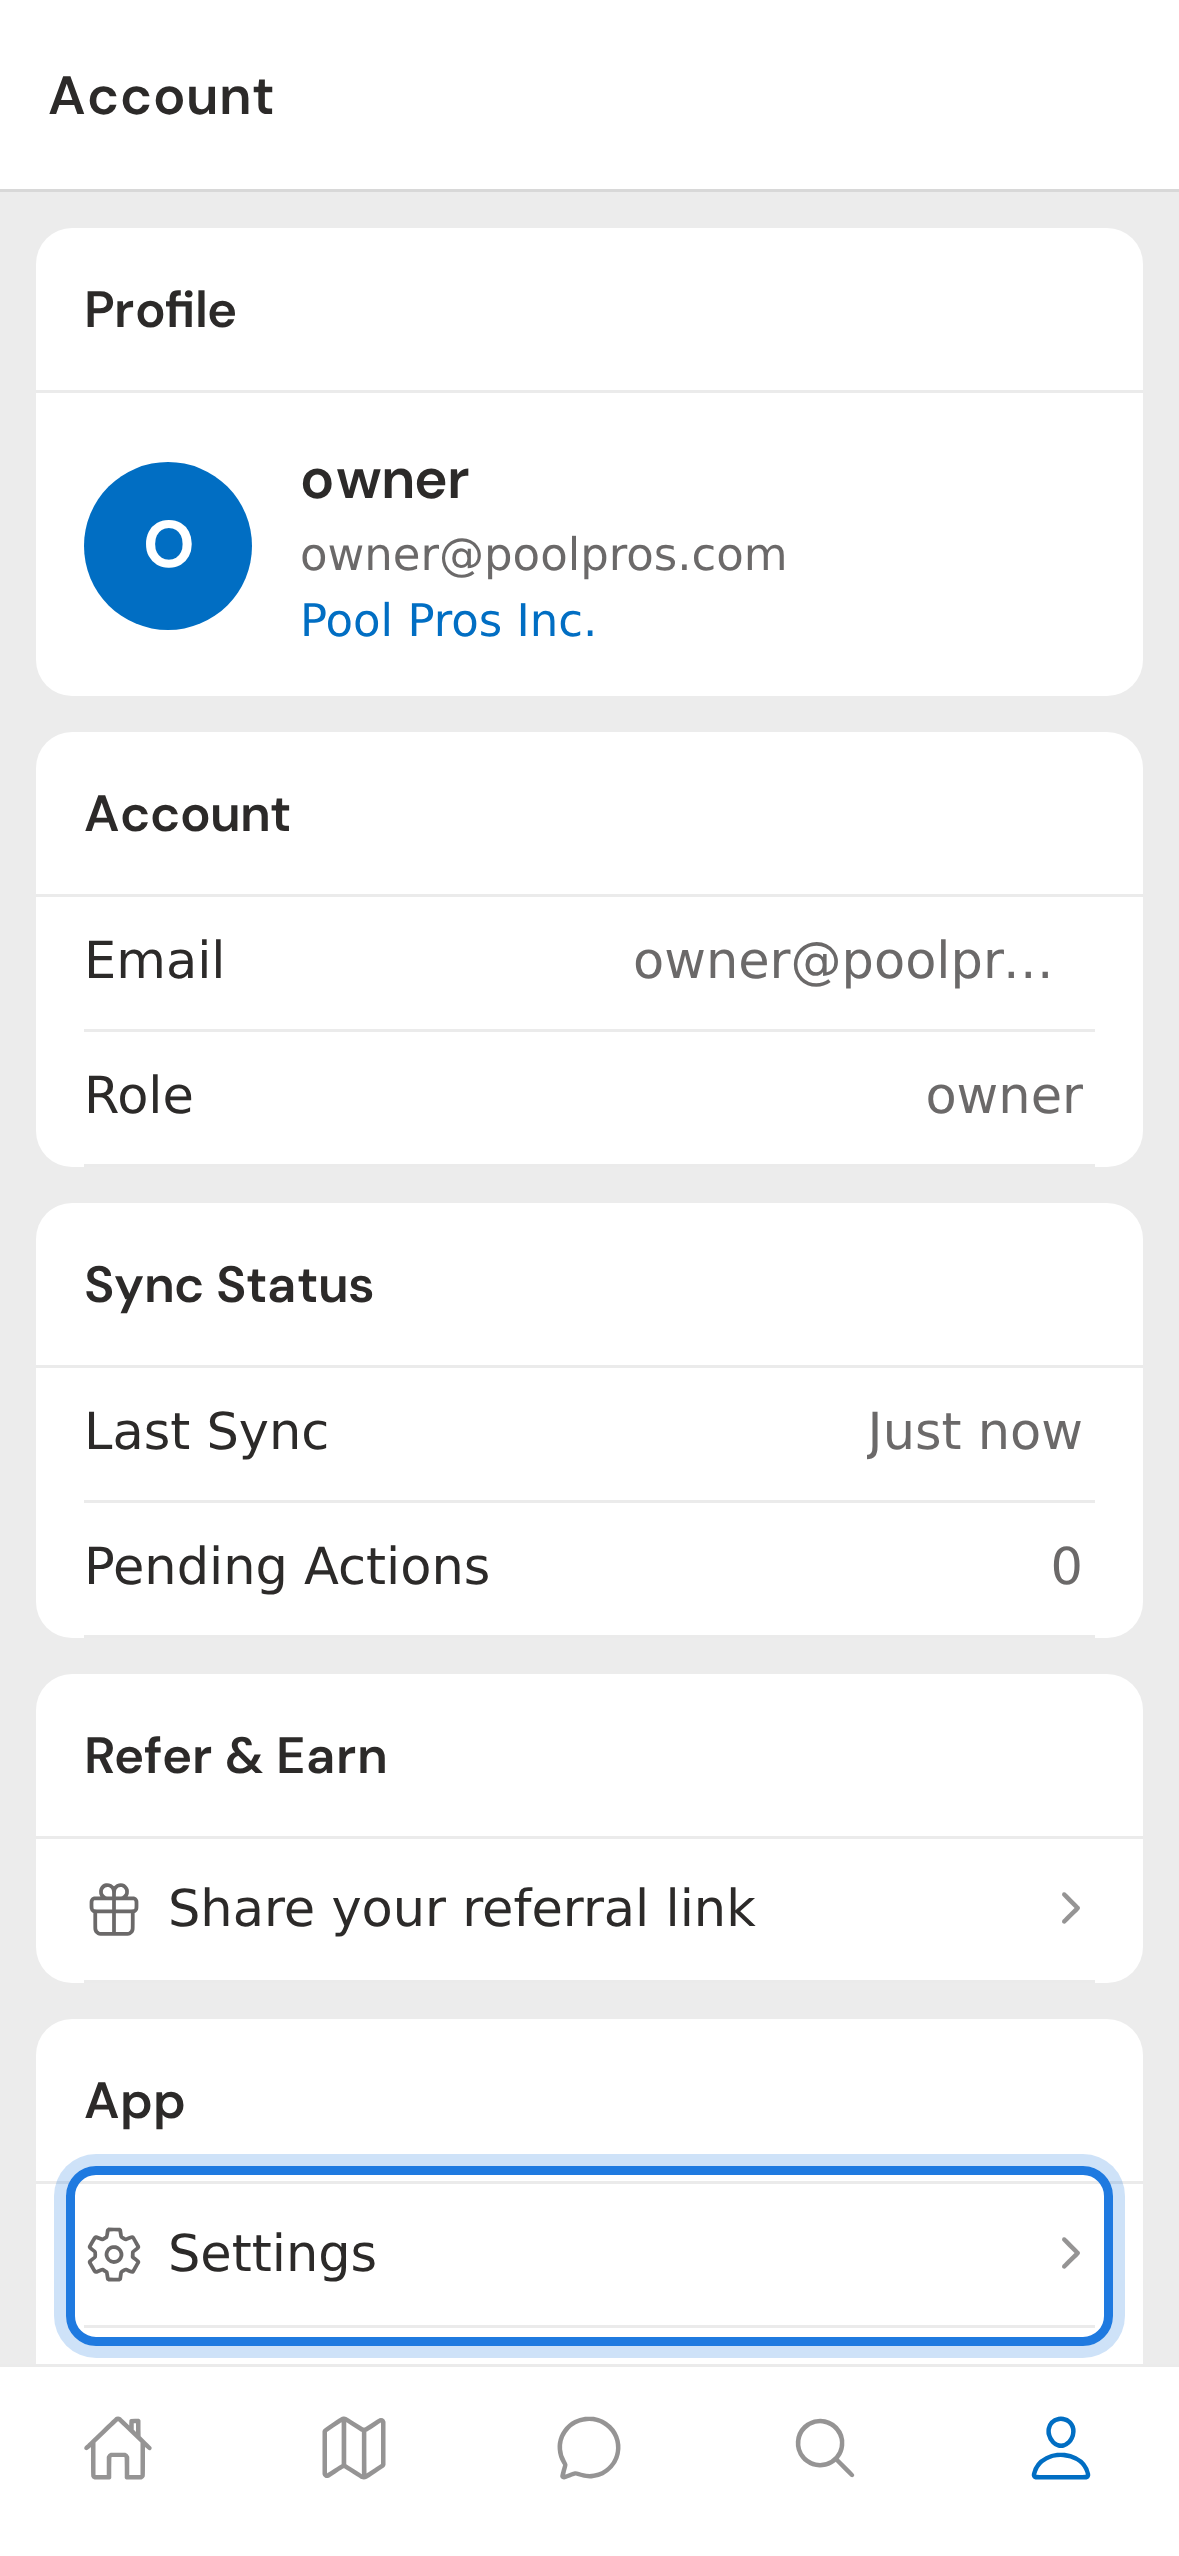
1. Account tab then Settings
Tap the Account tab at the bottom of the screen, then tap Settings in the App section. This is the gateway to every preference on your device, including GPS tracking.
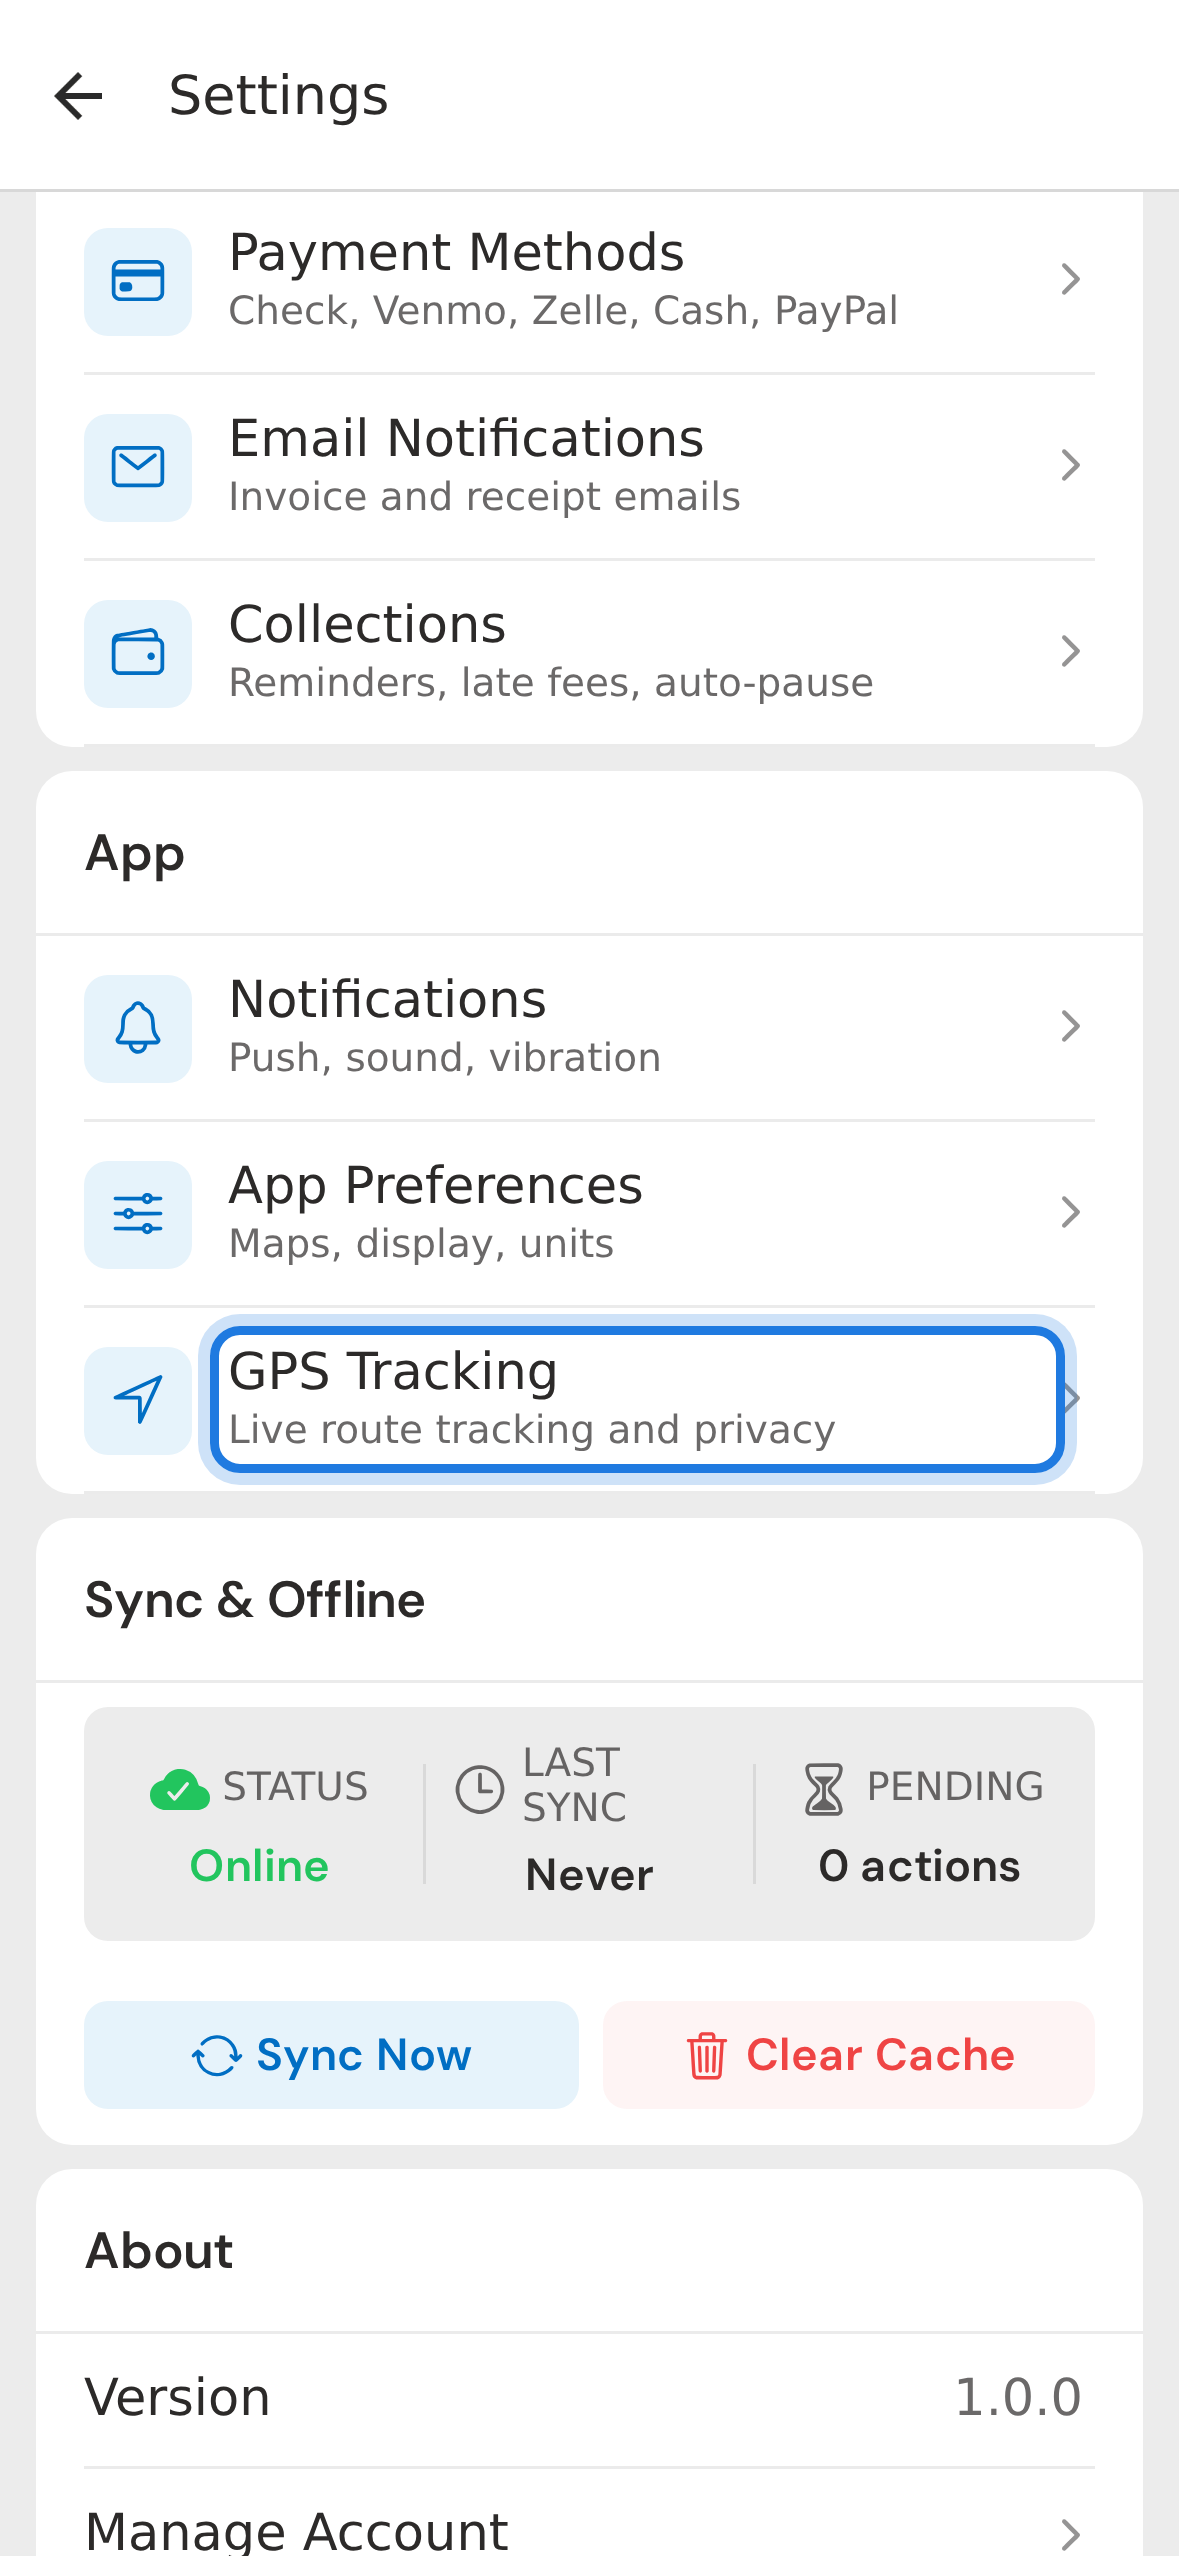
2. Find GPS Tracking in Settings hub
In the settings hub, scroll down and tap GPS Tracking. You'll find it under the App section with a navigation icon. This screen shows you exactly what's being shared and lets you control it.
3. Tracking status section
The top of the screen shows your current tracking status. When you're not on a route it stays inactive — no pings, no data sent. Once you start your first stop of the day it flips to active and a small indicator appears at the top of your route screen.
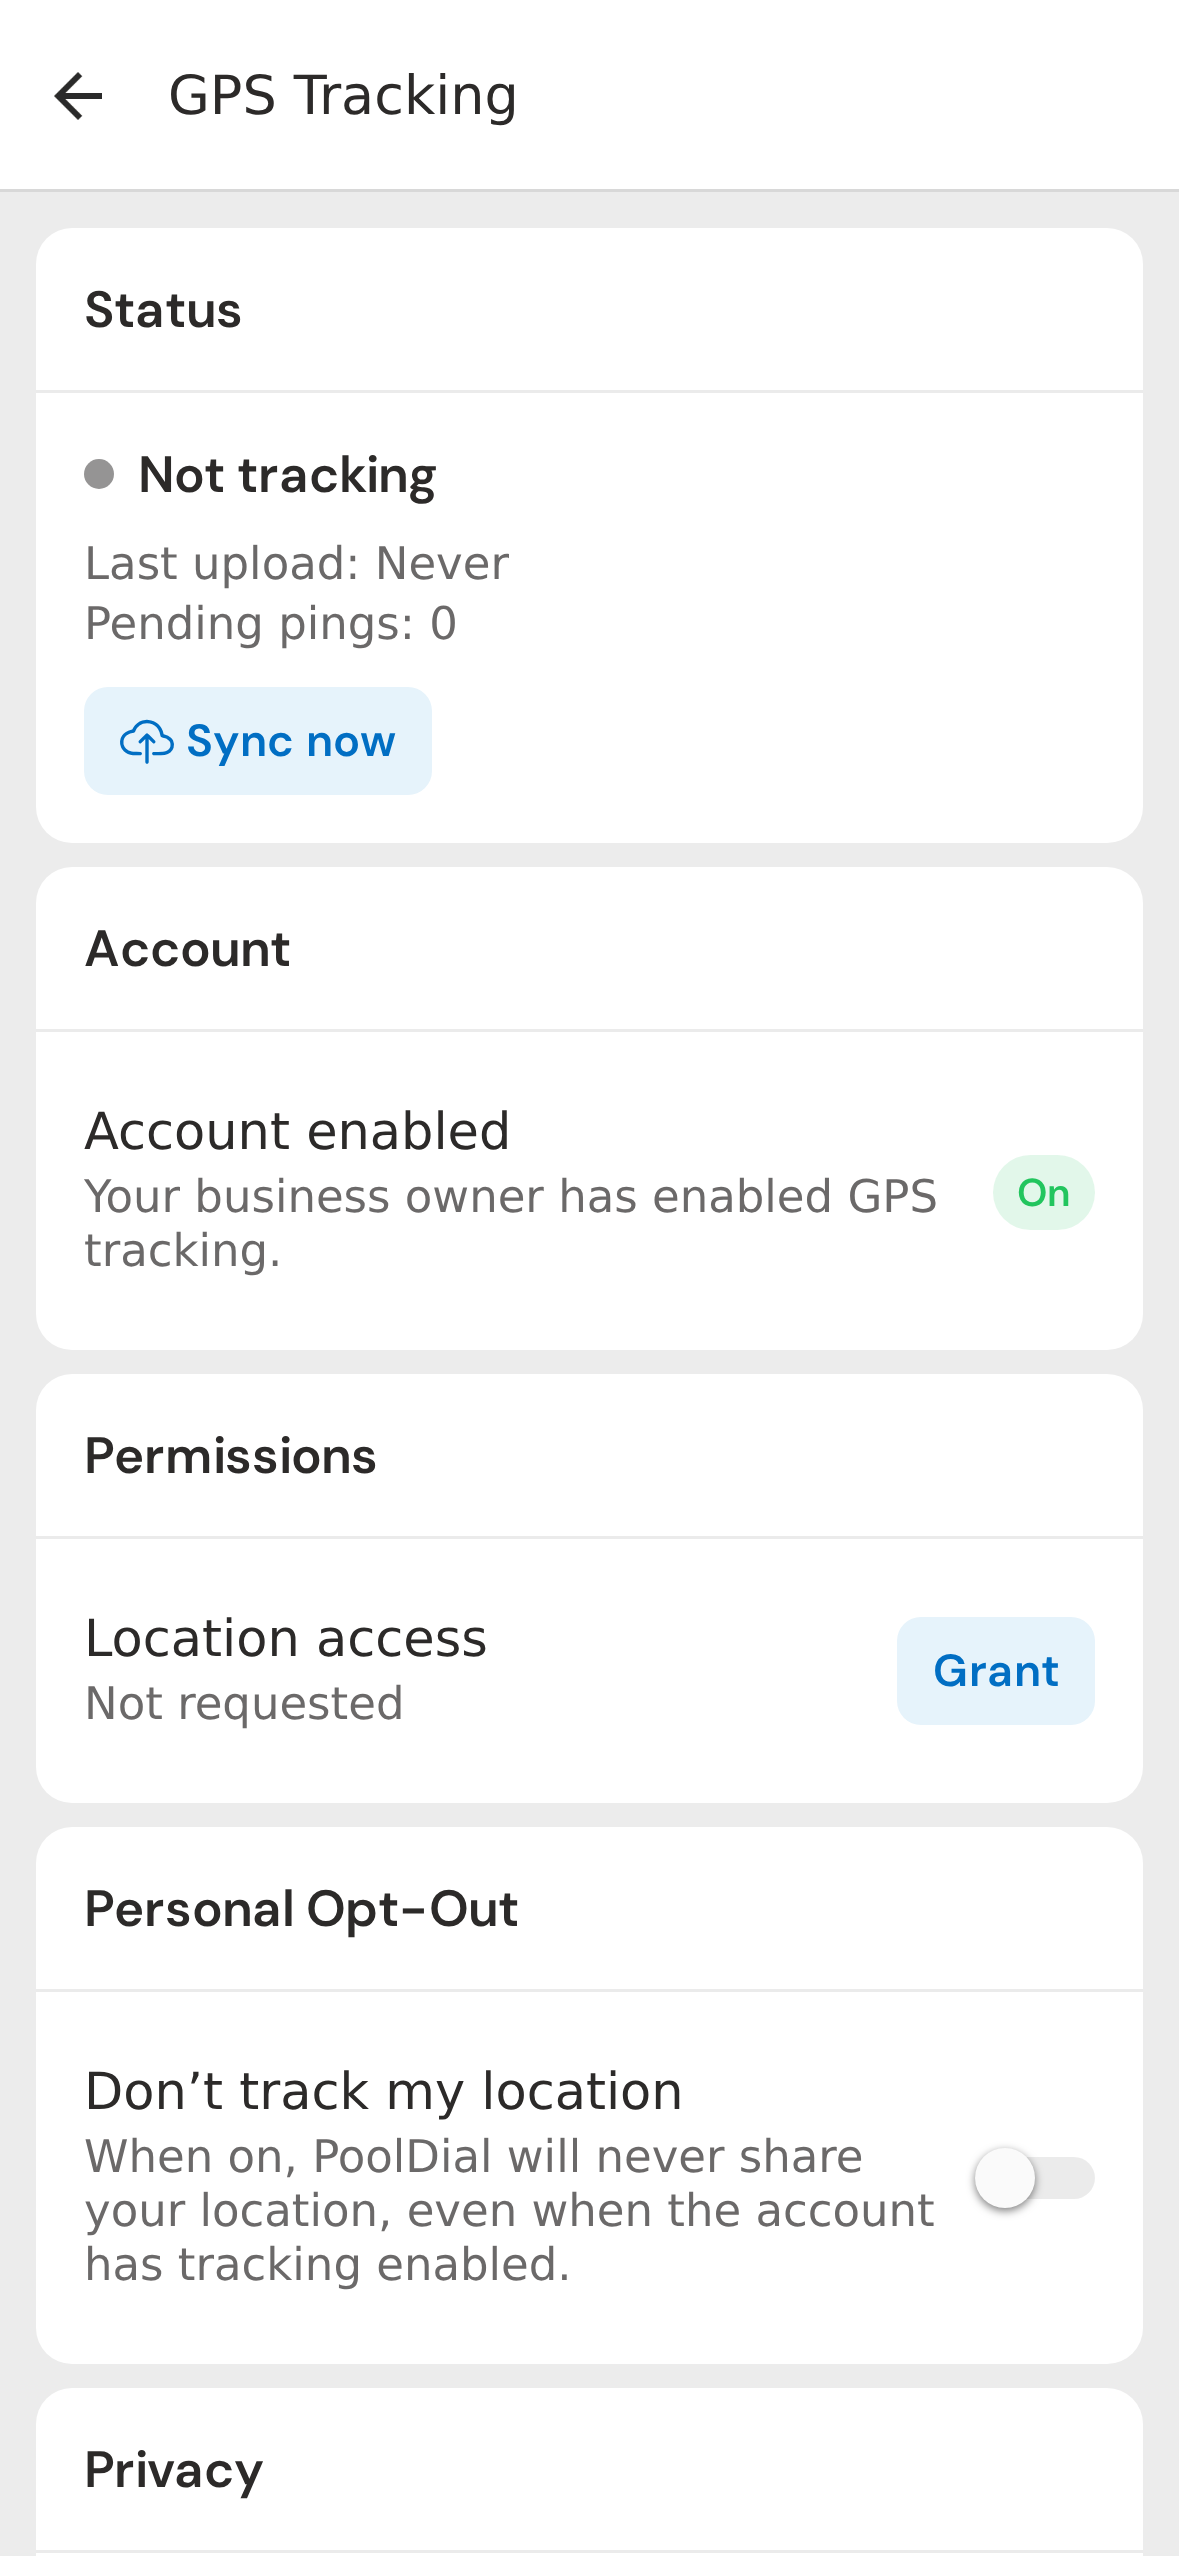
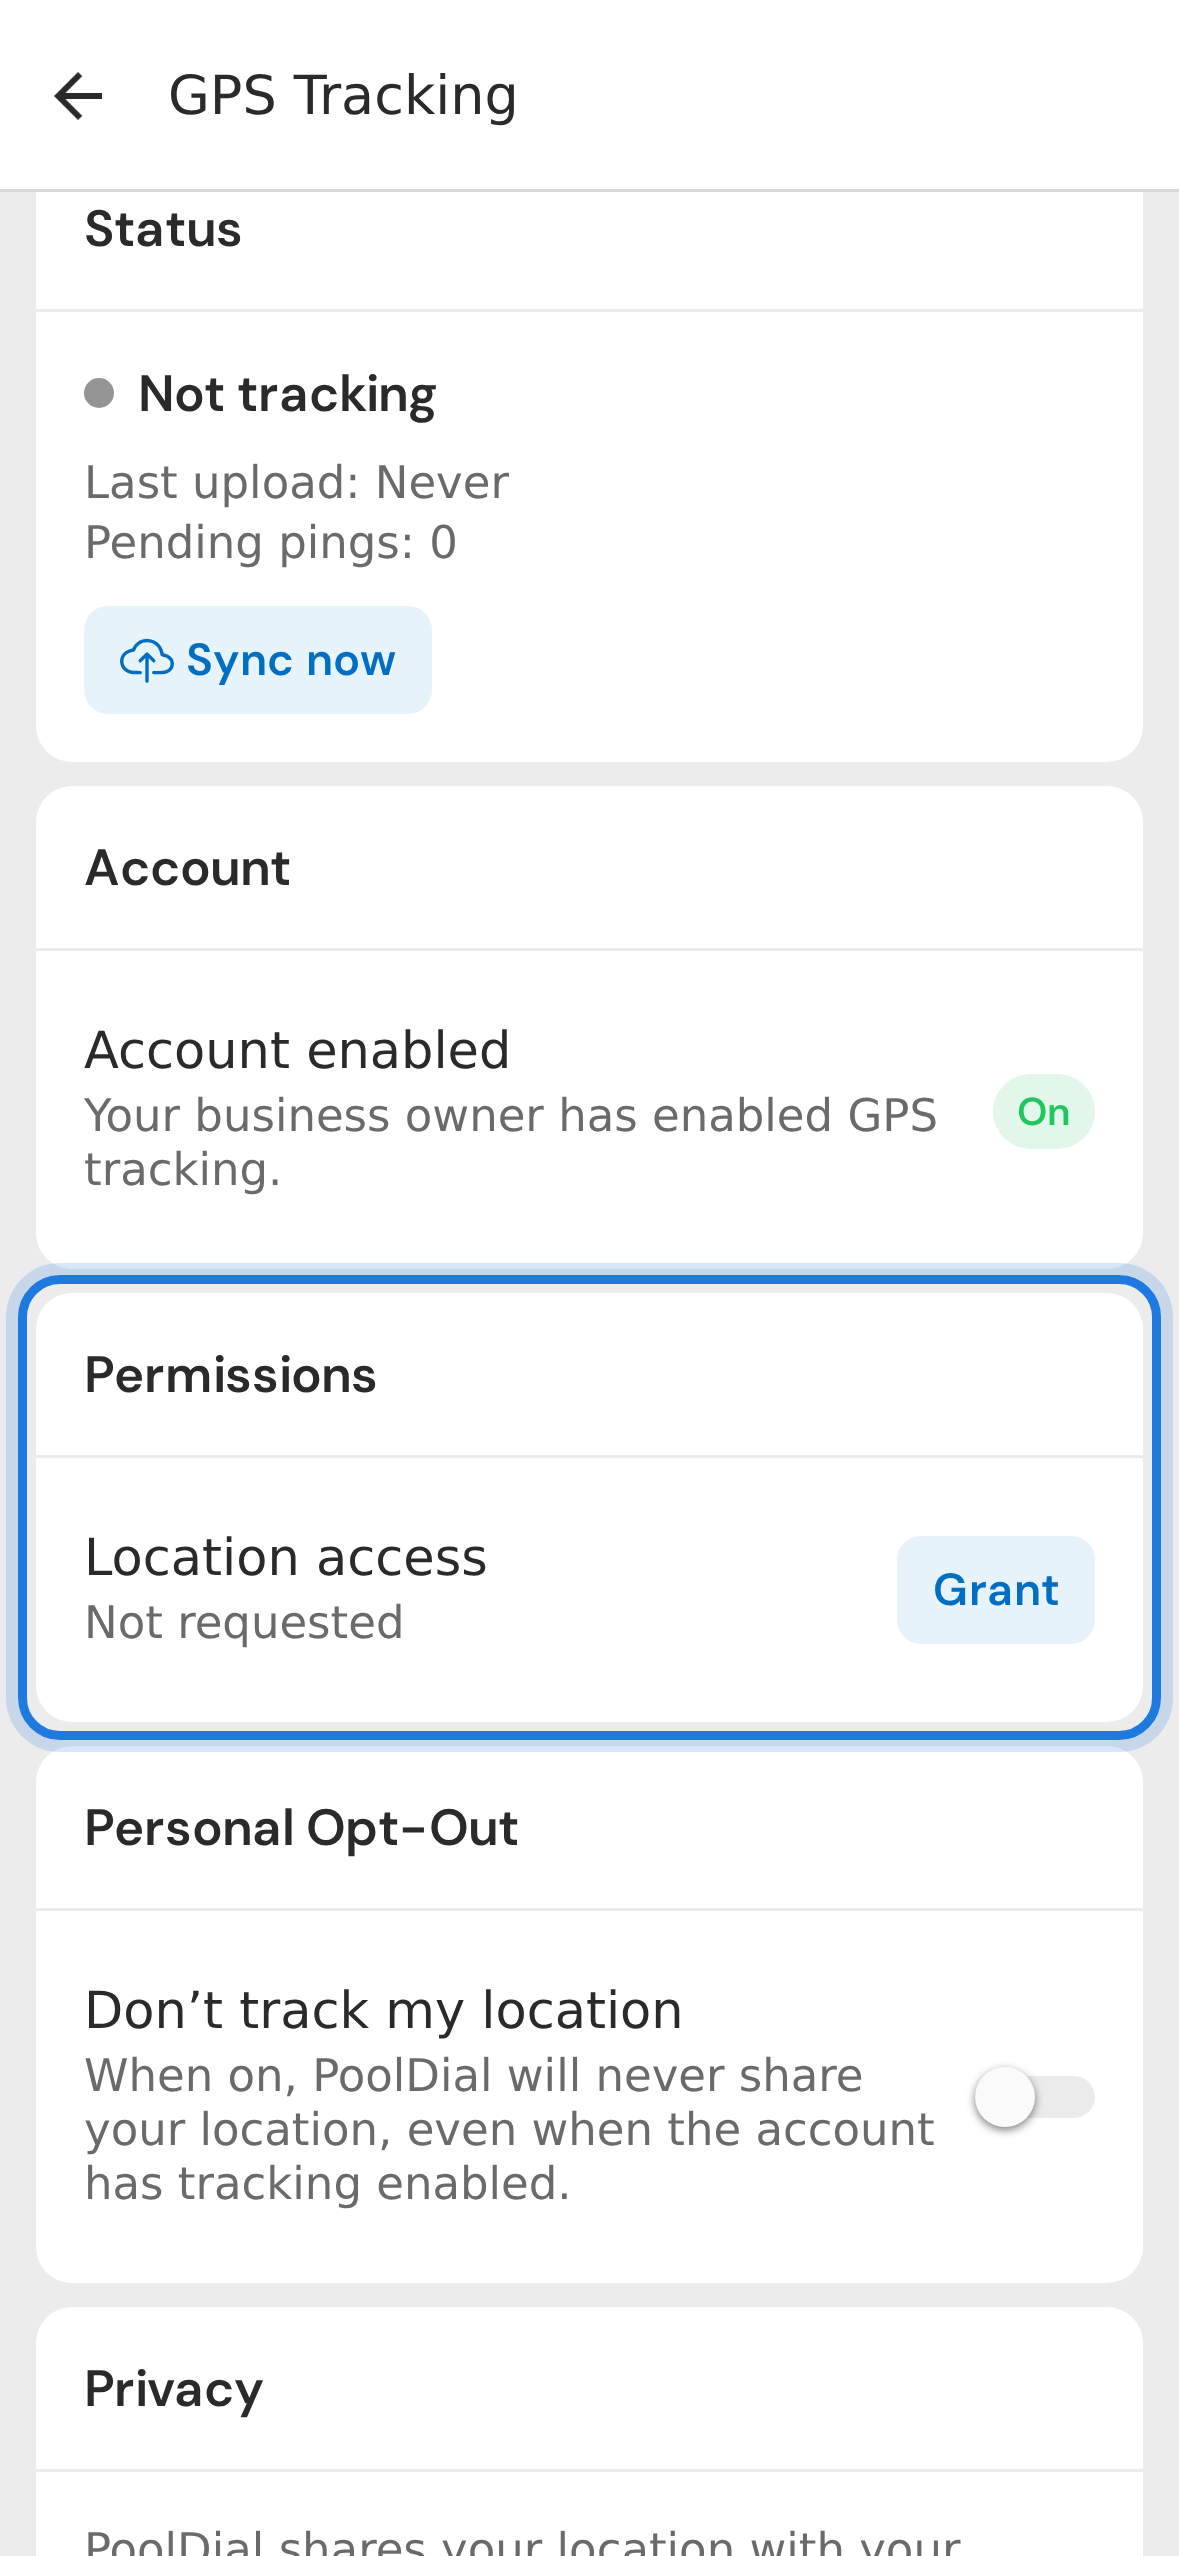
4. Permissions section
Next is the Permissions section. Tap Grant access to give PoolDial permission to read your location. On iOS make sure you choose Always Allow so tracking continues when you switch to Apple Maps or Waze for navigation.
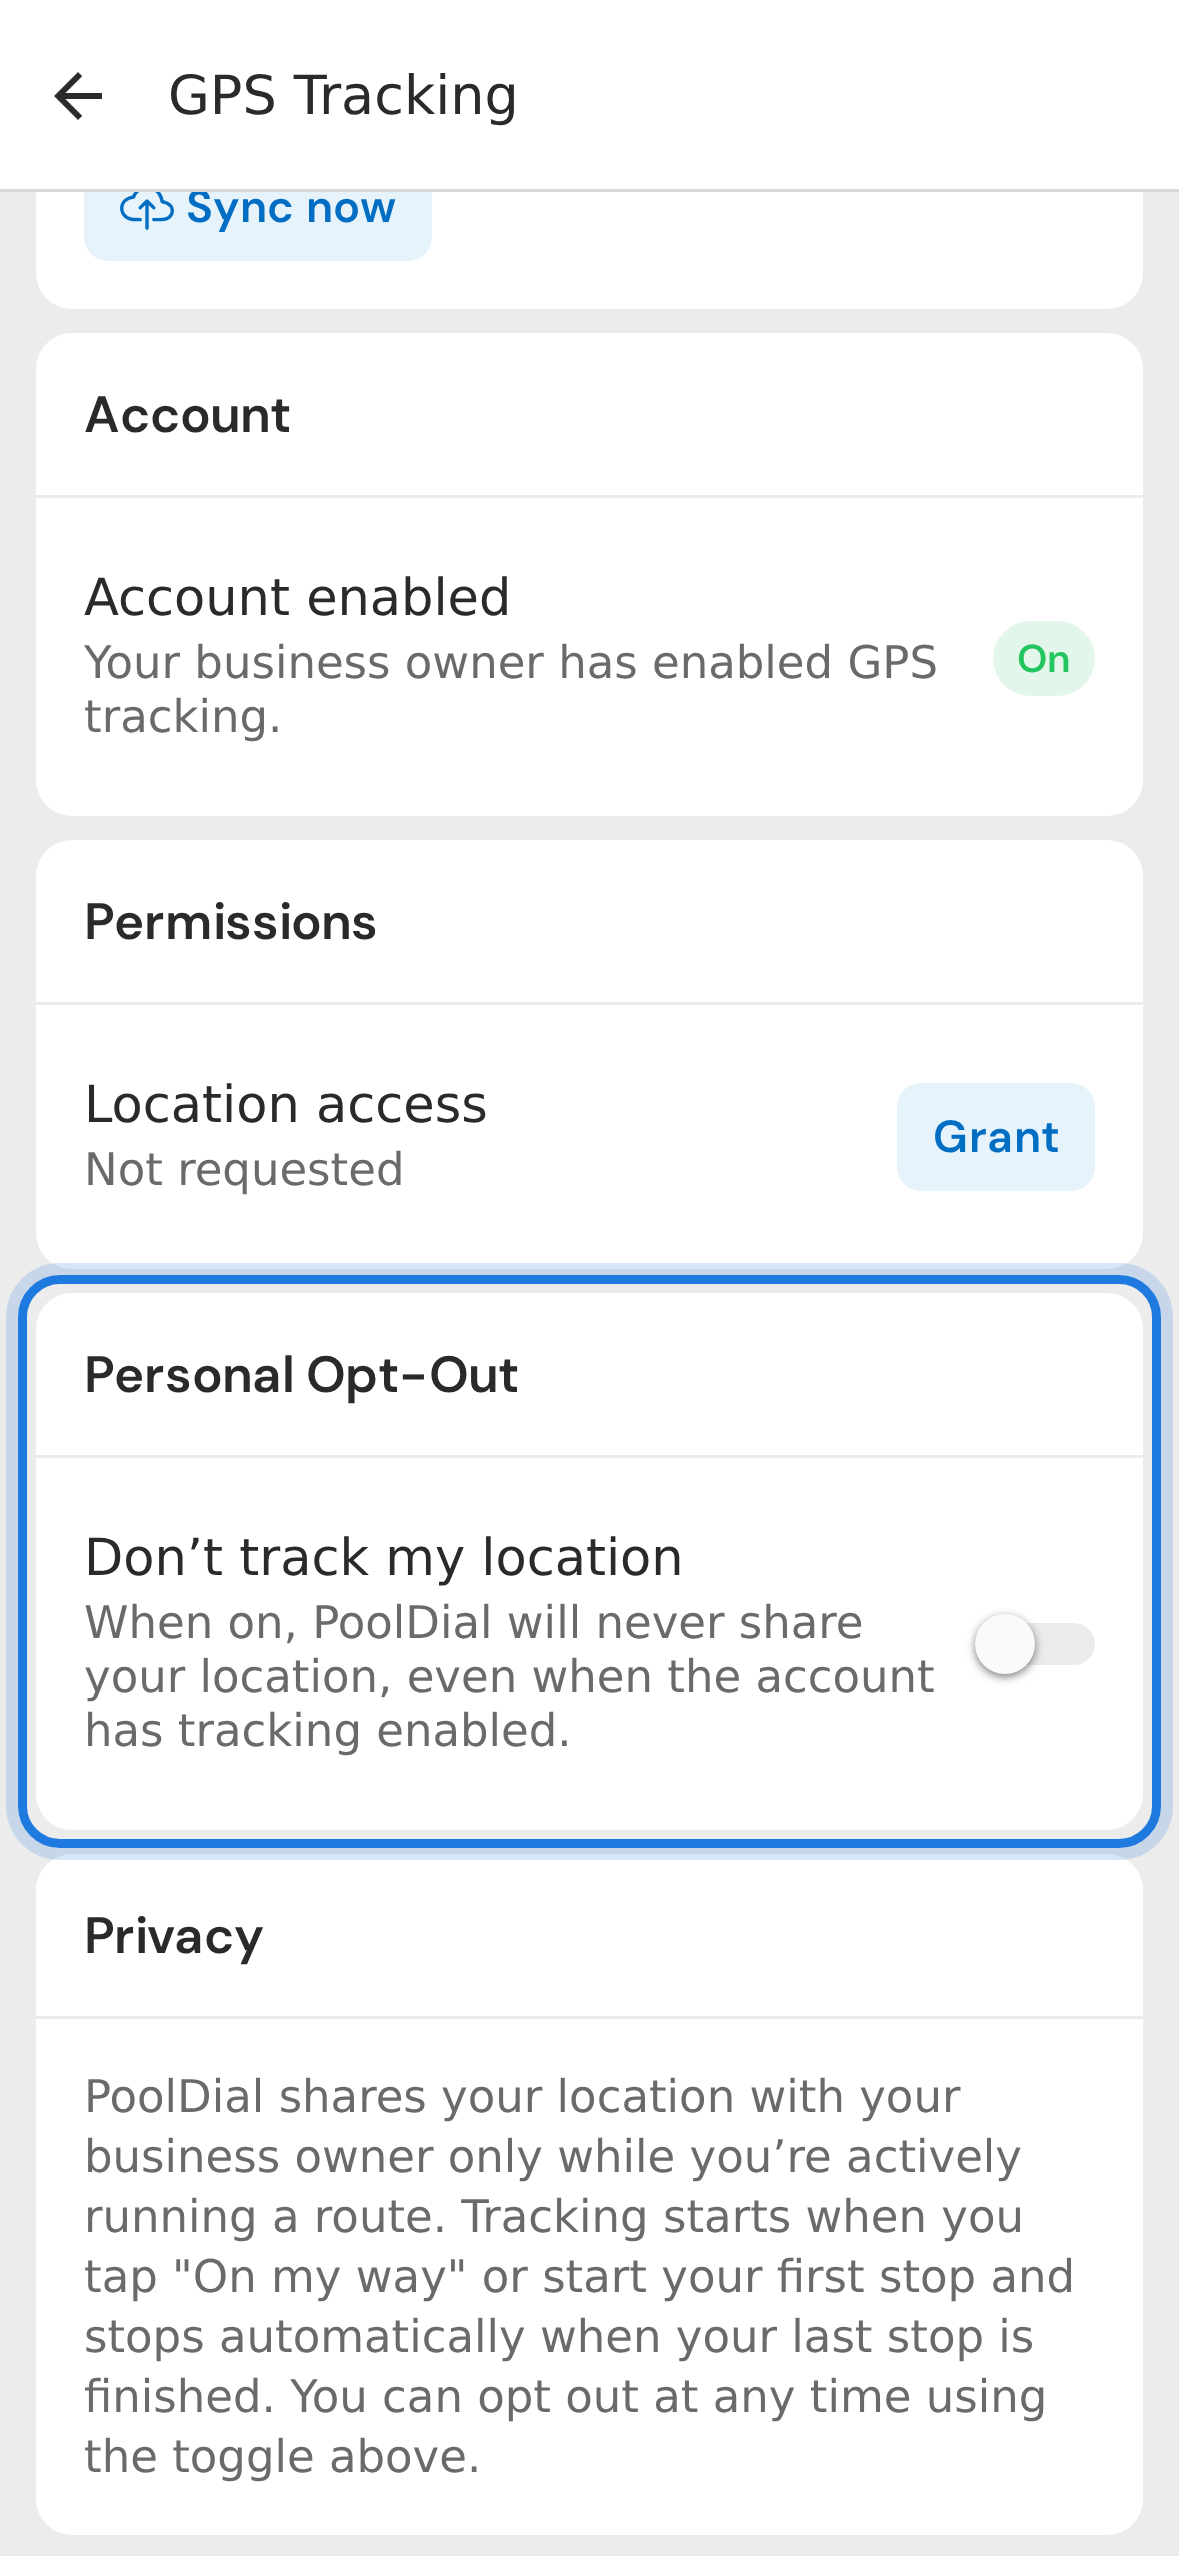
5. Personal opt-out
Below that is Personal Opt-Out. Even if your business owner has GPS tracking turned on for the whole team, you can flip this switch to opt out at any time. Your location will not be shared until you turn it back on.
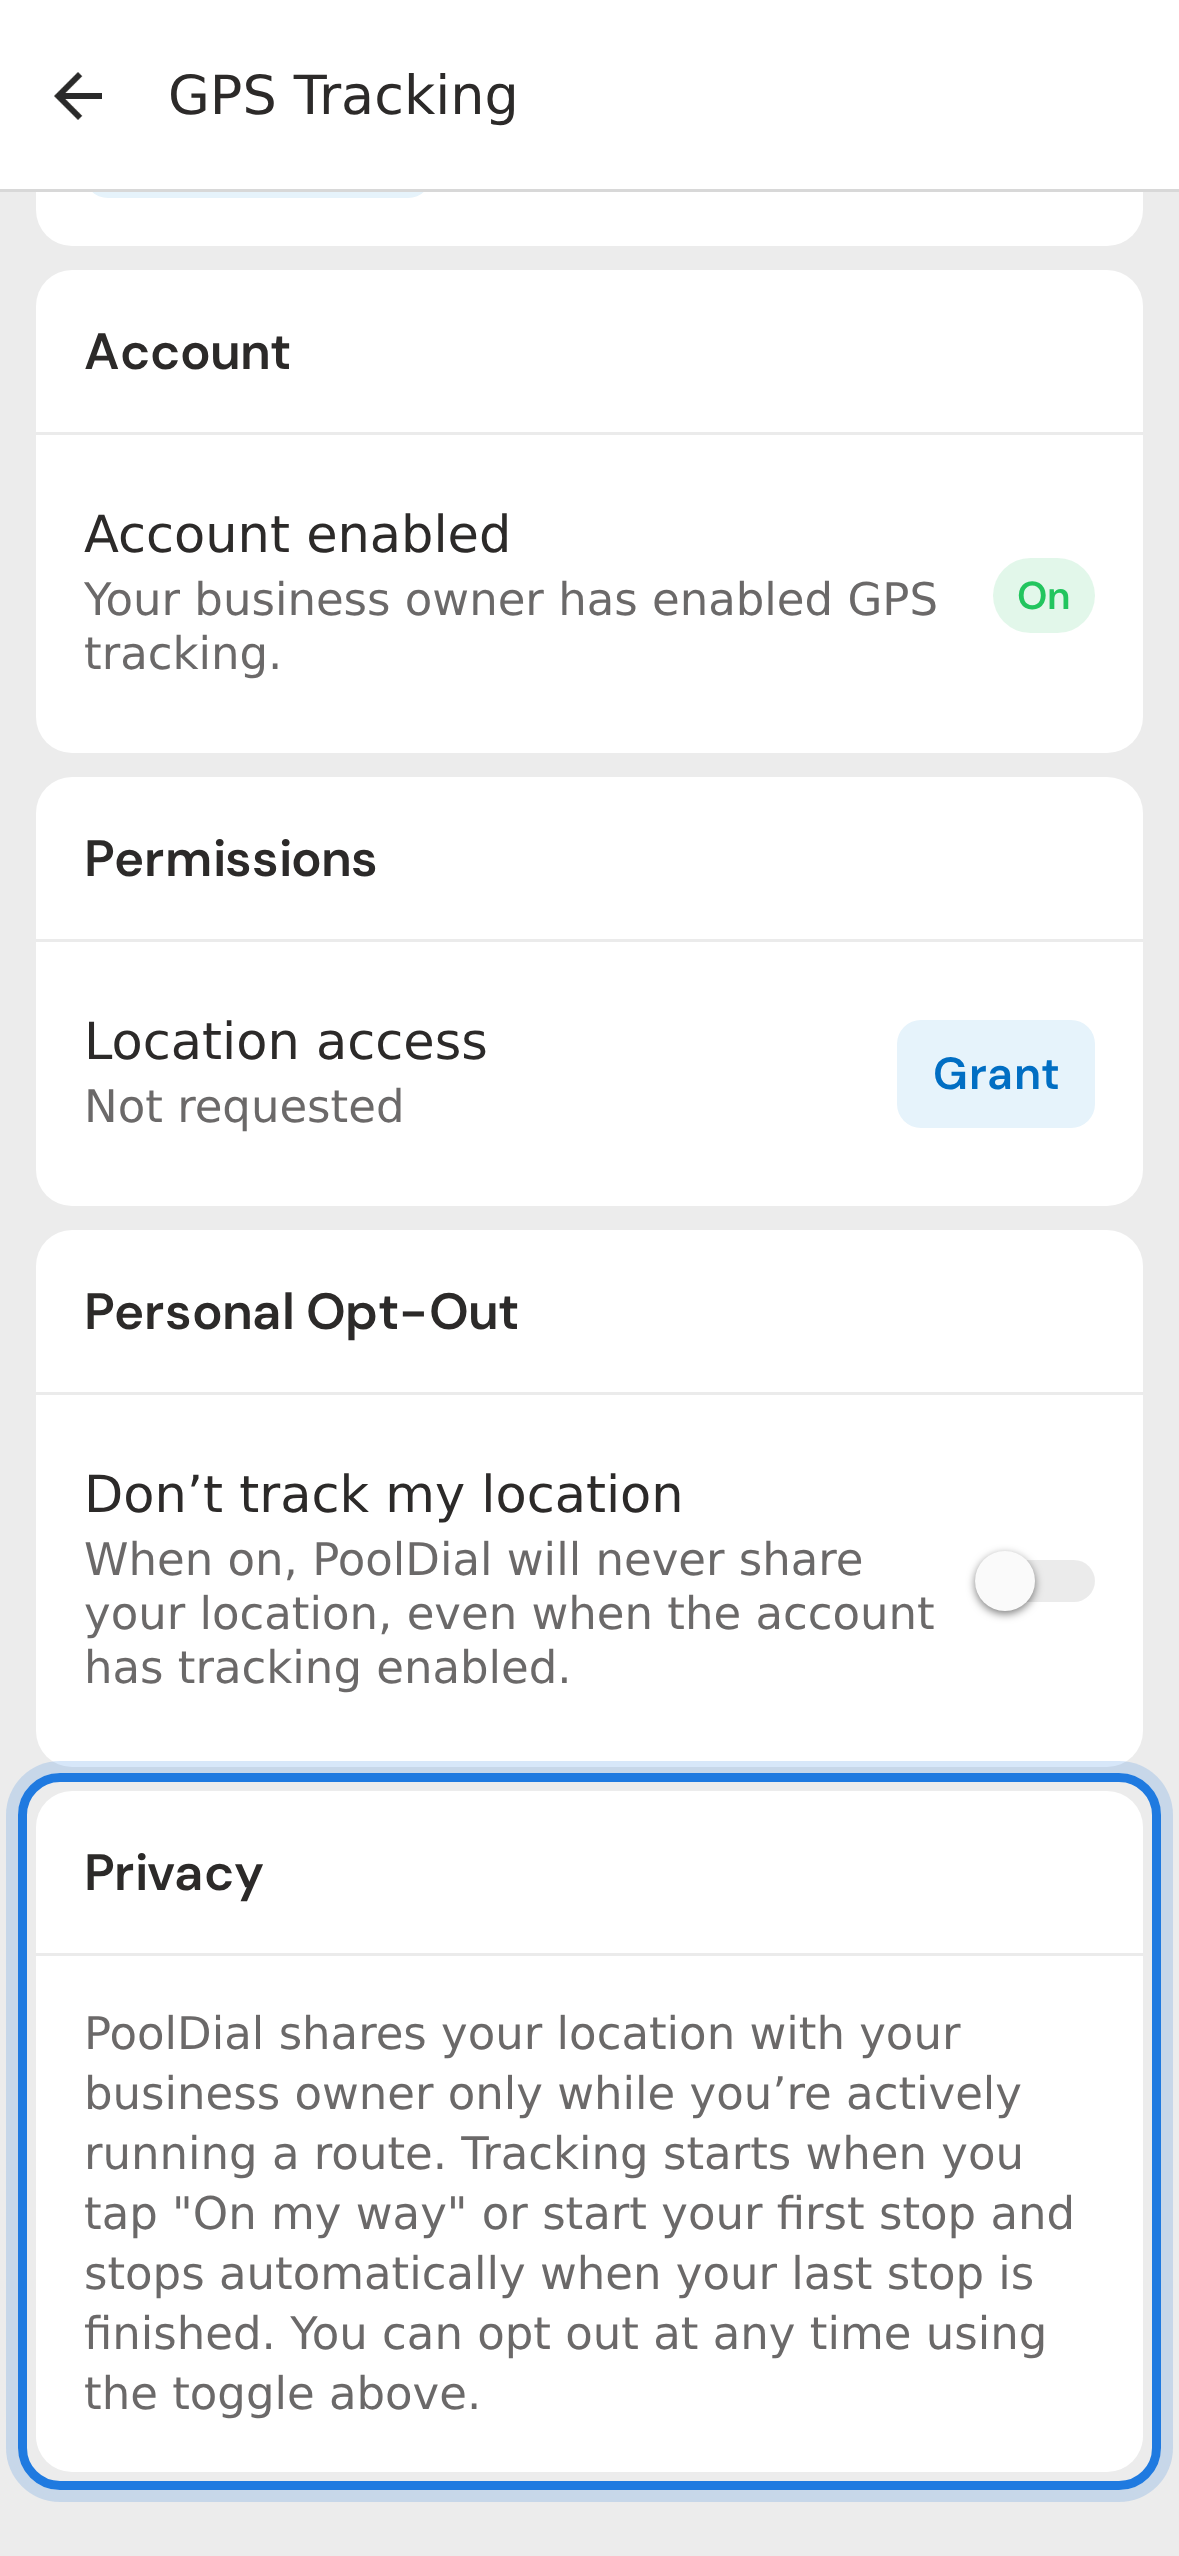
6. Privacy disclosure
Finally, the Privacy disclosure spells out exactly when tracking happens: only while you're actively running a route, never off-shift. Tracking stops automatically the moment your last stop is complete.
Not using PoolDial yet?
Manage your customers, routes, billing, and more — all in one place.
Start Free Trial