
How to Enable Autopay

Autopay automatically charges a customer saved card when their invoice is created. You can enable it per customer on their billing card, or when creating an invoice. There is also a setting to turn autopay on by default for all new customers. This guide walks through both the default setting and per-customer toggle.
This guide covers 5 steps and takes about a minute to complete.
Video Walkthrough
Prefer to watch? Here's a full video walkthrough of How to Enable Autopay.
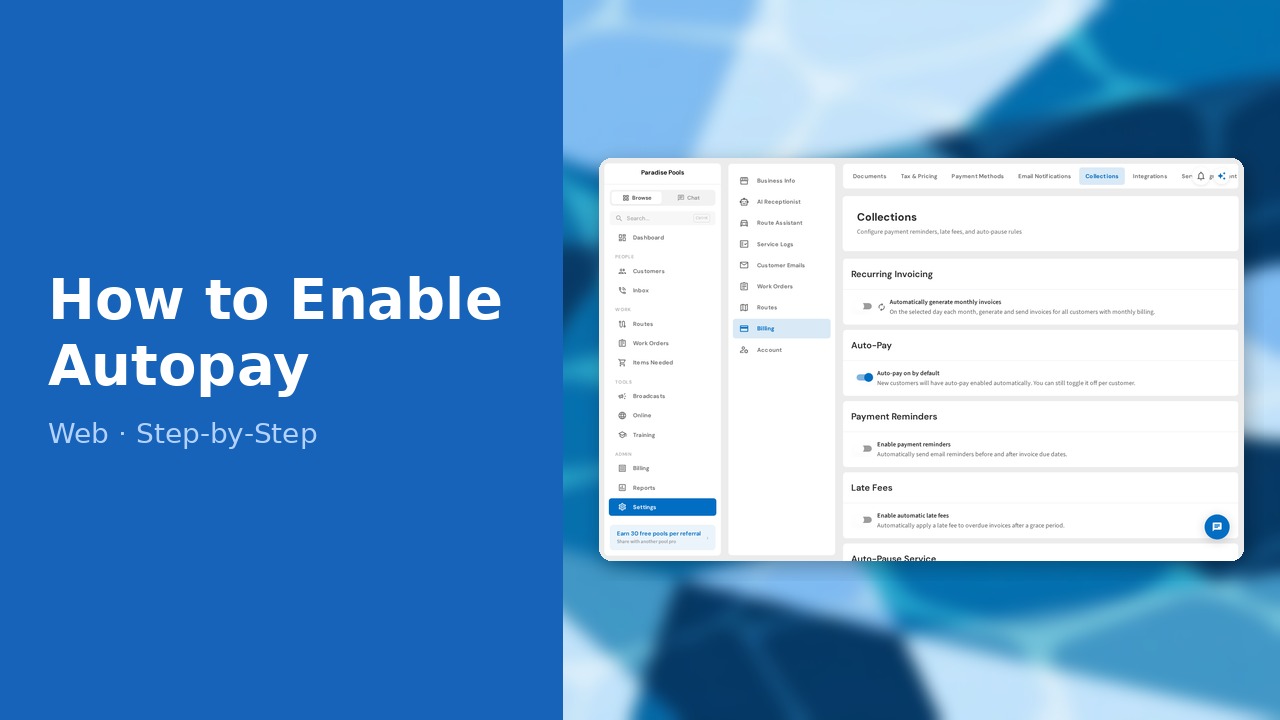
1. Go to Settings, Billing, Collections
Go to Settings in the sidebar, click Billing in the settings categories, then select the Collections tab.

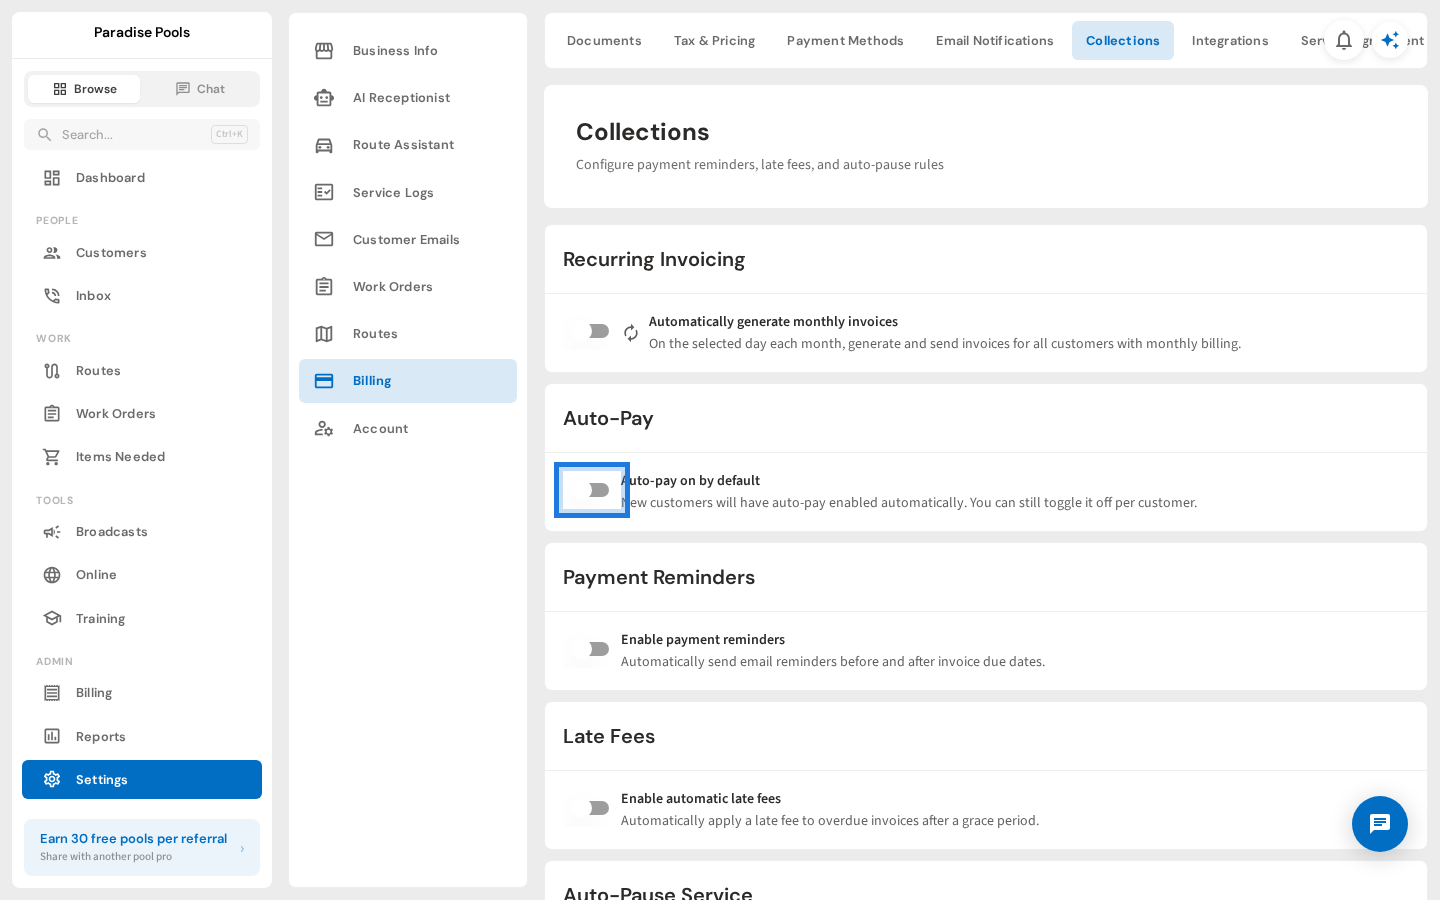
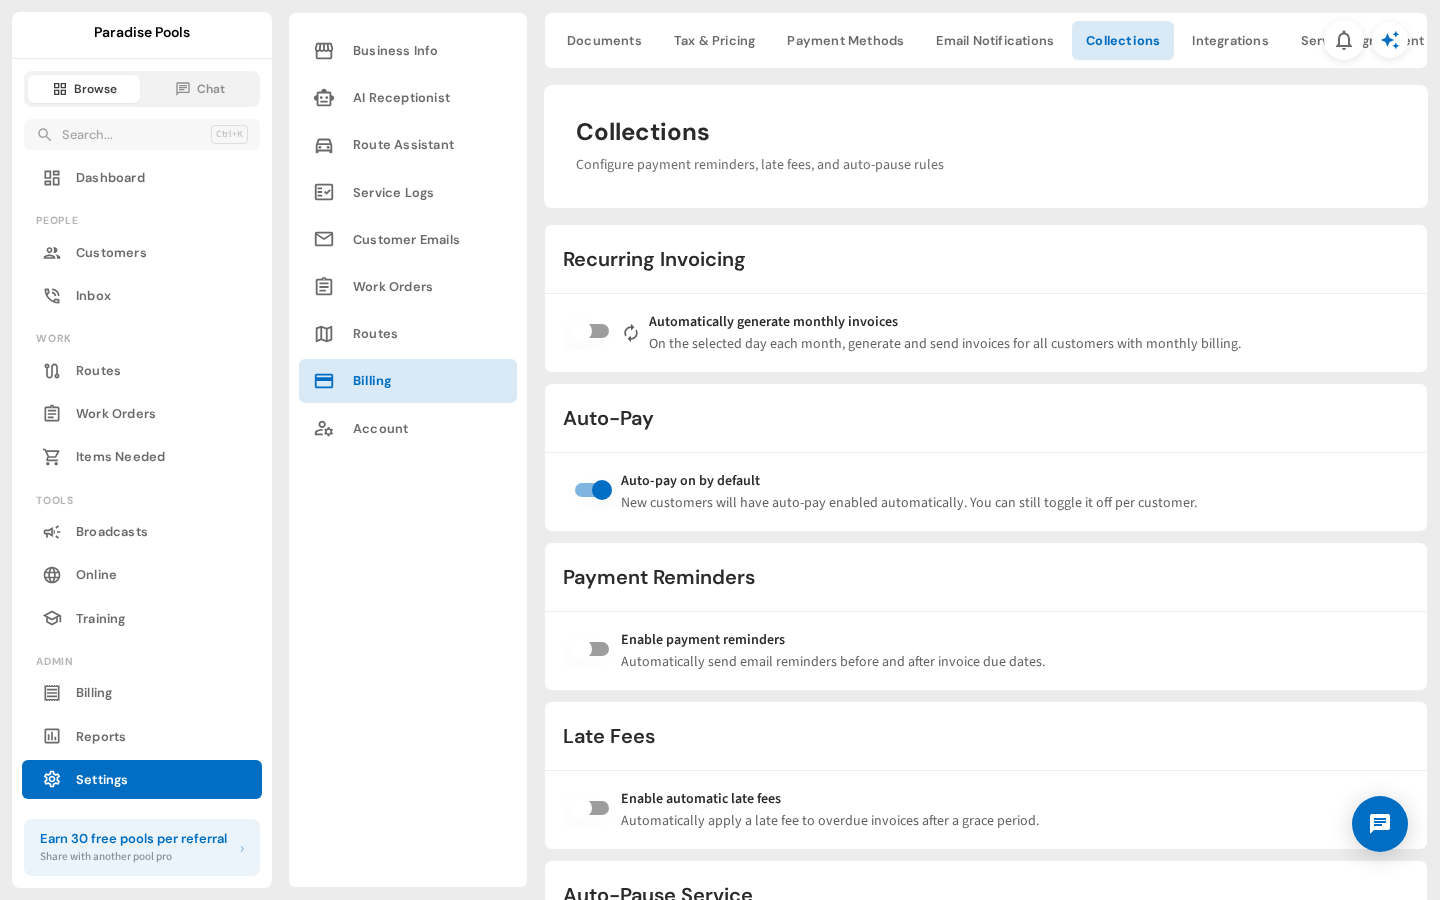
2. Turn on Auto-pay on by default
In the Auto-Pay card, turn on Auto-pay on by default. New customers will automatically have autopay enabled.
3. Set charge days and save
Click Save Changes to save the setting. Autopay customers will be charged automatically when their invoice is created.
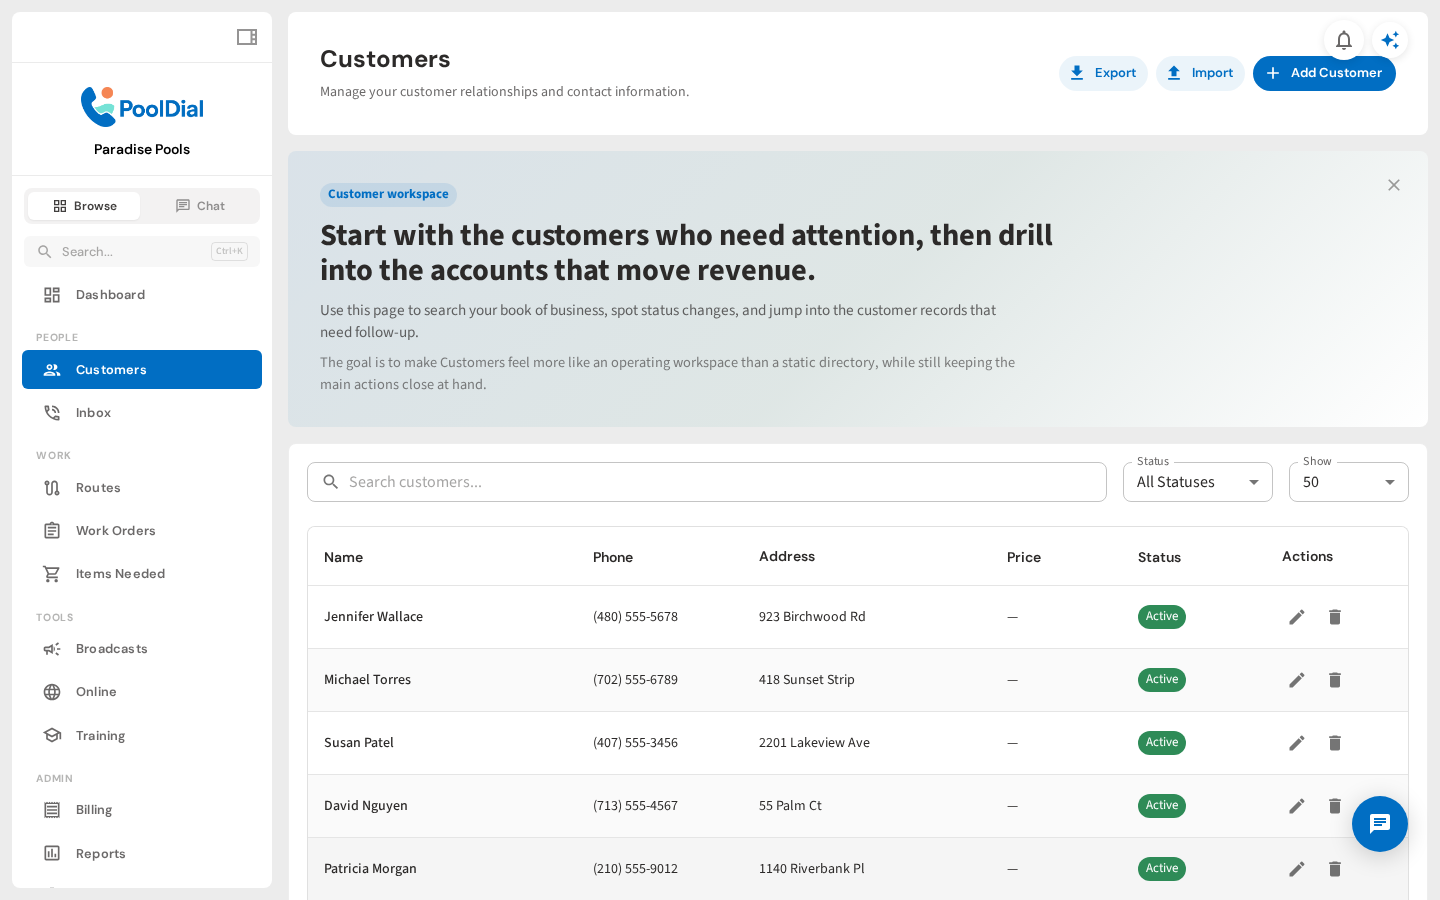
4. Go to a customer
Now go to an individual customer. Click Customers in the sidebar, then select the customer you want to enable autopay for.
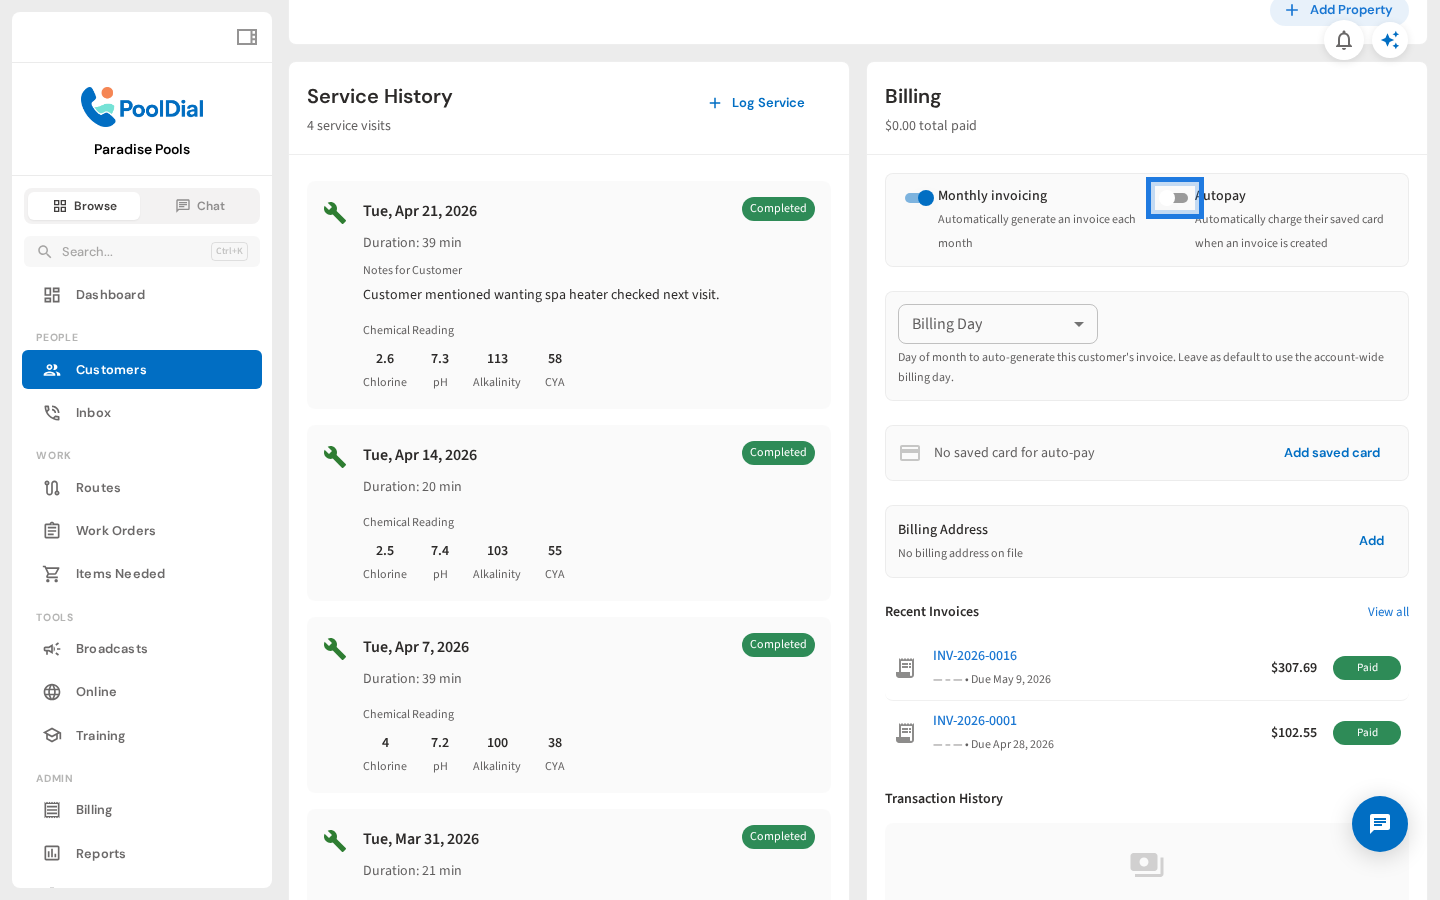
5. Enable Autopay for this customer
On the customer detail page, find the Billing card. Turn on the Autopay toggle. The customer also needs a saved card on file for charges to go through automatically.
Not using PoolDial yet?
Manage your customers, routes, billing, and more — all in one place.
Start Free Trial