
How to Set Up the AI Receptionist (Web)

This guide walks you through how to set up the ai receptionist (web) in PoolDial, step by step.
This guide covers 6 steps and takes about a minute to complete.
Video Walkthrough
Prefer to watch? Here's a full video walkthrough of How to Set Up the AI Receptionist (Web).
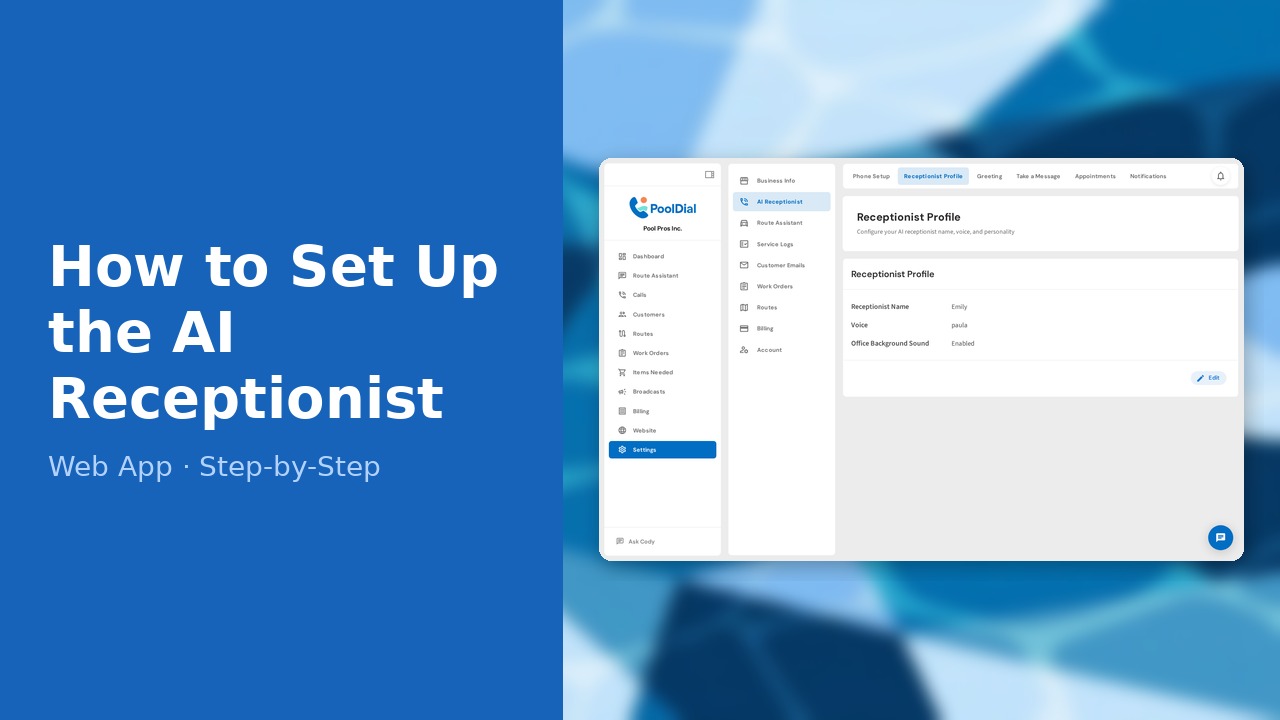
1. Go to Settings — AI Receptionist
Click Settings in the left sidebar, then select AI Receptionist. PoolDial's AI receptionist answers calls, takes messages, and books appointments automatically.
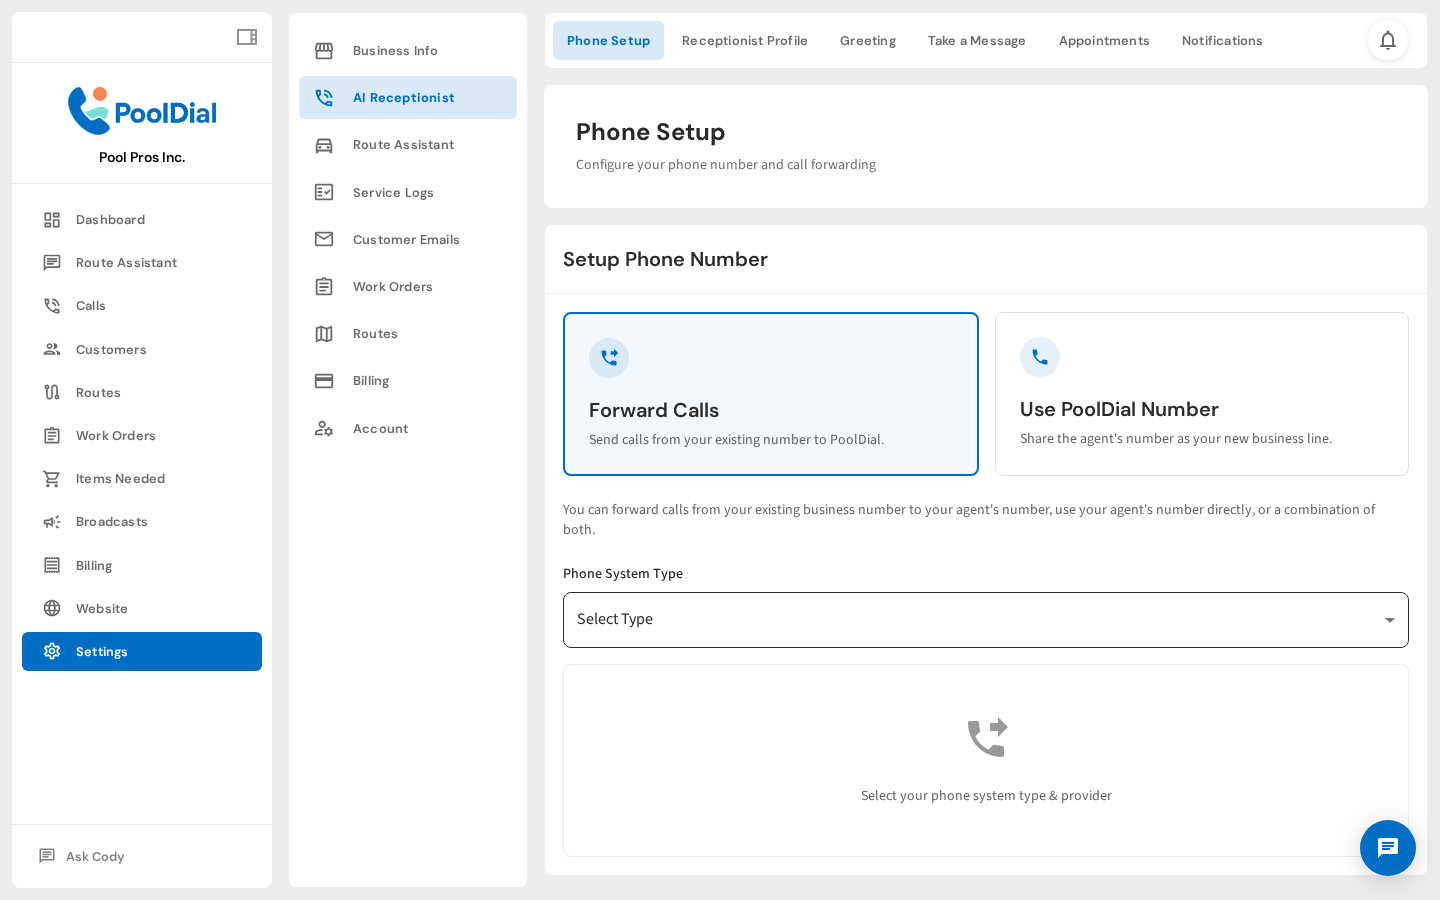
2. Phone Setup — choose how calls reach the receptionist
On the Phone Setup tab, choose how calls reach the receptionist. Select Forward Calls to route your existing business number, then pick your carrier to get step-by-step forwarding instructions.
3. Receptionist Profile — set name and voice
On the Receptionist Profile tab, give your AI a name and choose a voice. Your customers hear this name when they call — pick something that fits your brand.

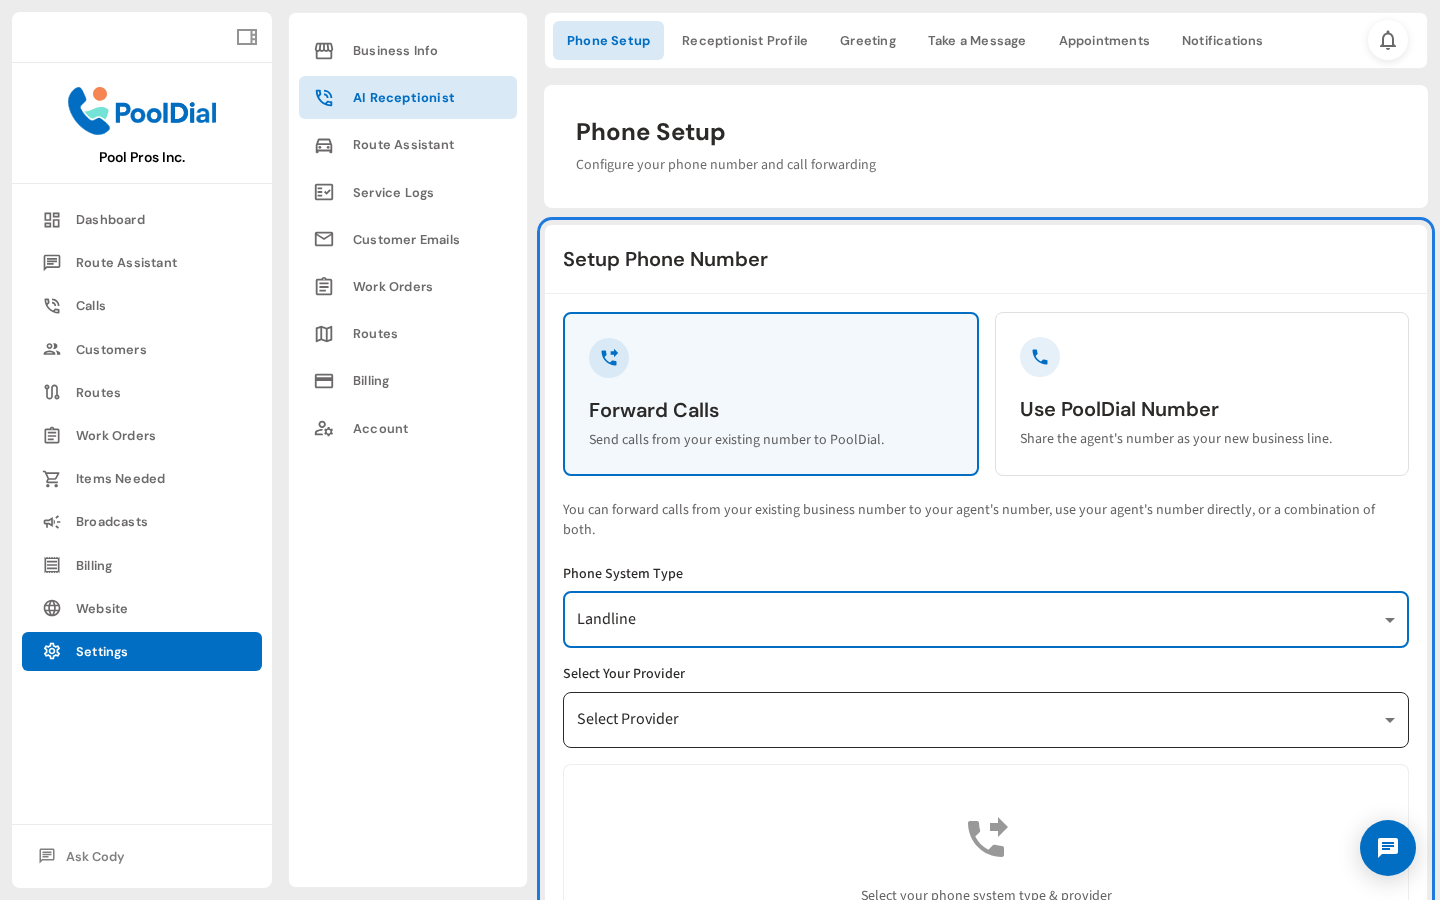
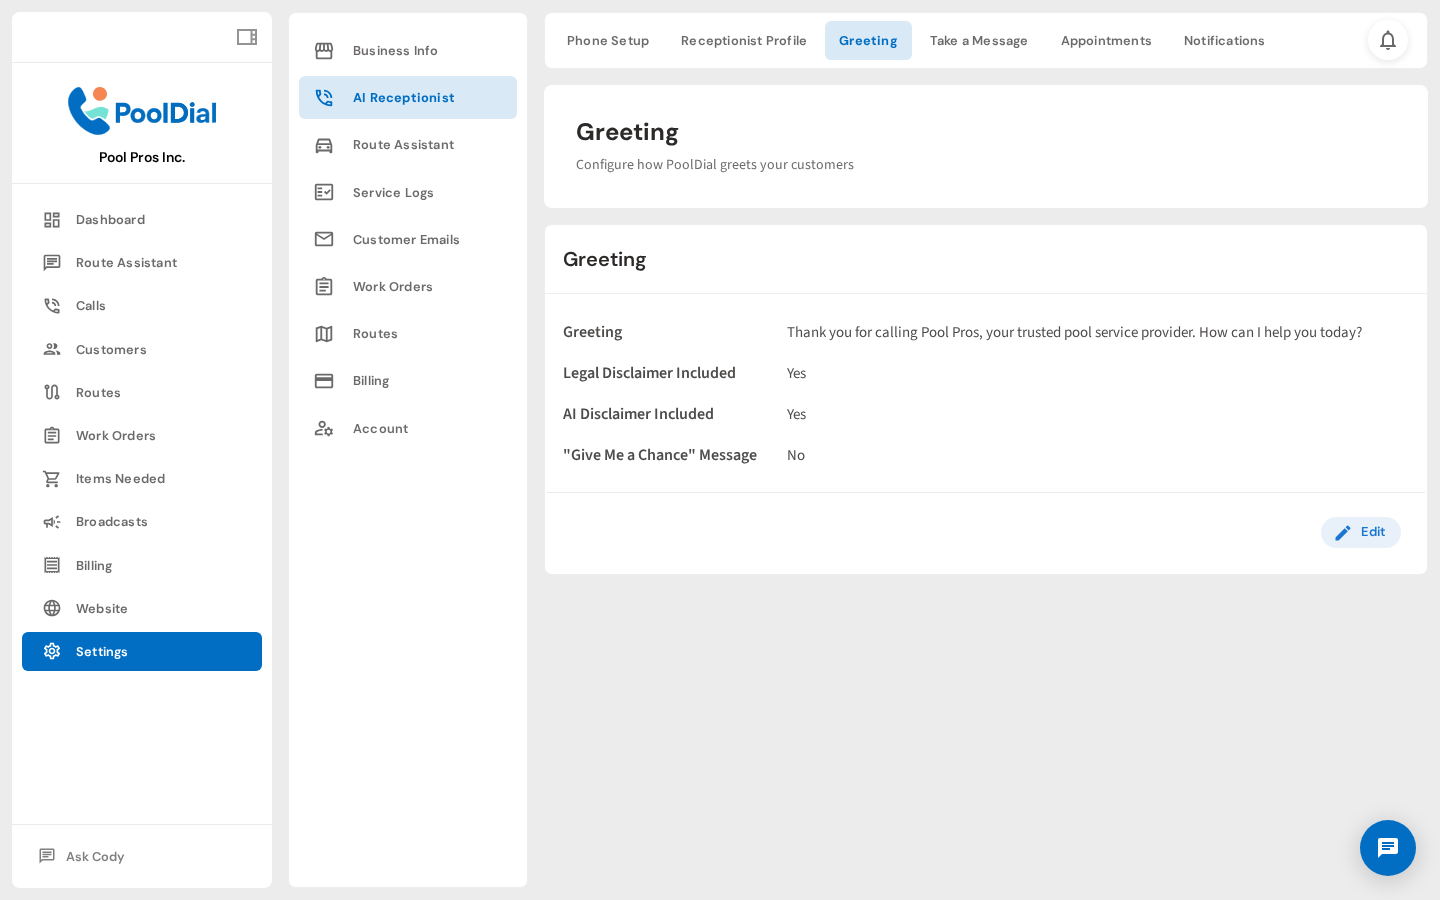
4. Greeting — customize the opening message callers hear
On the Greeting tab, customize the opening message callers hear. Toggle the recording disclosure and AI identification options to match your legal and transparency preferences.
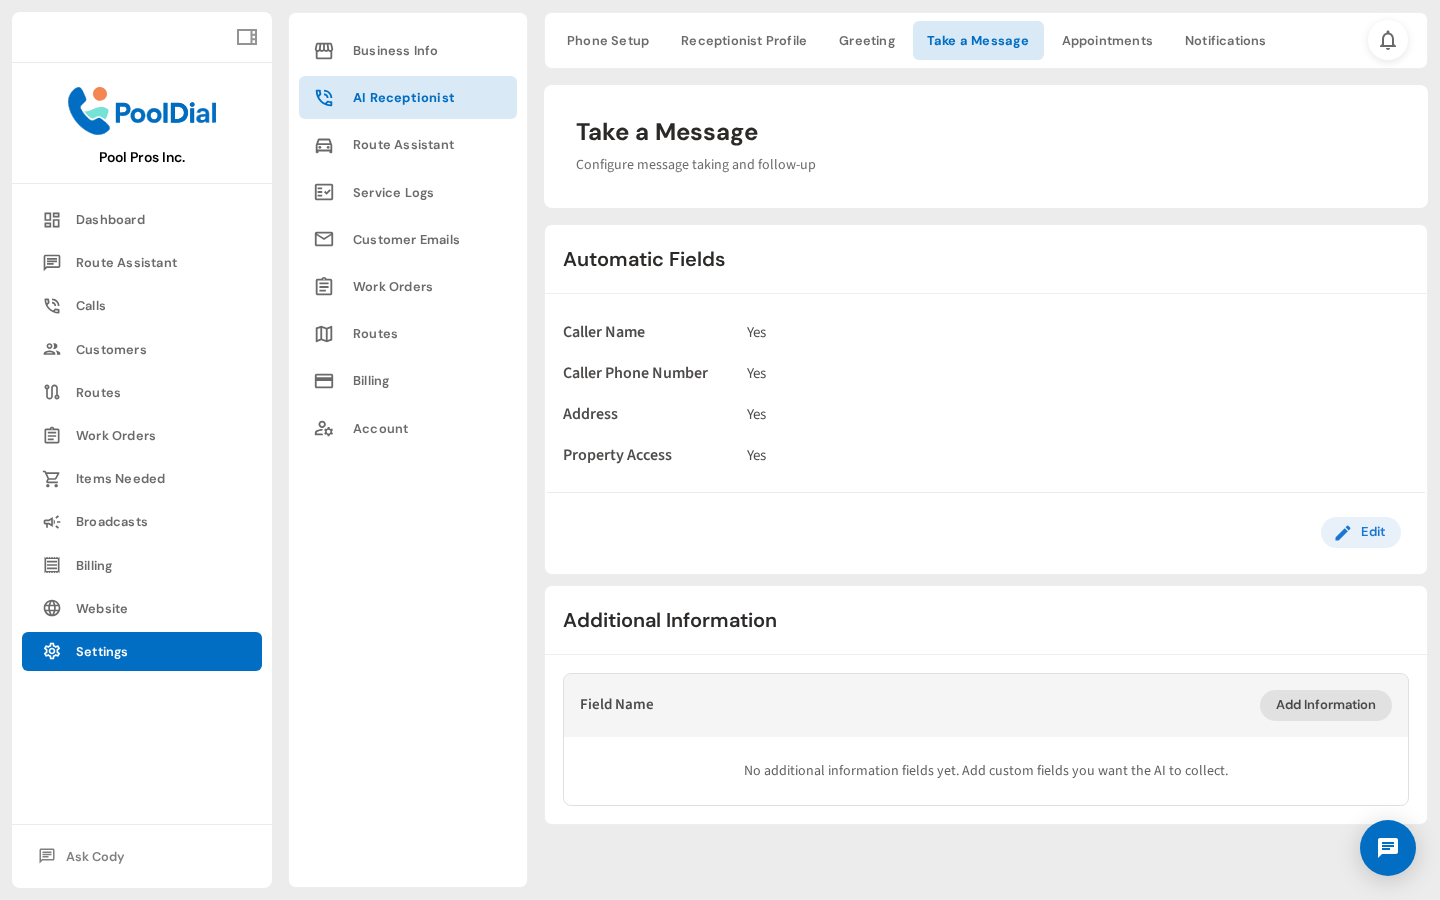
5. Take a Message — choose what info the receptionist collects
On the Take a Message tab, choose which details the receptionist collects from every caller. You can also add custom questions specific to your business.
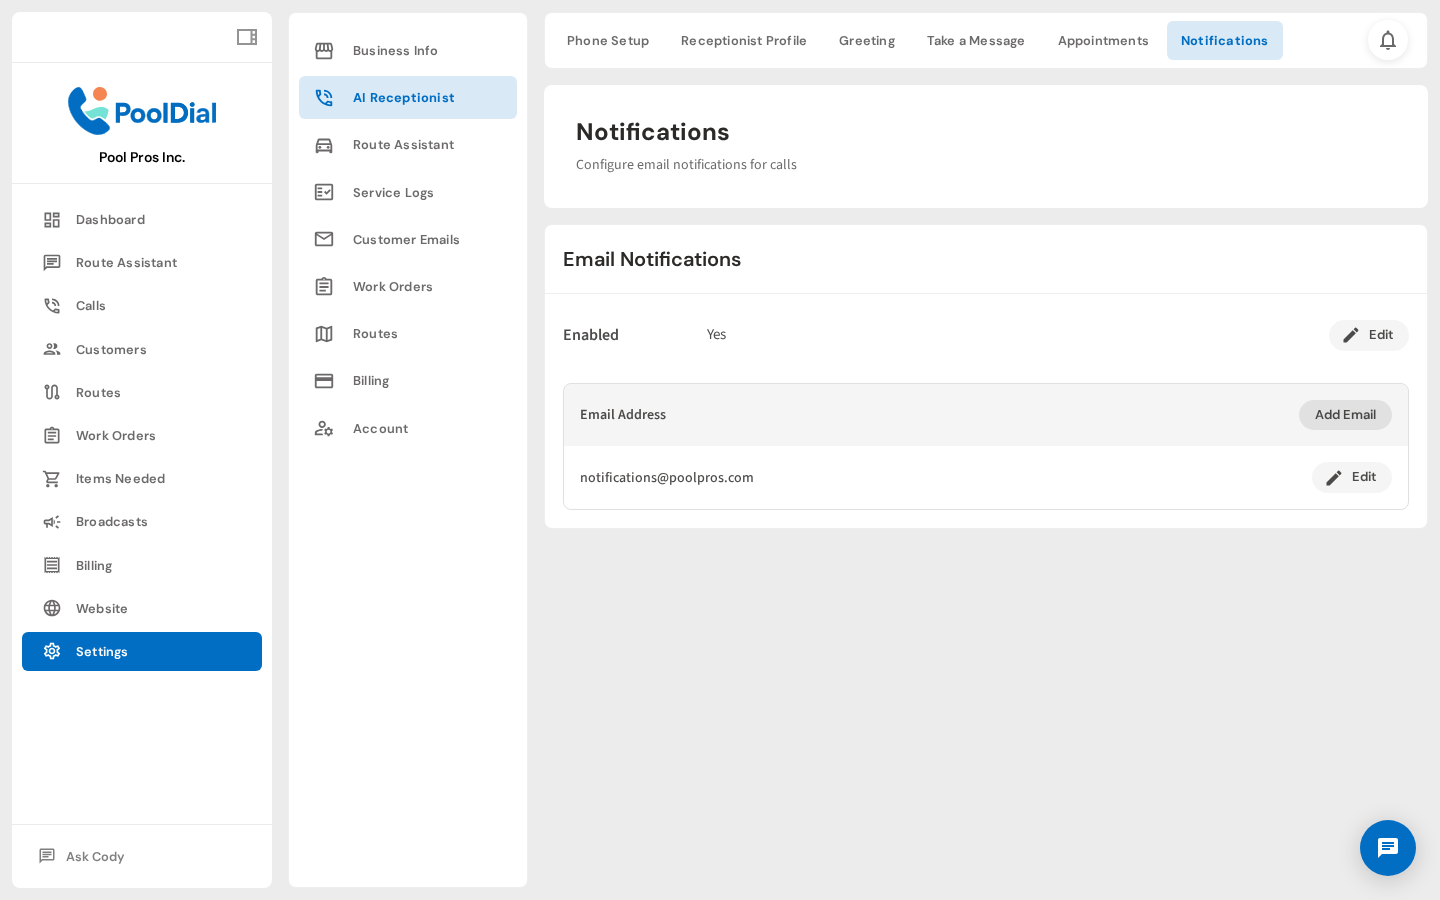
6. Notifications — emails receive call summaries
On the Notifications tab, add the email addresses that should receive a summary whenever the receptionist takes a call. Multiple addresses are supported.
Not using PoolDial yet?
Manage your customers, routes, billing, and more — all in one place.
Start Free Trial