
How to Add a Customer (Mobile)

This guide walks you through how to add a customer (mobile) in PoolDial, step by step.
This guide covers 10 steps and takes about a minute to complete.
Video Walkthrough
Prefer to watch? Here's a full video walkthrough of How to Add a Customer (Mobile).
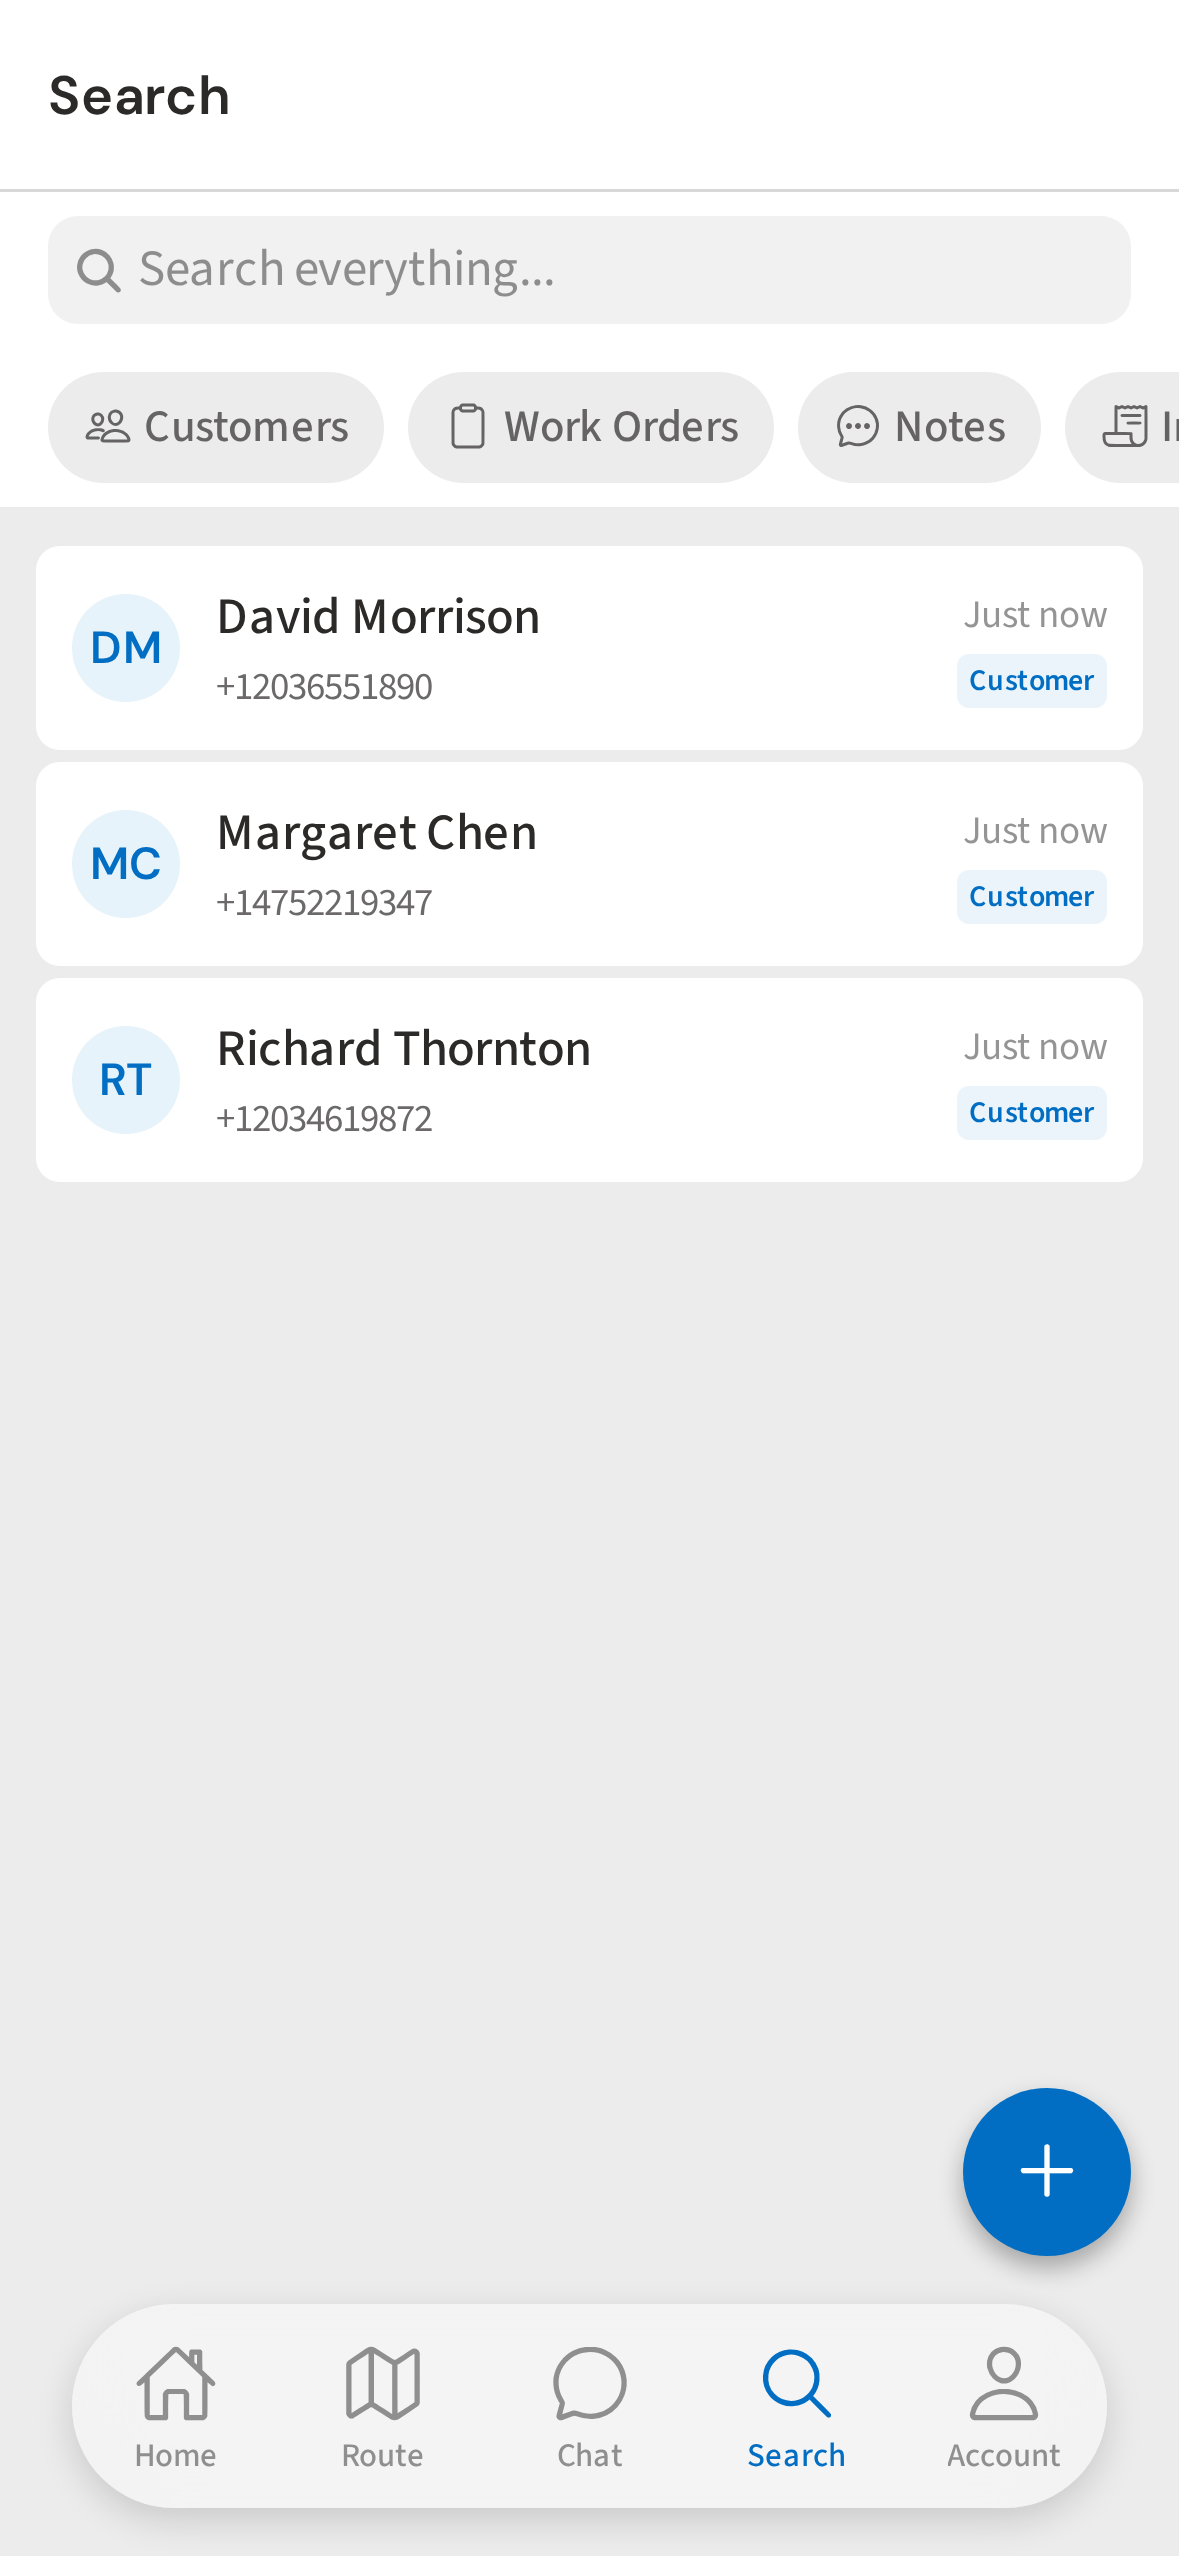
1. Tap the Search tab
Open the Search tab from the bottom nav — this is where you find existing customers and add new ones.
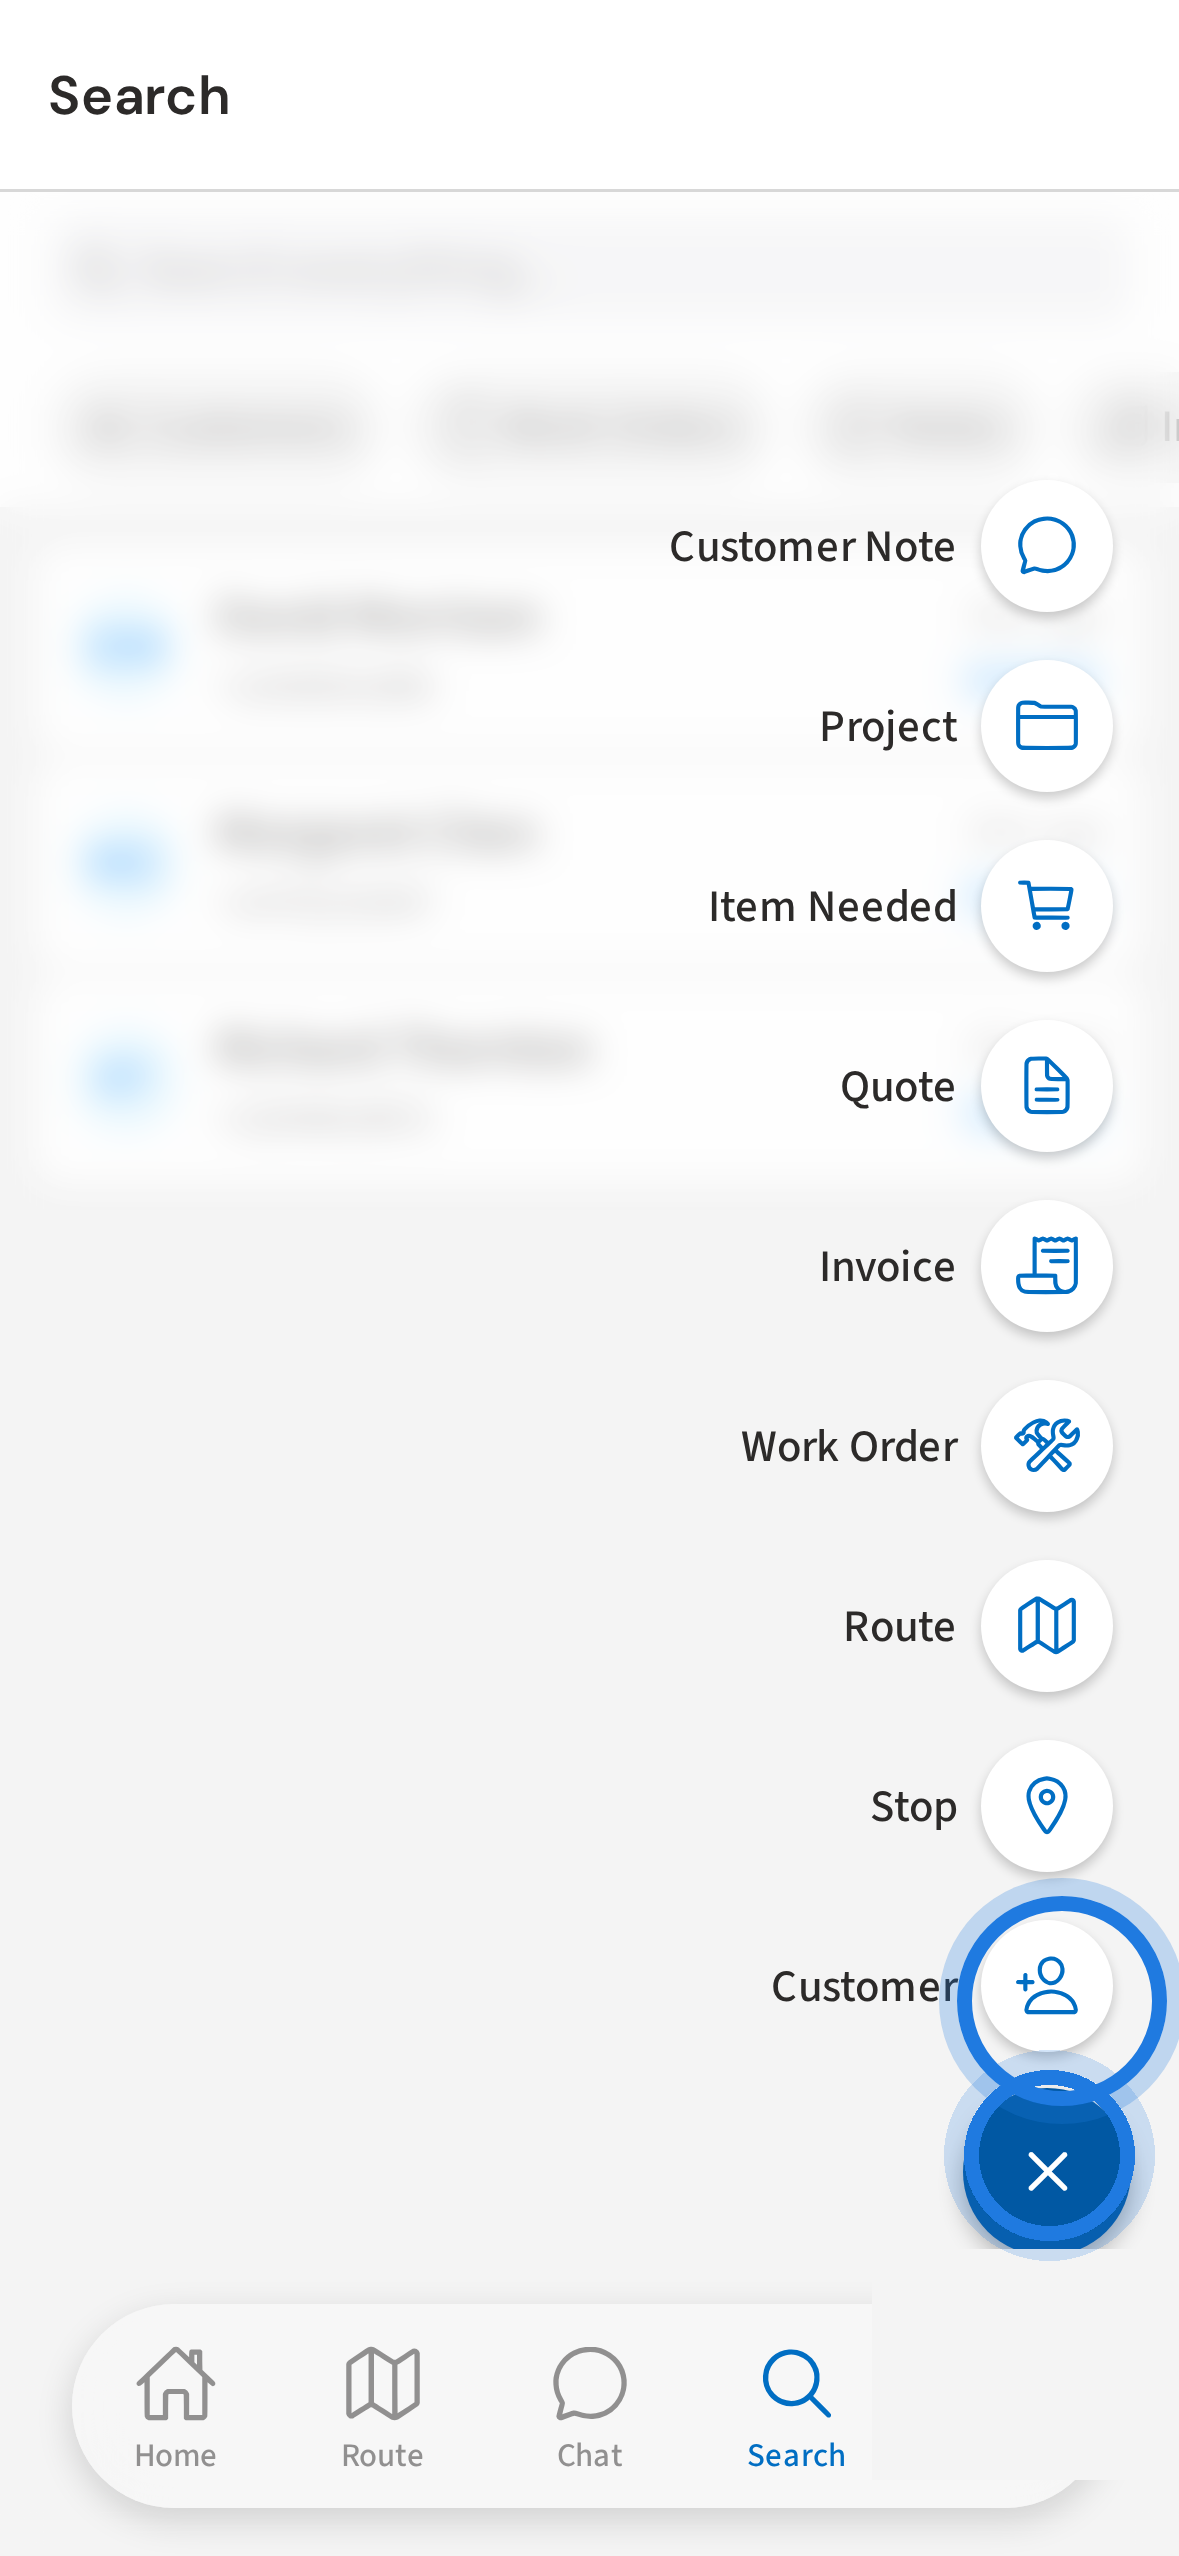
2. Tap + to open the quick-add menu
Tap the + floating button in the bottom right. This opens a quick-add menu.
3. FAB menu open — tap Customer
A menu fans out with shortcuts to add different things. Tap Customer to start a new customer record.
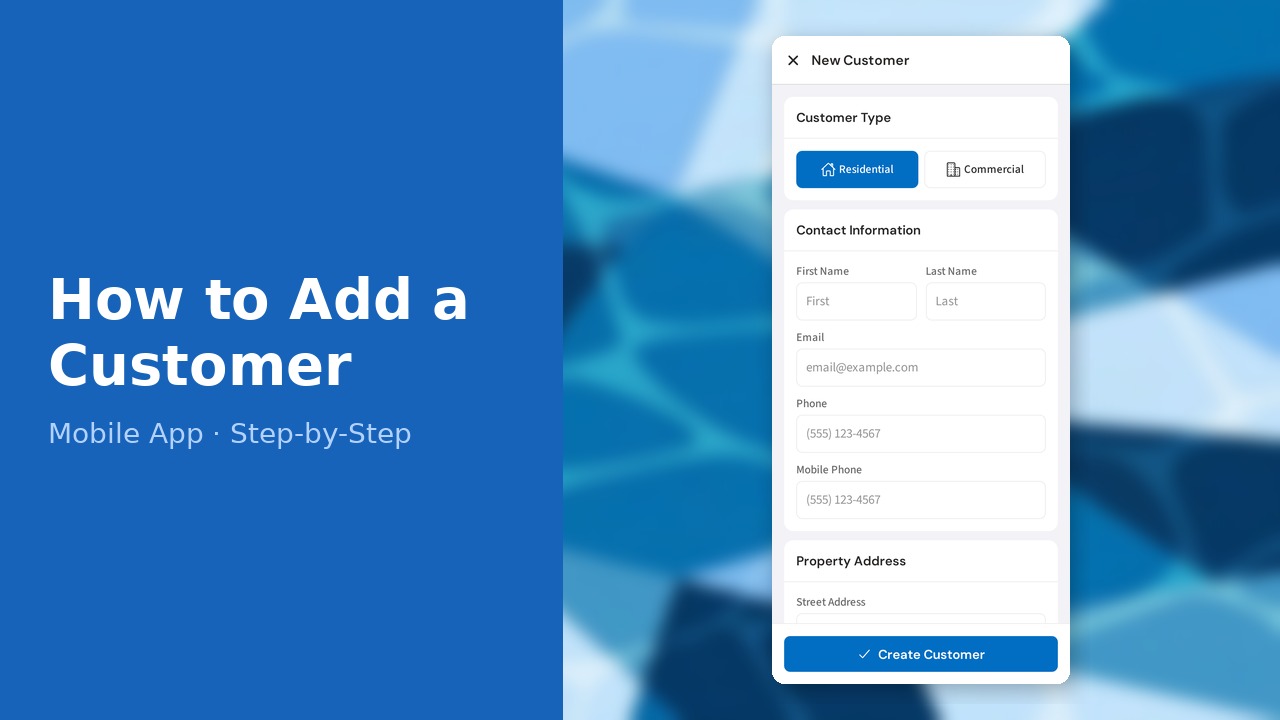
4. The Add Customer form
The Add Customer form opens. Scroll down to fill in contact info, address, and notes — none of the fields are required, but a name and phone number are a good start.
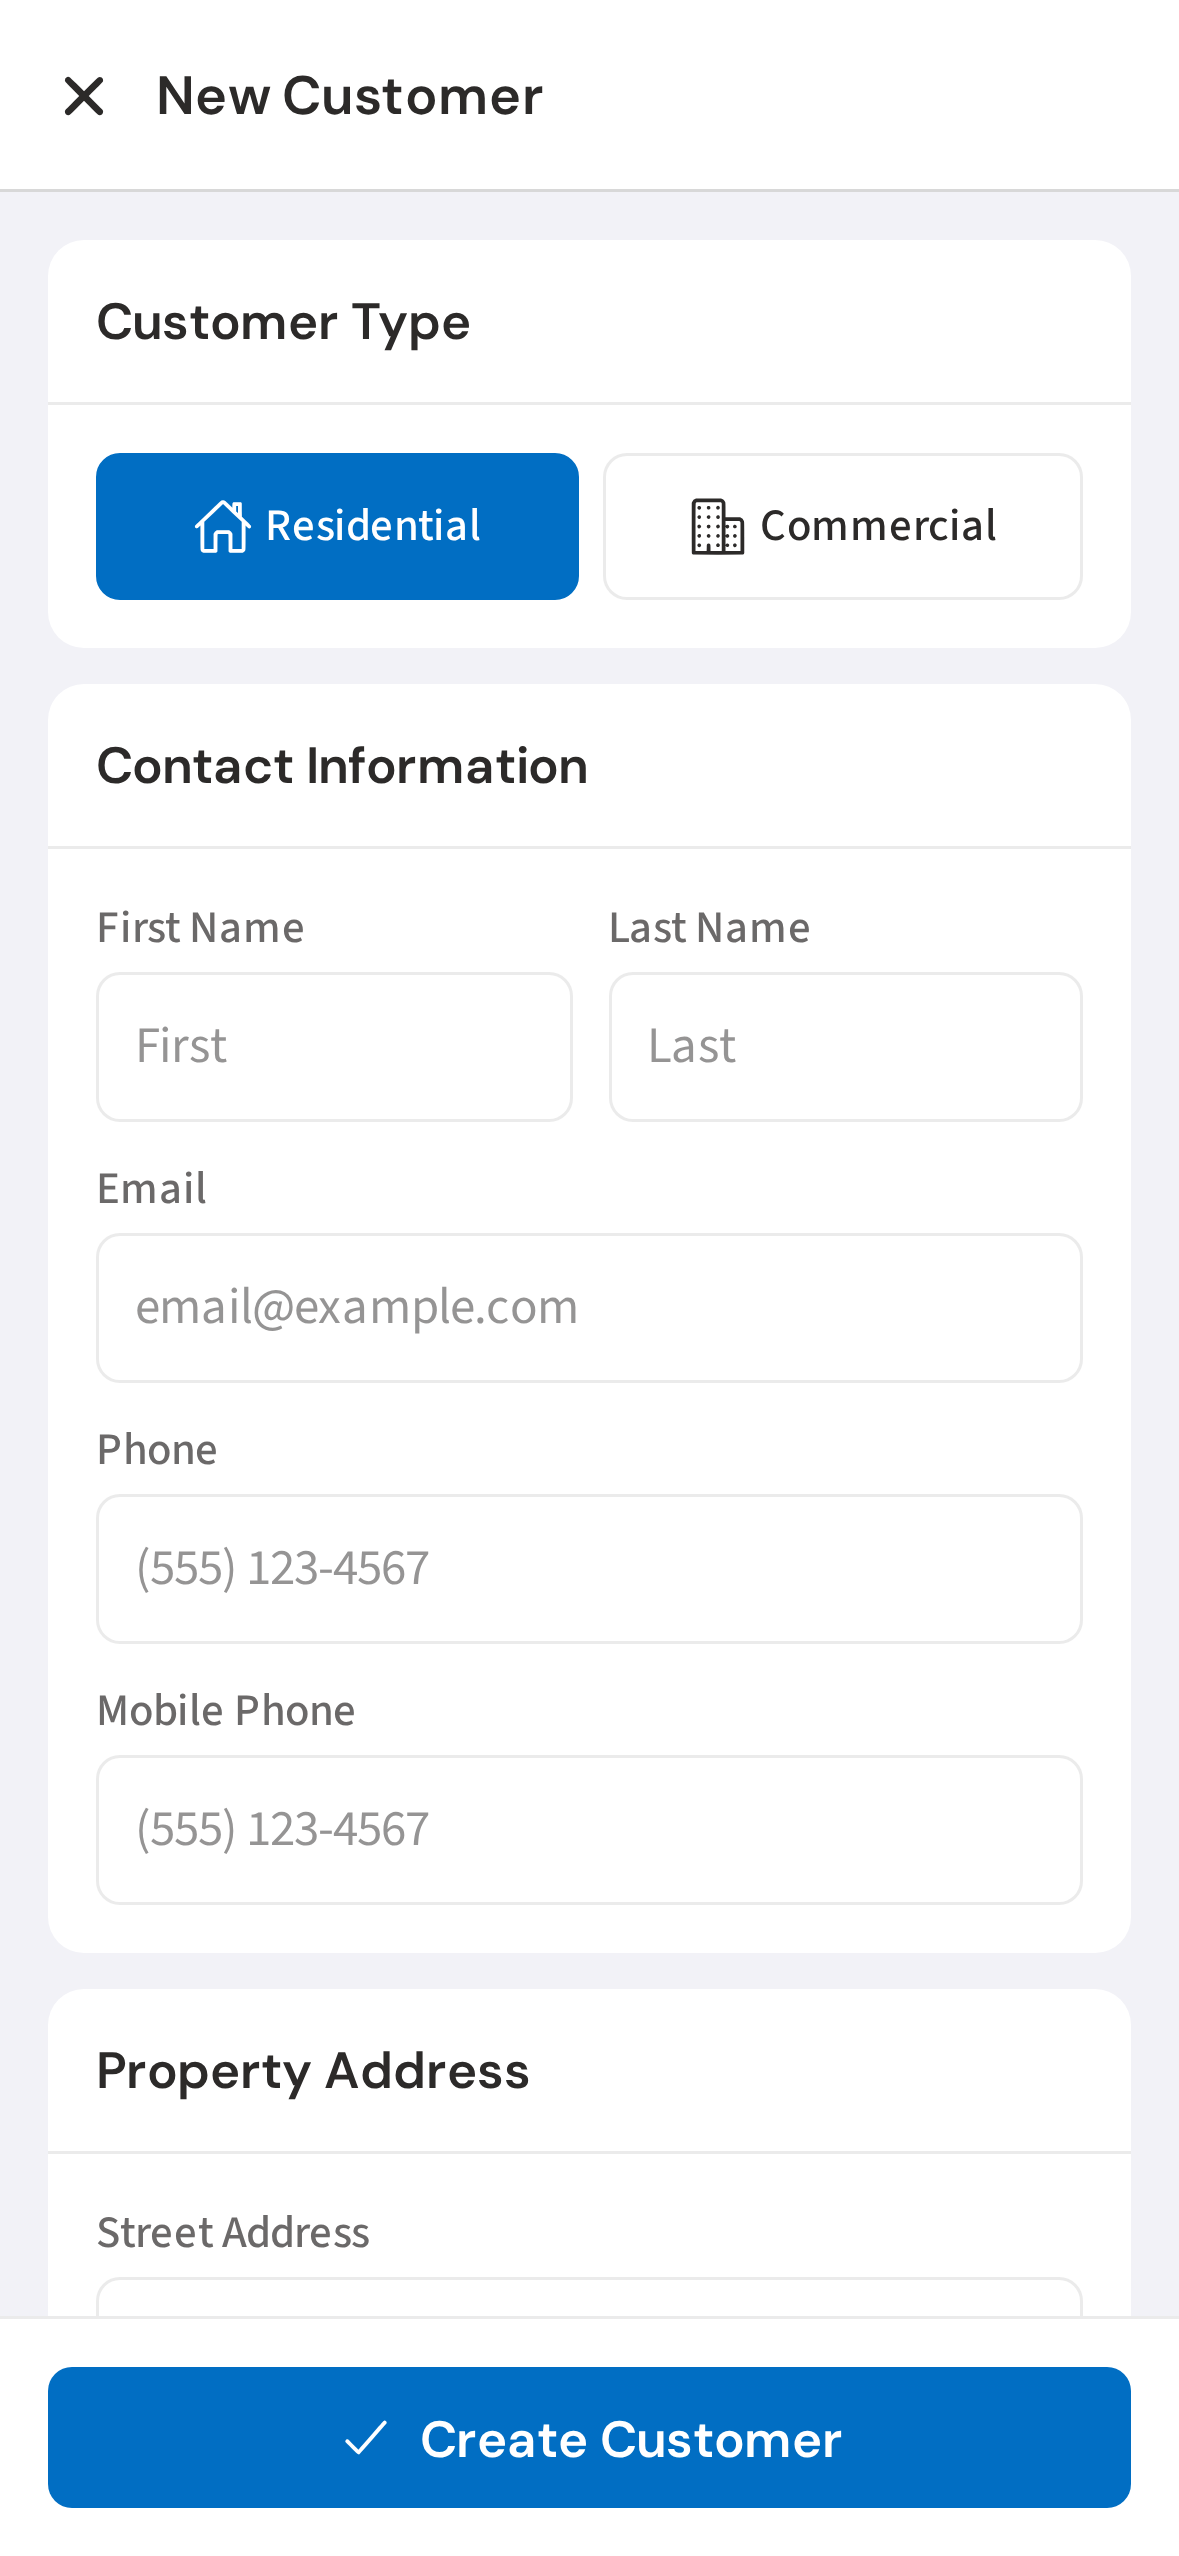
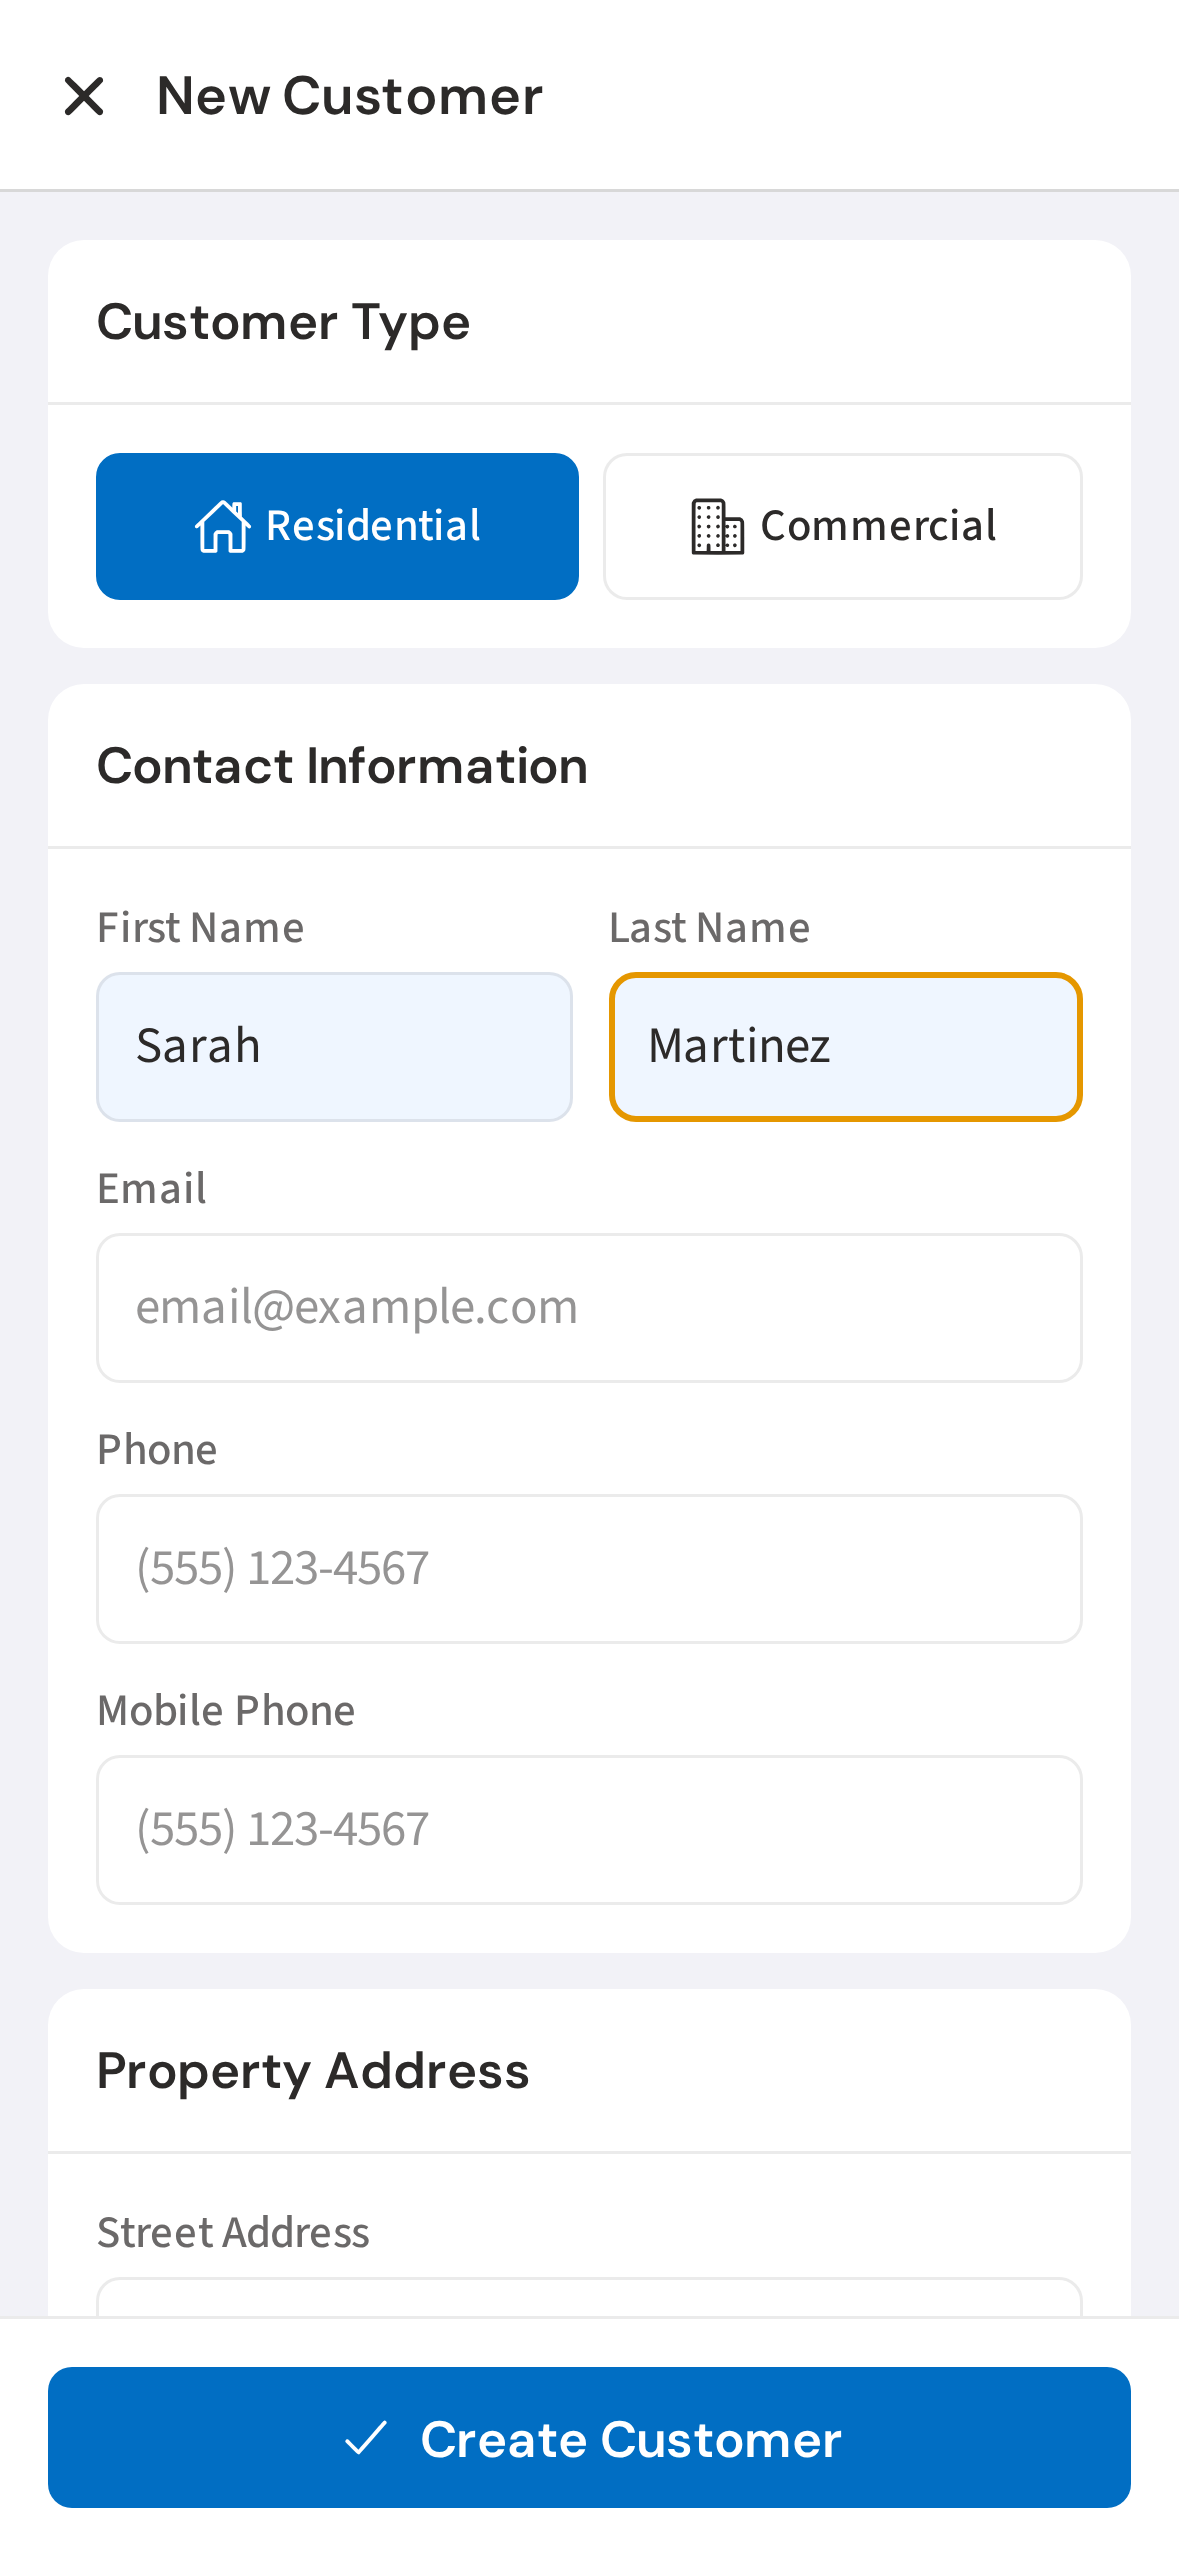
5. Enter the customer's name
Type the customer's first and last name. This is what shows up on their stop card when you're running your route.
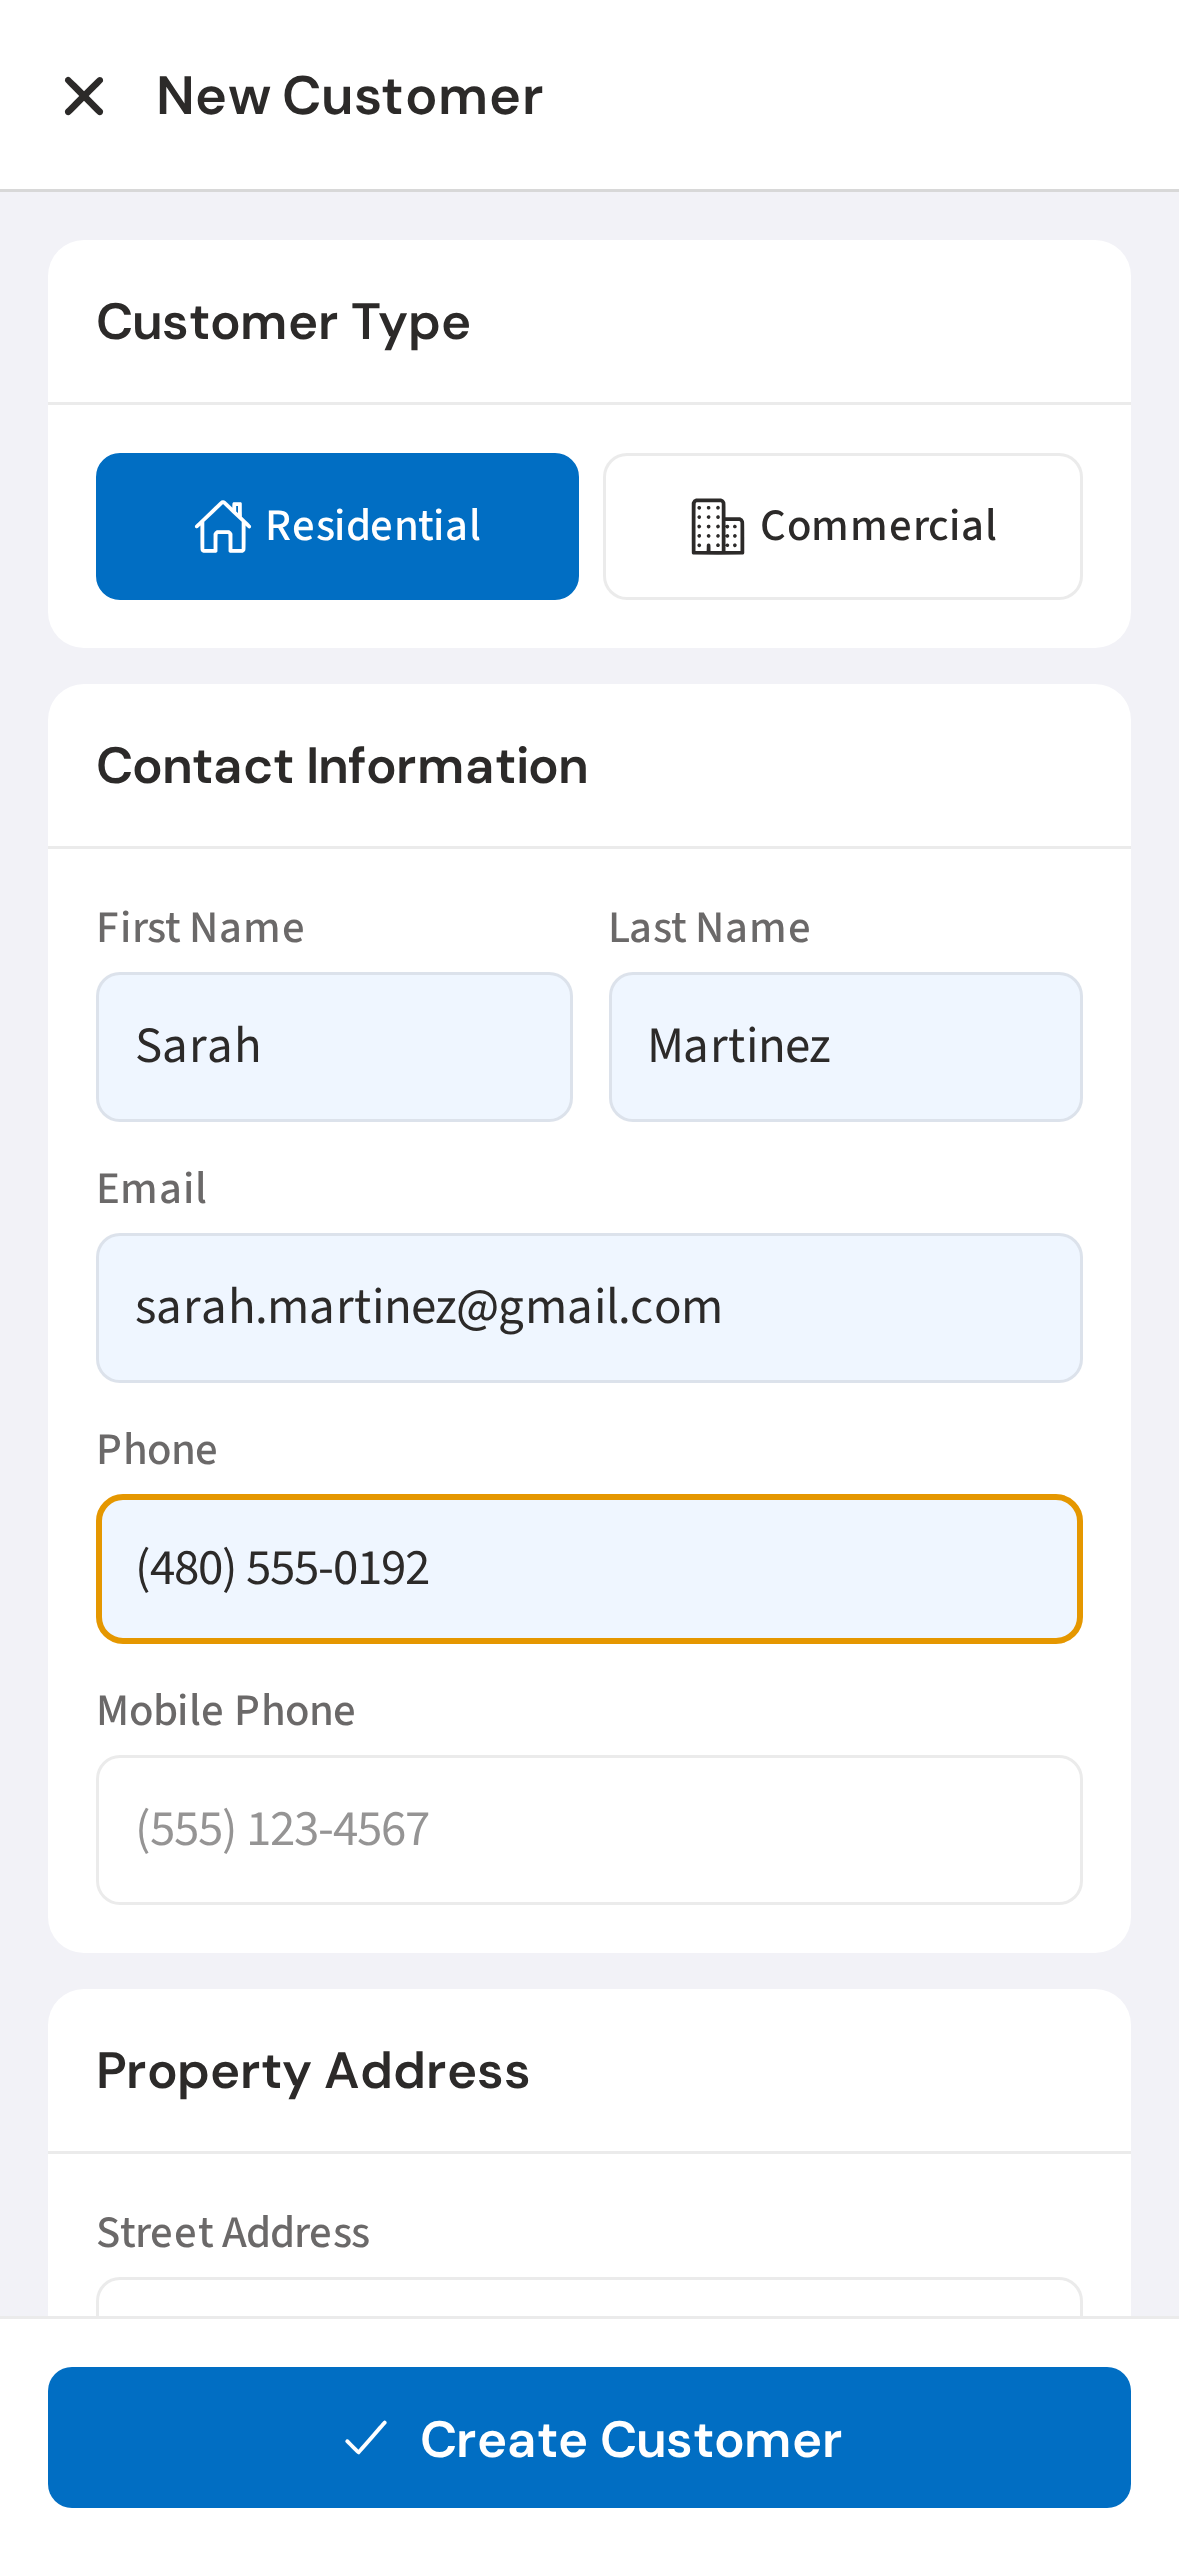
6. Enter phone and email
Add a phone number and email. PoolDial will use these for automated reminders and call routing — so make sure the phone number is right.
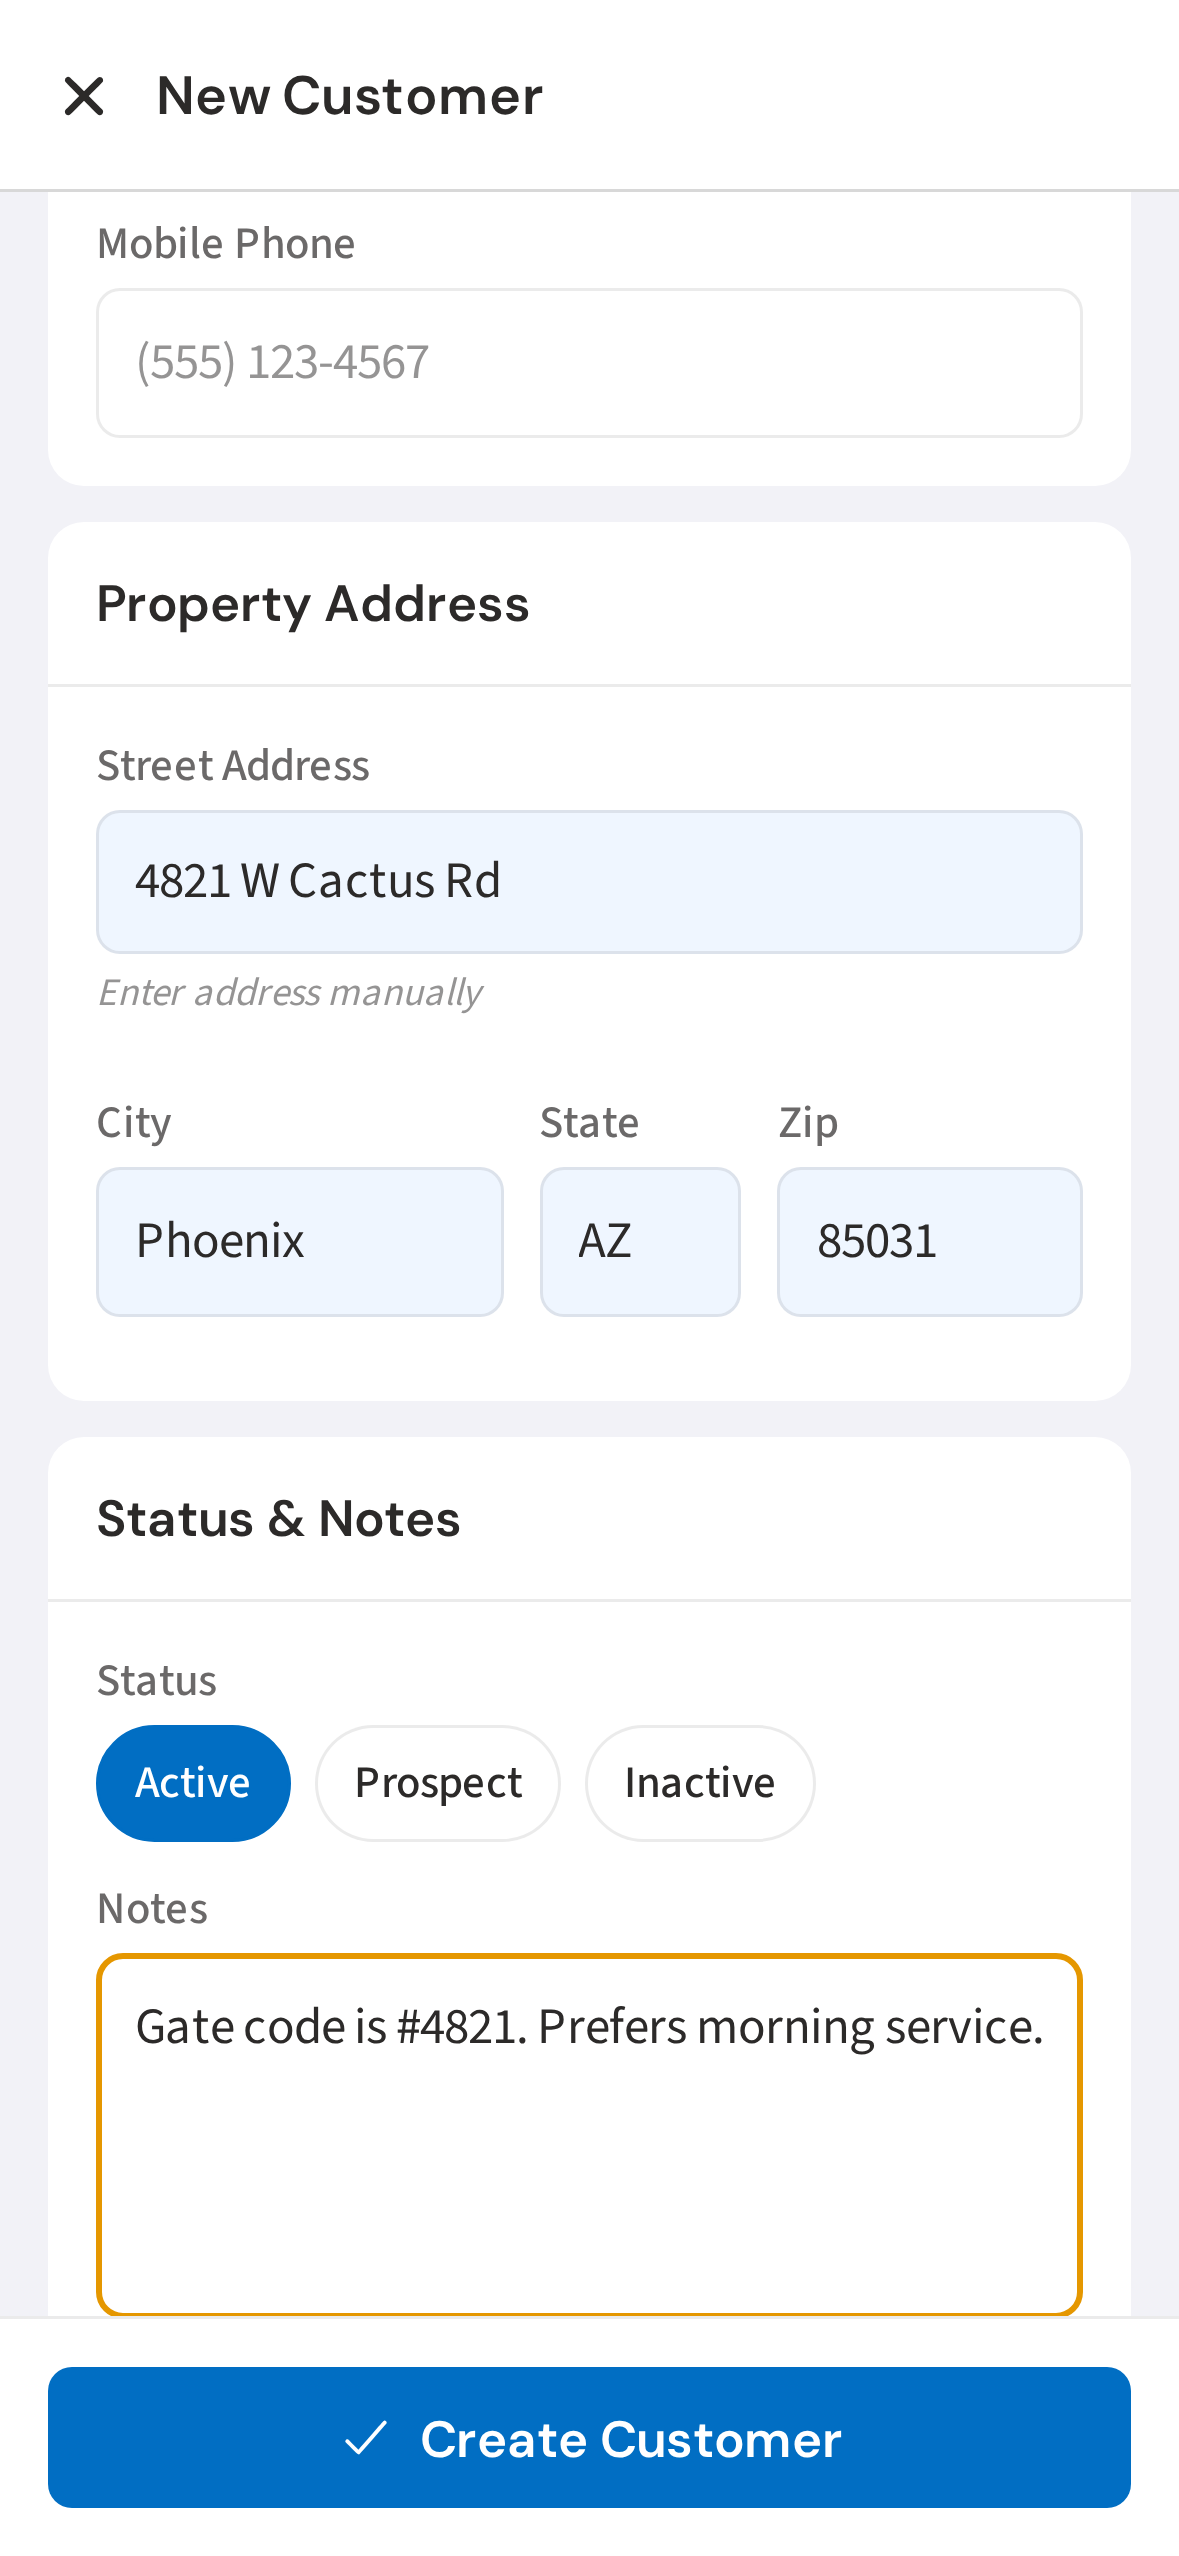
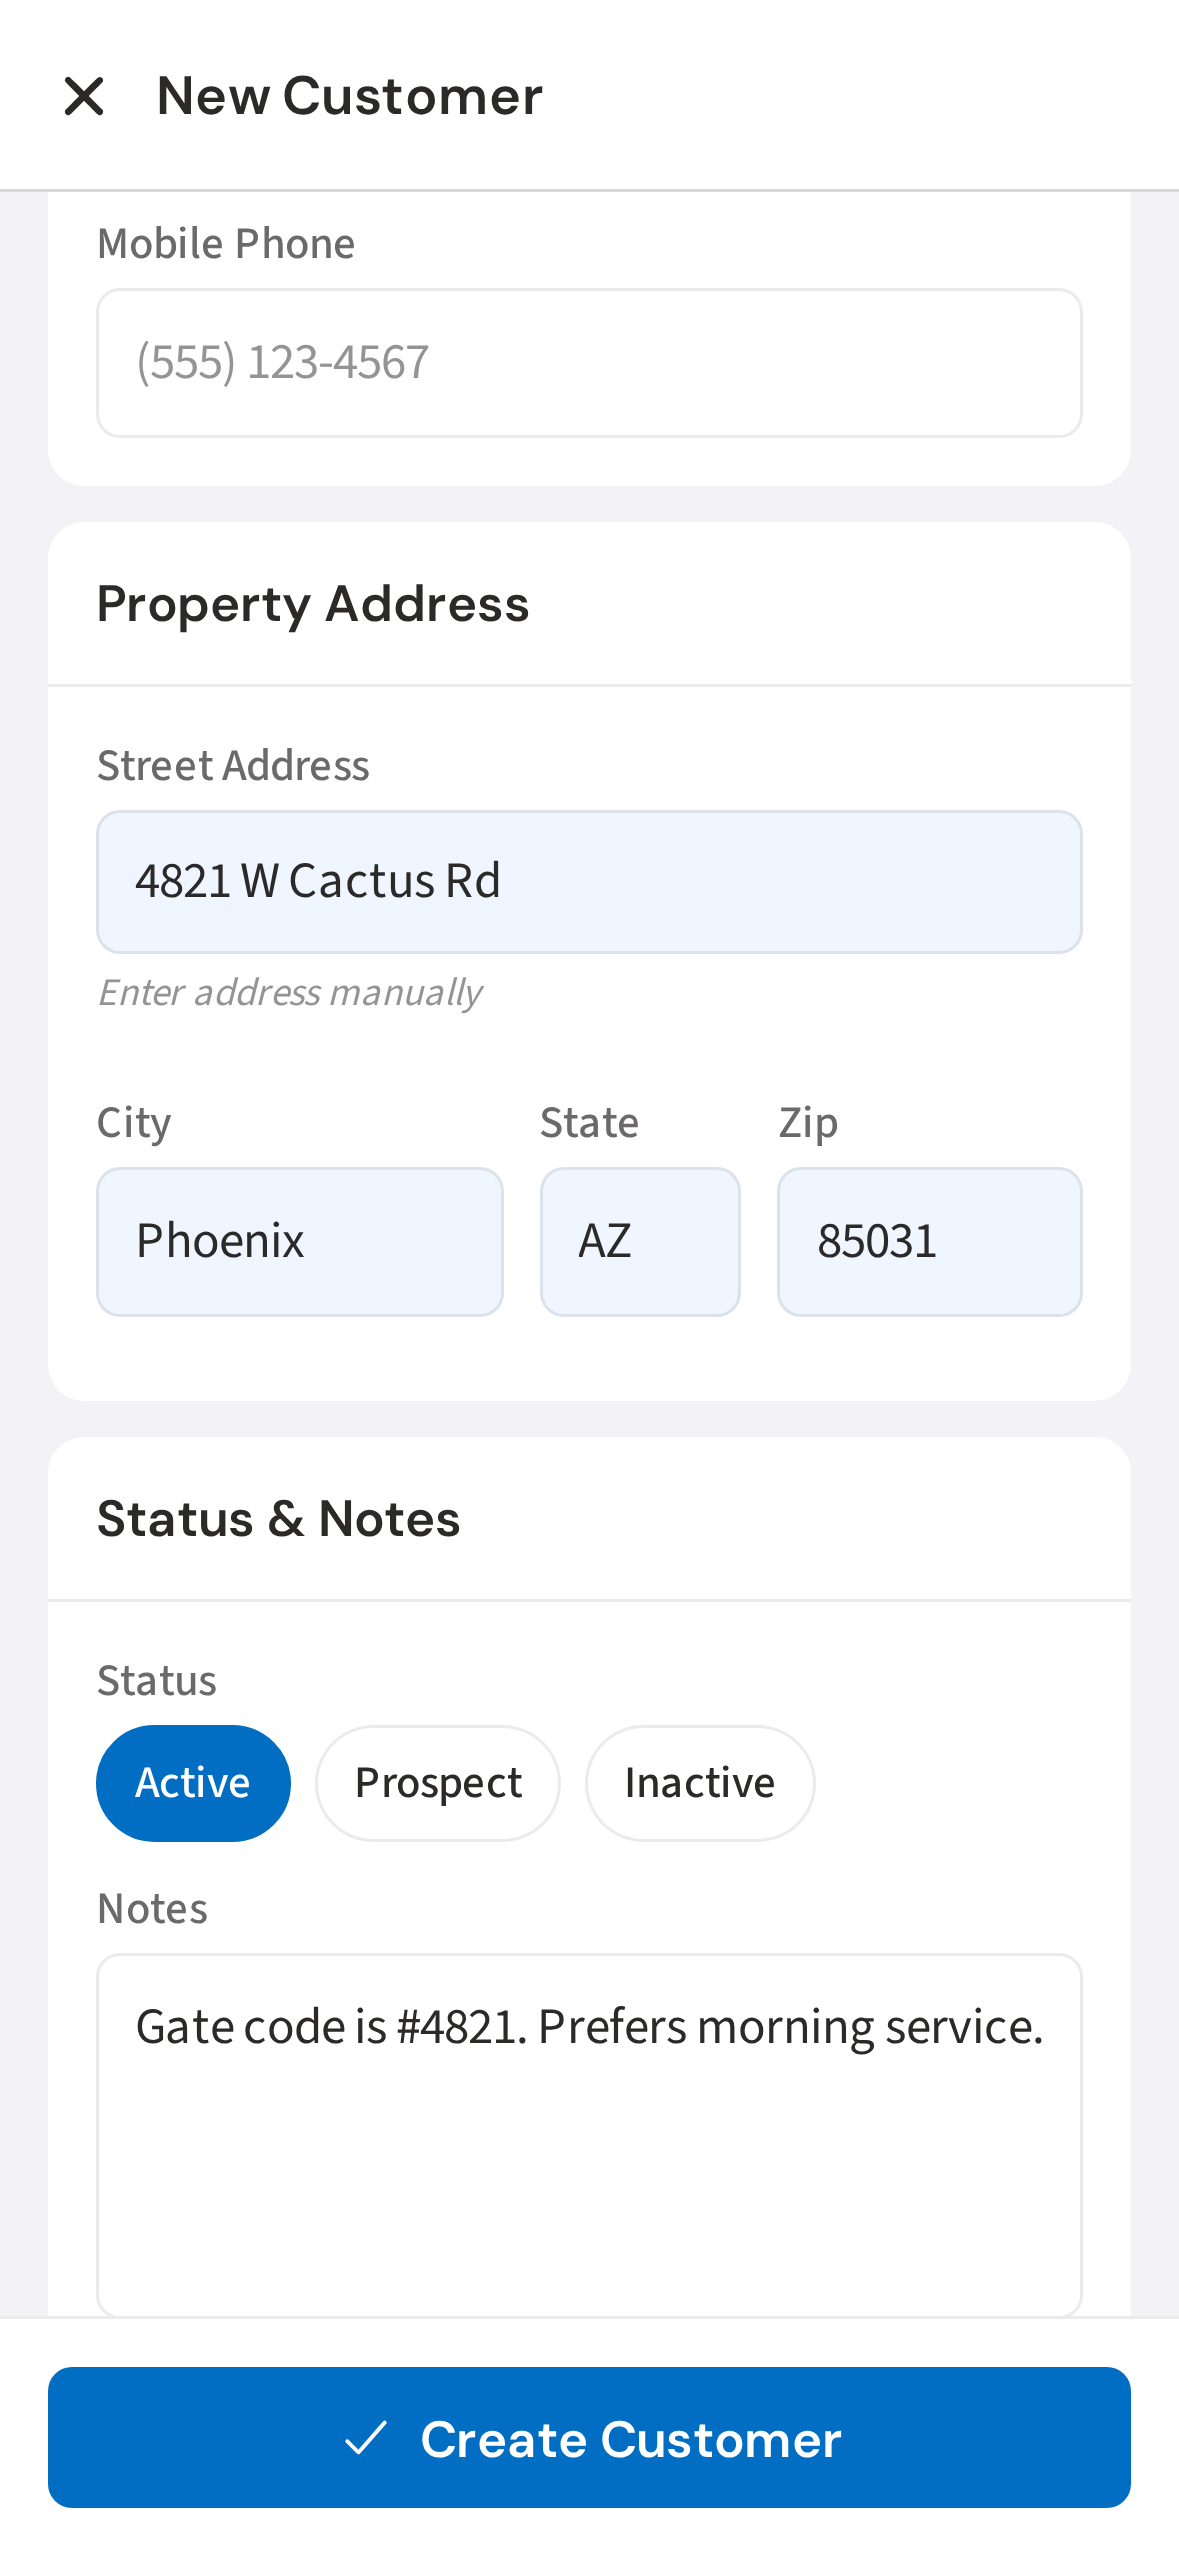
7. Enter the service address
Scroll down and enter the service address. This is where you actually do the work — it feeds into your route map and stop cards.
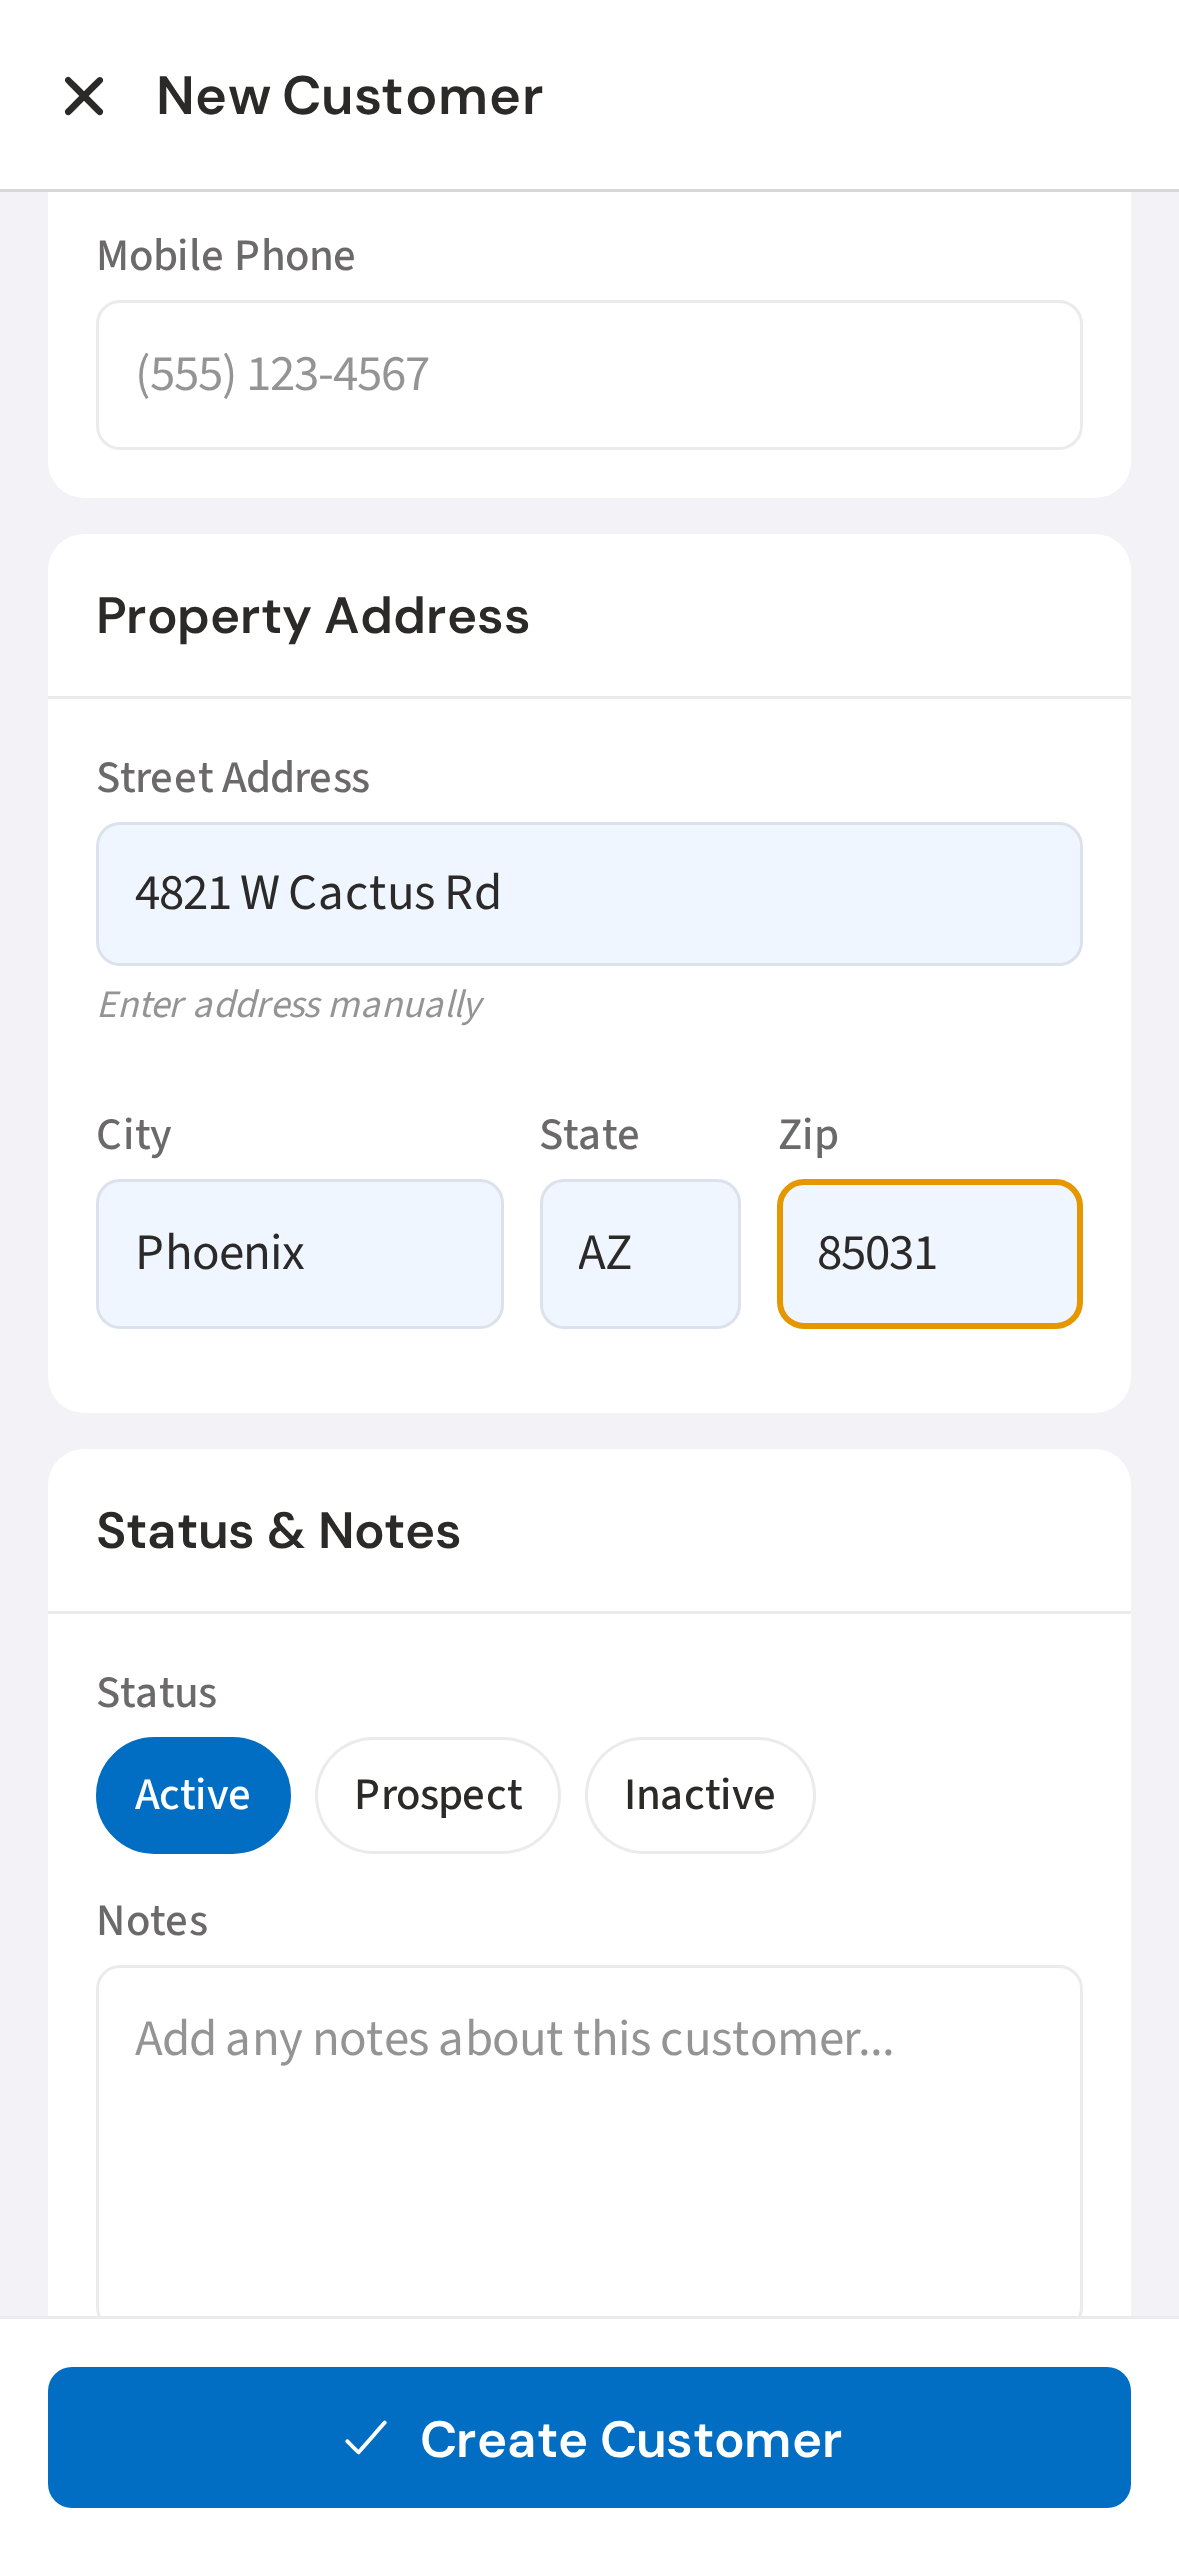
8. Add notes for your team
Use the Notes field for anything your crew needs to know on-site: gate codes, dogs, fragile equipment, preferred arrival windows. This shows up right on the stop detail screen.
9. Tap Create Customer to save
Tap Create Customer at the bottom when you're done. You can always come back and edit anything later.

10. Sarah Martinez's customer profile
The customer is saved and you land on their profile. From here you can add a pool, log a service visit, or assign them to a route.
Not using PoolDial yet?
Manage your customers, routes, billing, and more — all in one place.
Start Free Trial