
How to Add a Customer (Web)

This guide walks you through how to add a customer (web) in PoolDial, step by step.
This guide covers 9 steps and takes about a minute to complete.
Video Walkthrough
Prefer to watch? Here's a full video walkthrough of How to Add a Customer (Web).
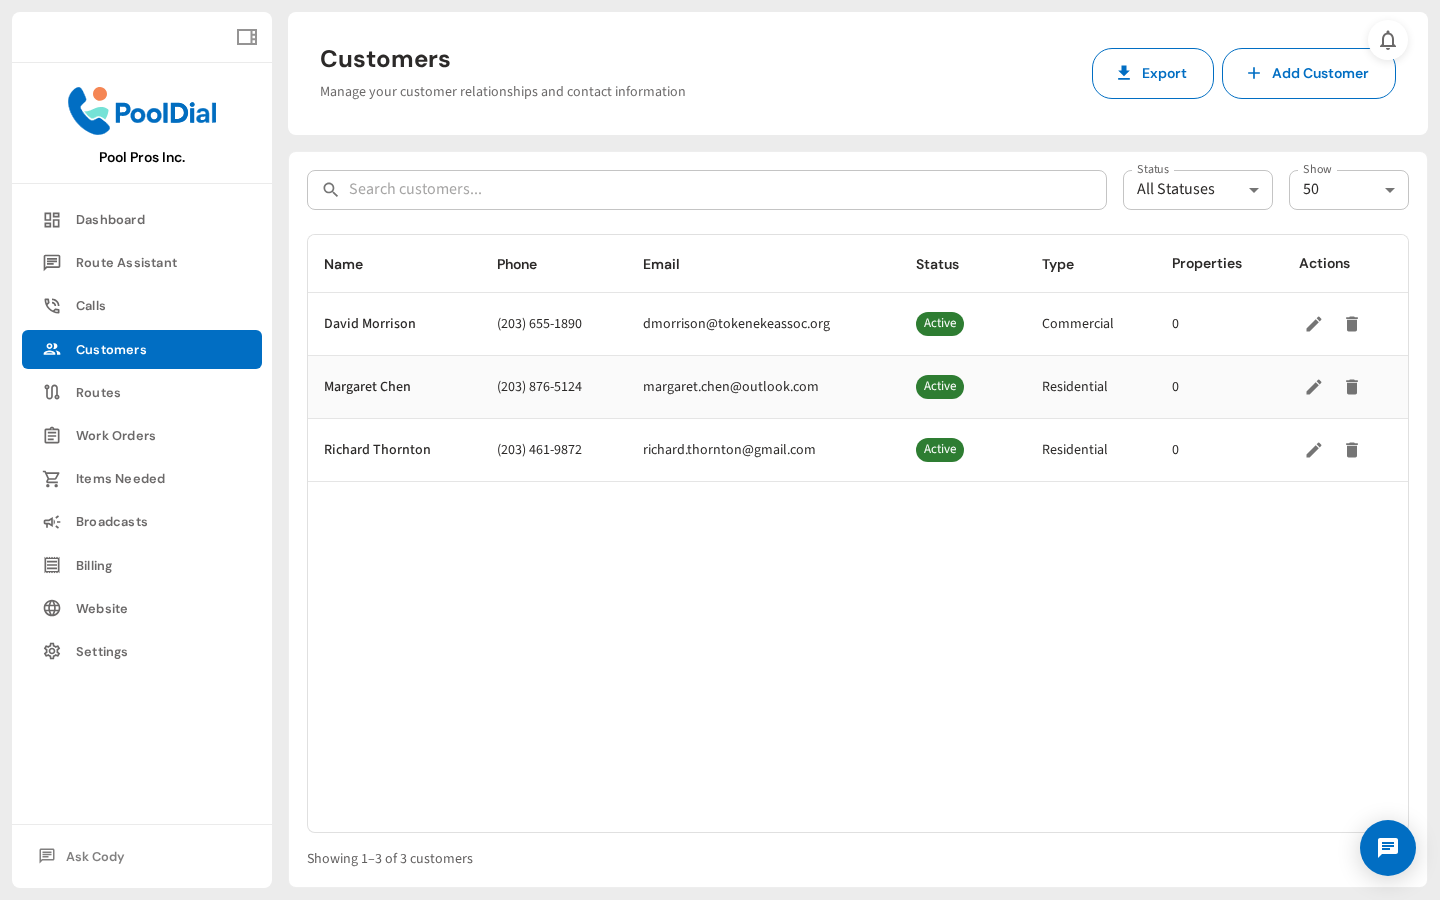
1. Go to the Customers page from the sidebar
From the left sidebar, click Customers. This is where all your customers are listed — you can search, filter by status, and manage each one.
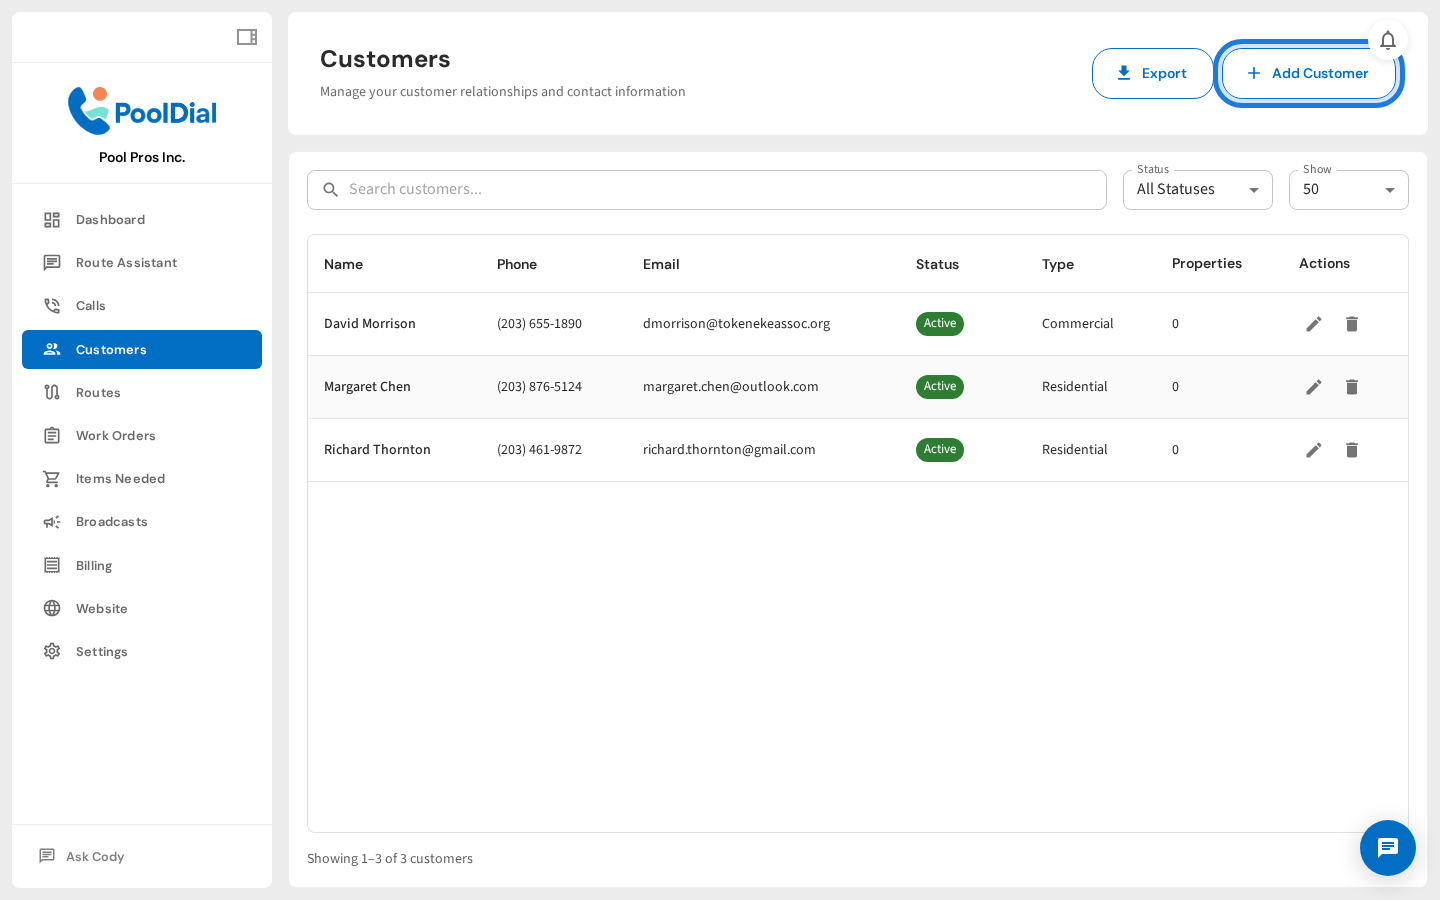
2. Click the '+ Add Customer' button in the top right
Click the + Add Customer button in the top right corner of the Customers page. This opens the Add New Customer form.
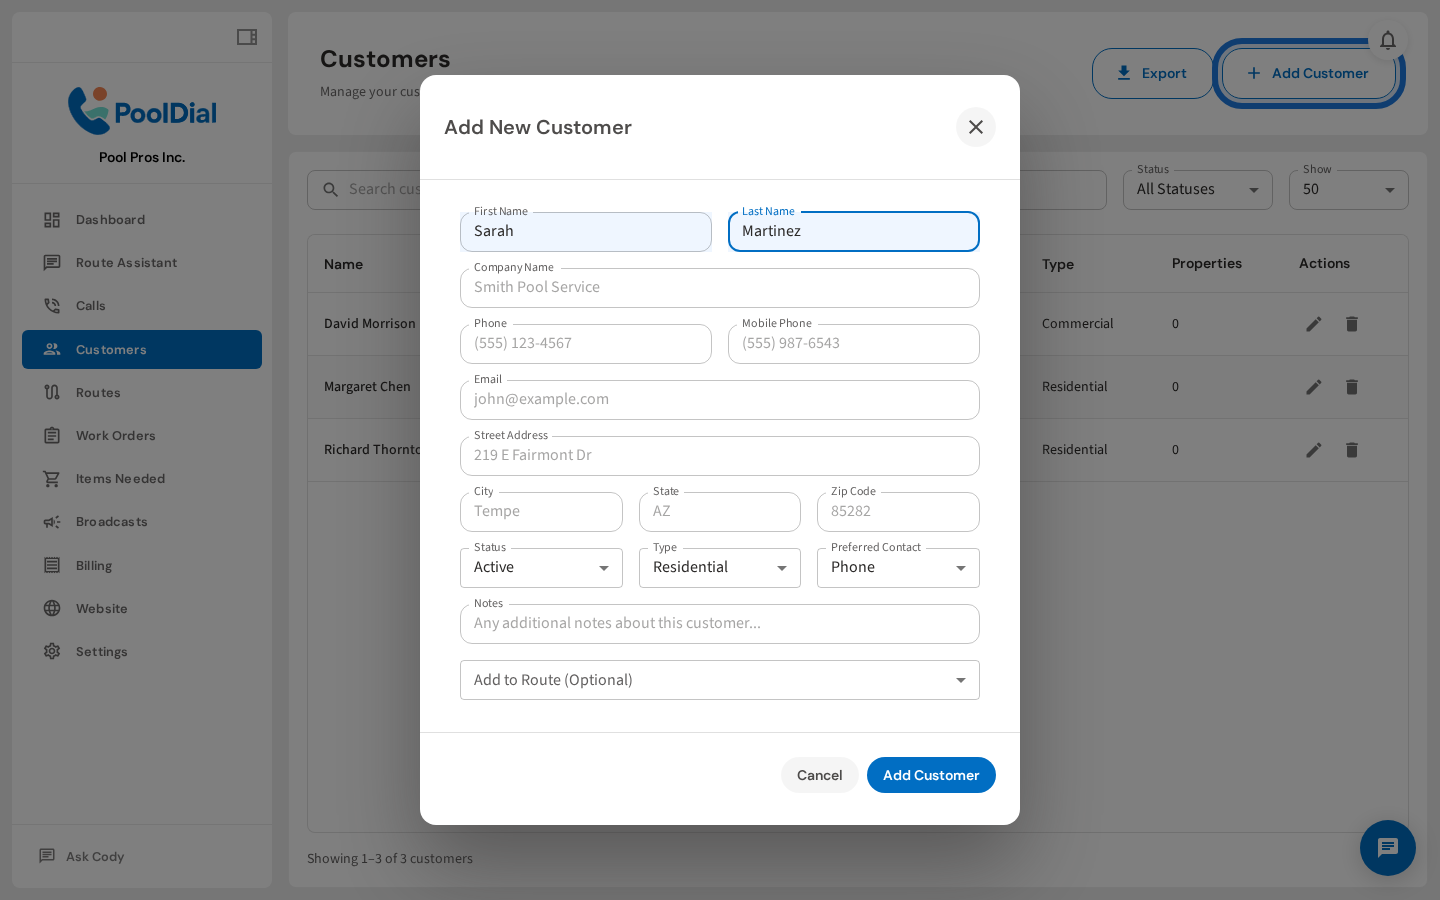
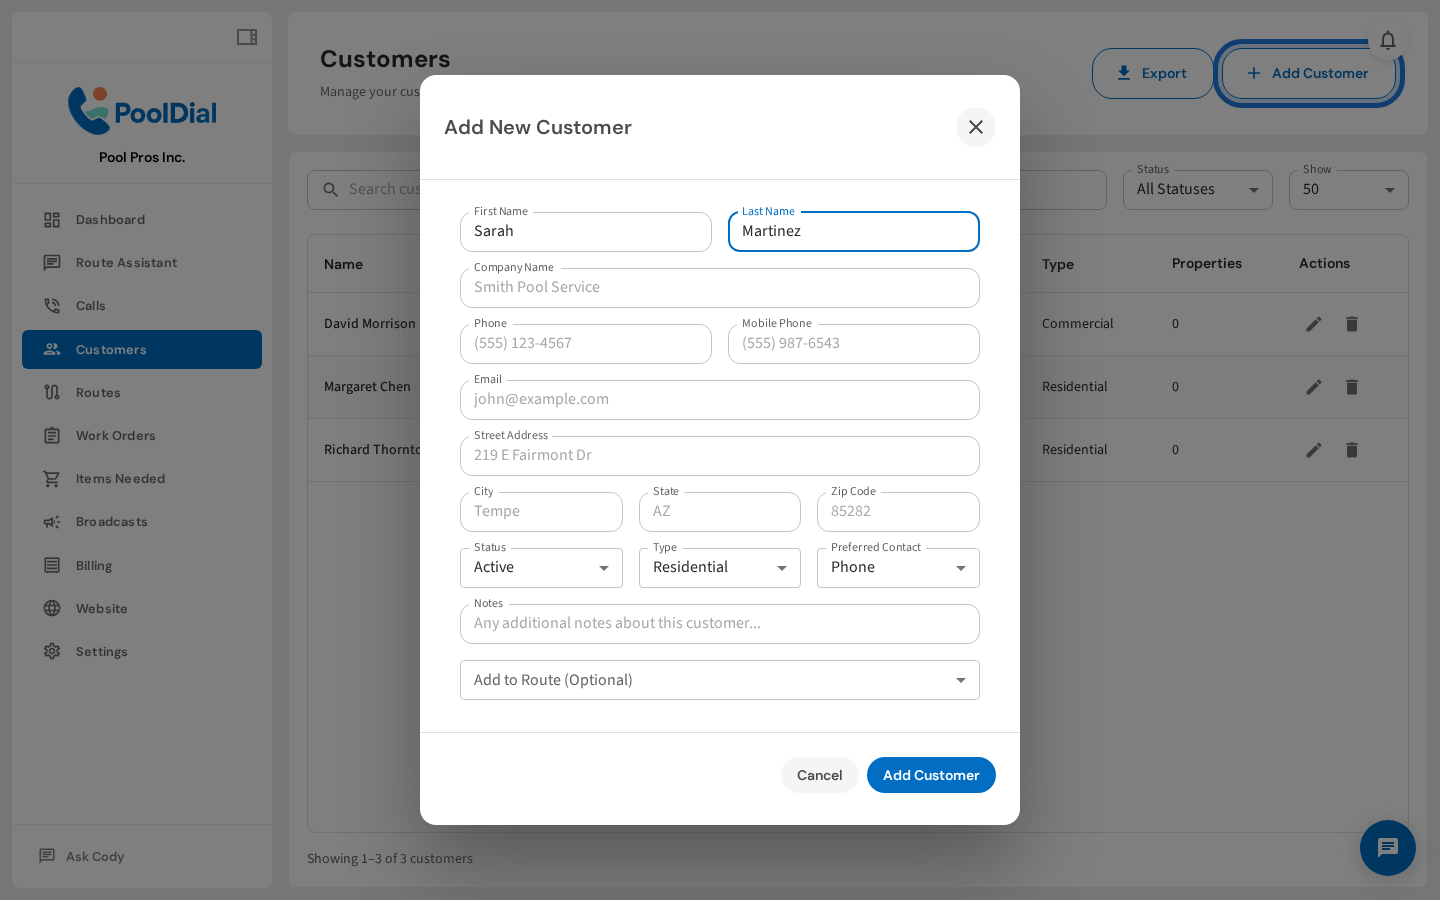
3. The Add New Customer form appears
The Add New Customer form lets you enter all the details for your customer — contact info, address, status, and notes. None of the fields are required, but filling in at minimum a name and phone number is recommended.
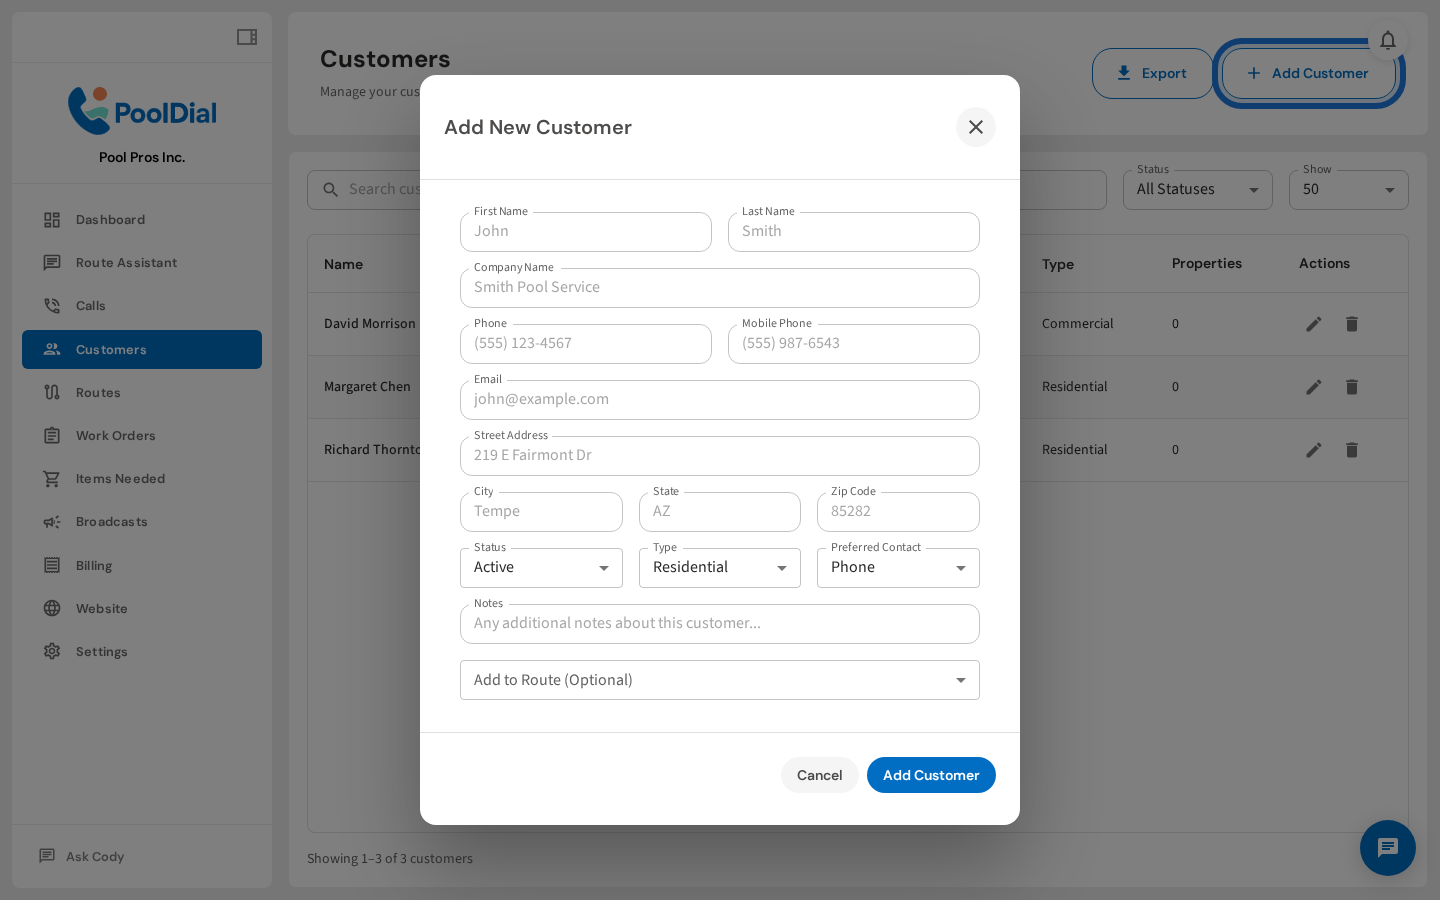
4. Enter the customer's first and last name
Enter the customer's first and last name. If the customer is a business account, you can also enter a company name in the field below.
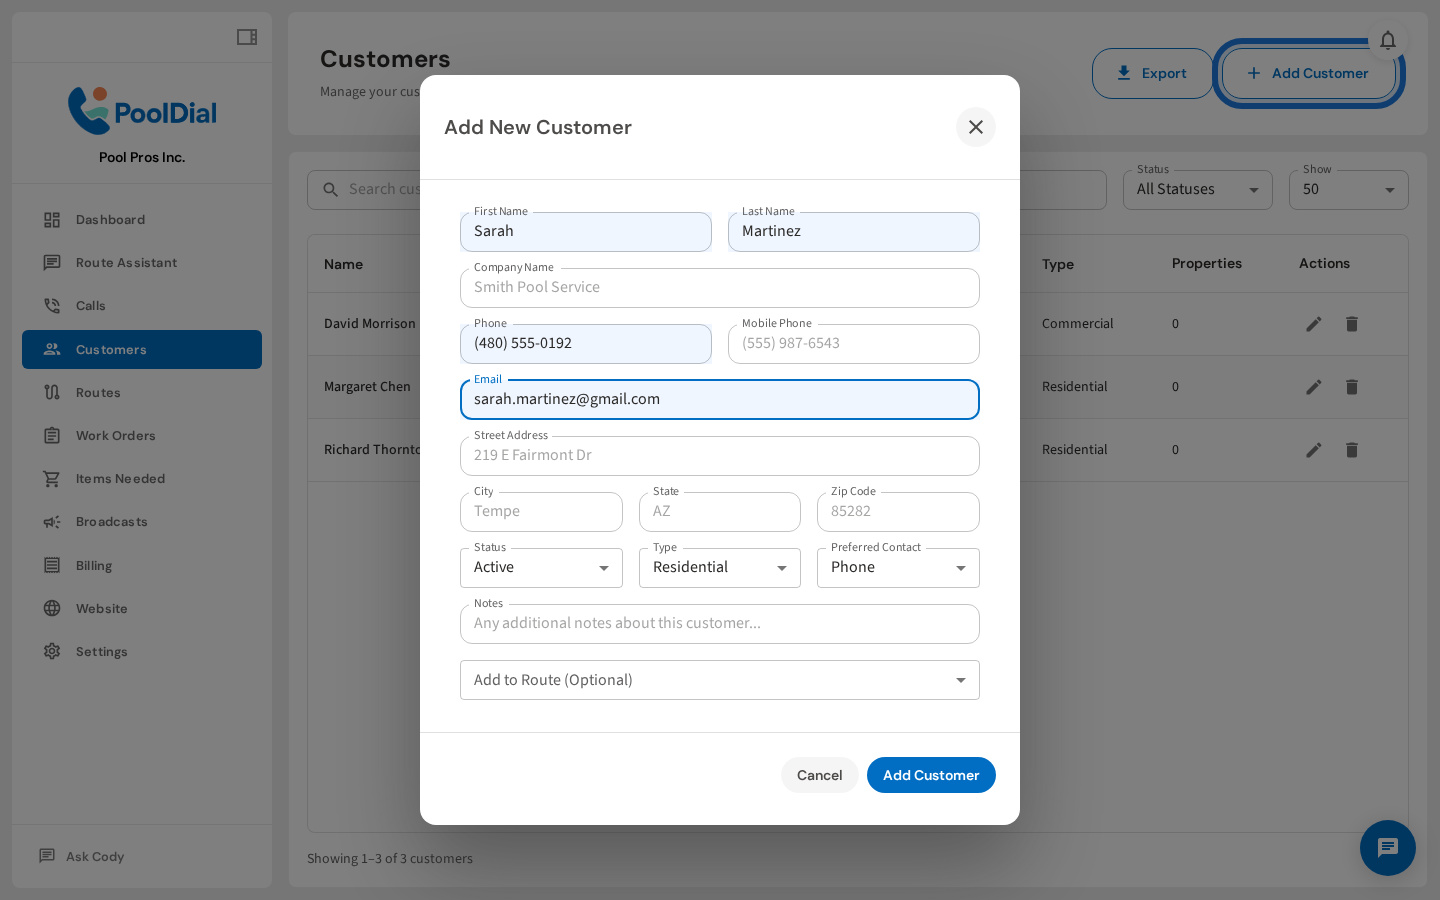
5. Enter the customer's phone number and email address
Enter a phone number and email address. PoolDial uses these for call routing and automated notifications. The Preferred Contact dropdown (further down) lets you choose how you prefer to reach them.
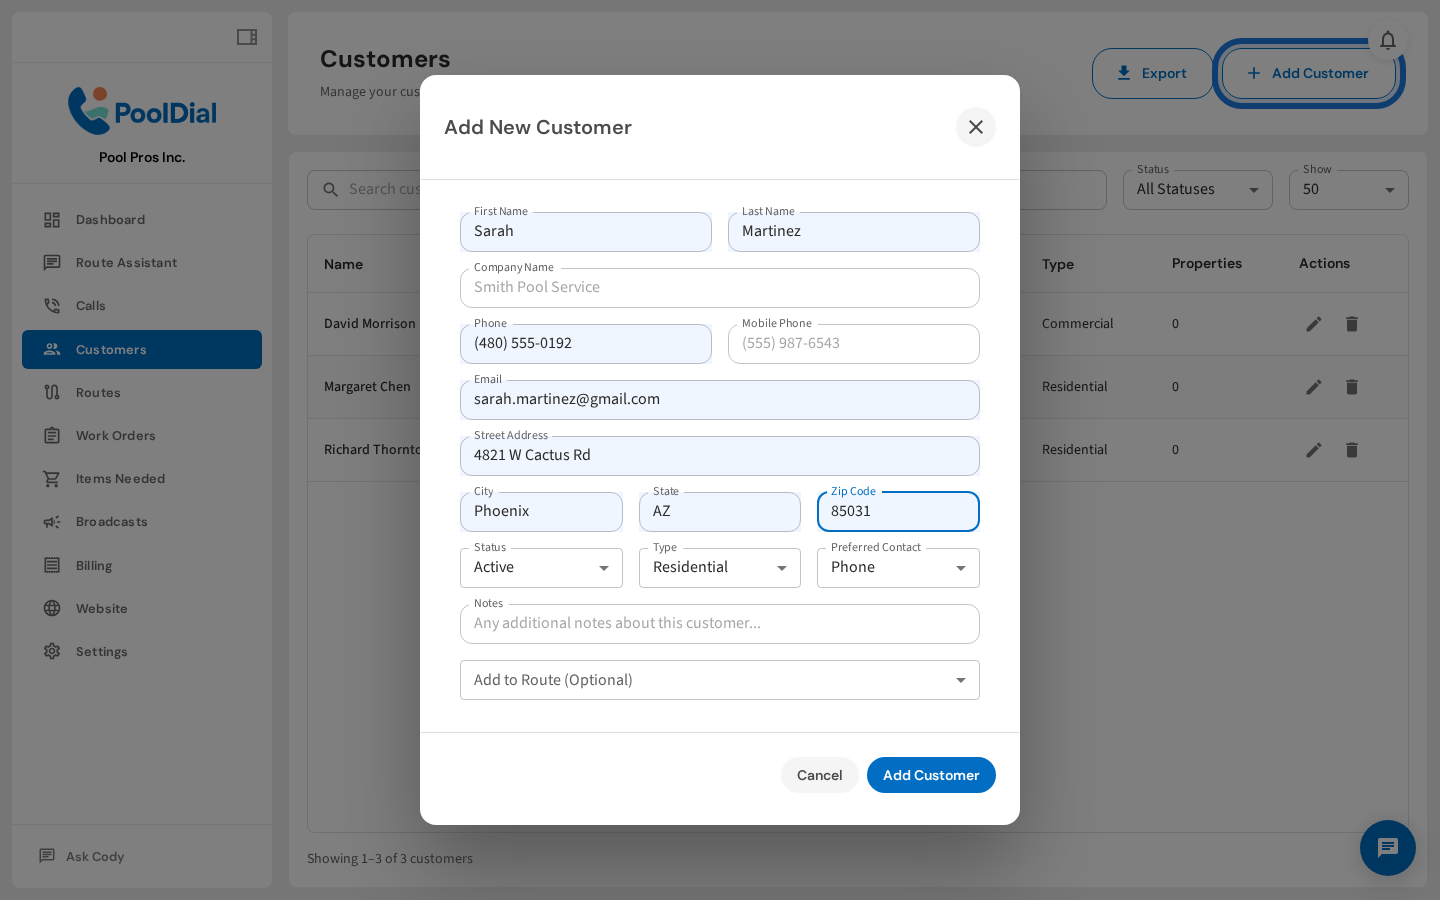
6. Enter the customer's service address
Enter the customer's service address. This is the address where you perform pool service — it's used for route planning and maps. Start typing the street address and Google will suggest a match.
7. Add optional notes like gate codes or service preferences
Use the Notes field for anything your team should know: gate codes, dogs on property, preferred service windows, equipment notes, and so on. These notes appear on work orders and route cards.
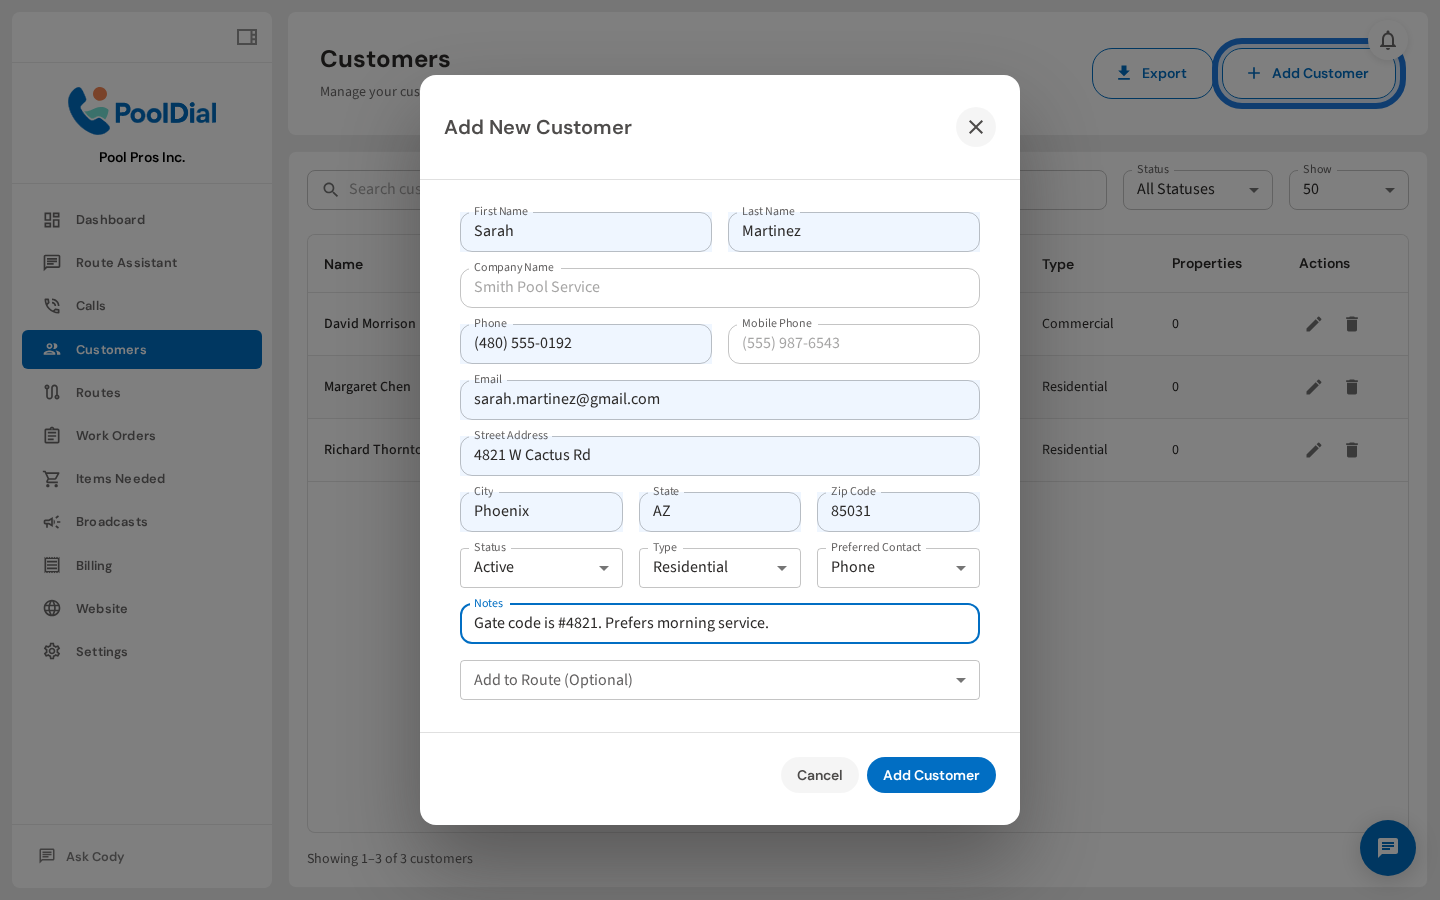
8. Click 'Add Customer' to save
Once all the fields are filled in, click Add Customer to save. You can always edit the customer later from the Customers list.
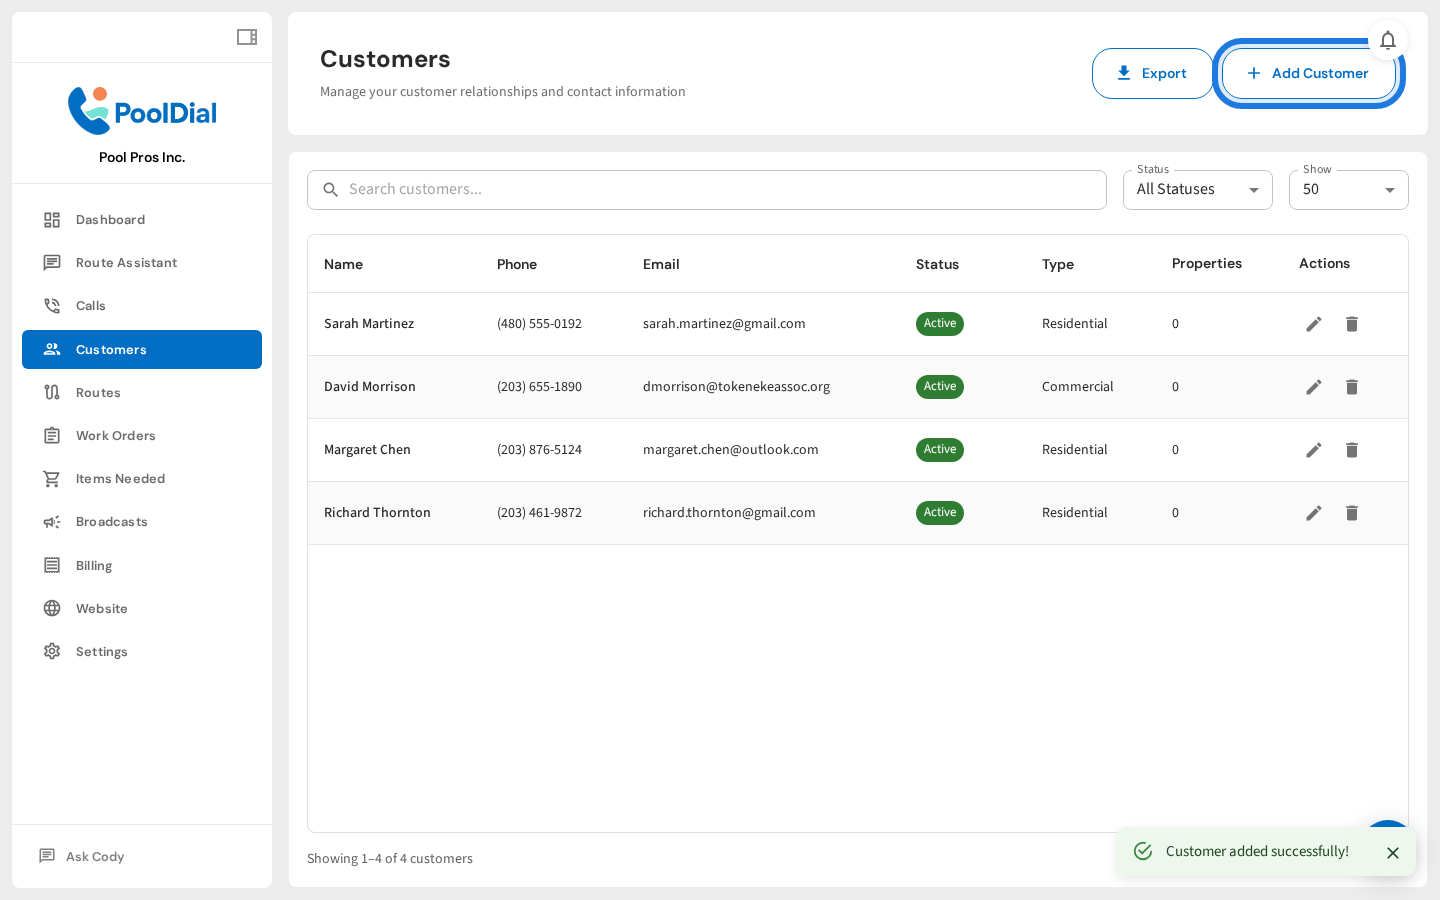
9. Sarah Martinez is saved and appears in the Customers list
The customer is saved and immediately appears at the top of your Customers list. From here you can click their name to view full details, add a pool property, or assign them to a route.
Not using PoolDial yet?
Manage your customers, routes, billing, and more — all in one place.
Start Free Trial